Create Authentication Certificates
You can generate security certificates for the Authentication Protocols within the Customer Portal. This feature allows you to create and configure a new certificate or upload an existing one in the Customer Portal. To setup the Single Sing On and access the Customer Portal, sign on to your account role as a Company Administrator. This user role can this user can create users in the company user's pool, and manage users in all the company subscriptions. For additional information about Managing Customer Portal and roles refer to:
•Accessing the first time to an Enterprise subscription
•Configure an IdP using SAML in the Customer Portal
To create a security certificate inside the Customer Portal follow these steps:
1.Select the Settings icon located in the left panel menu.
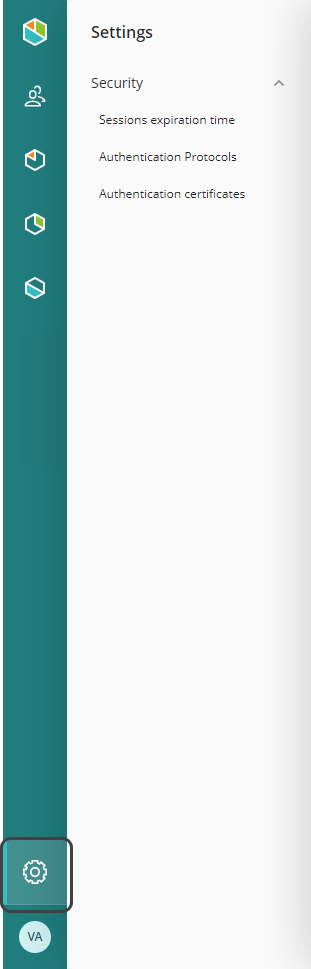
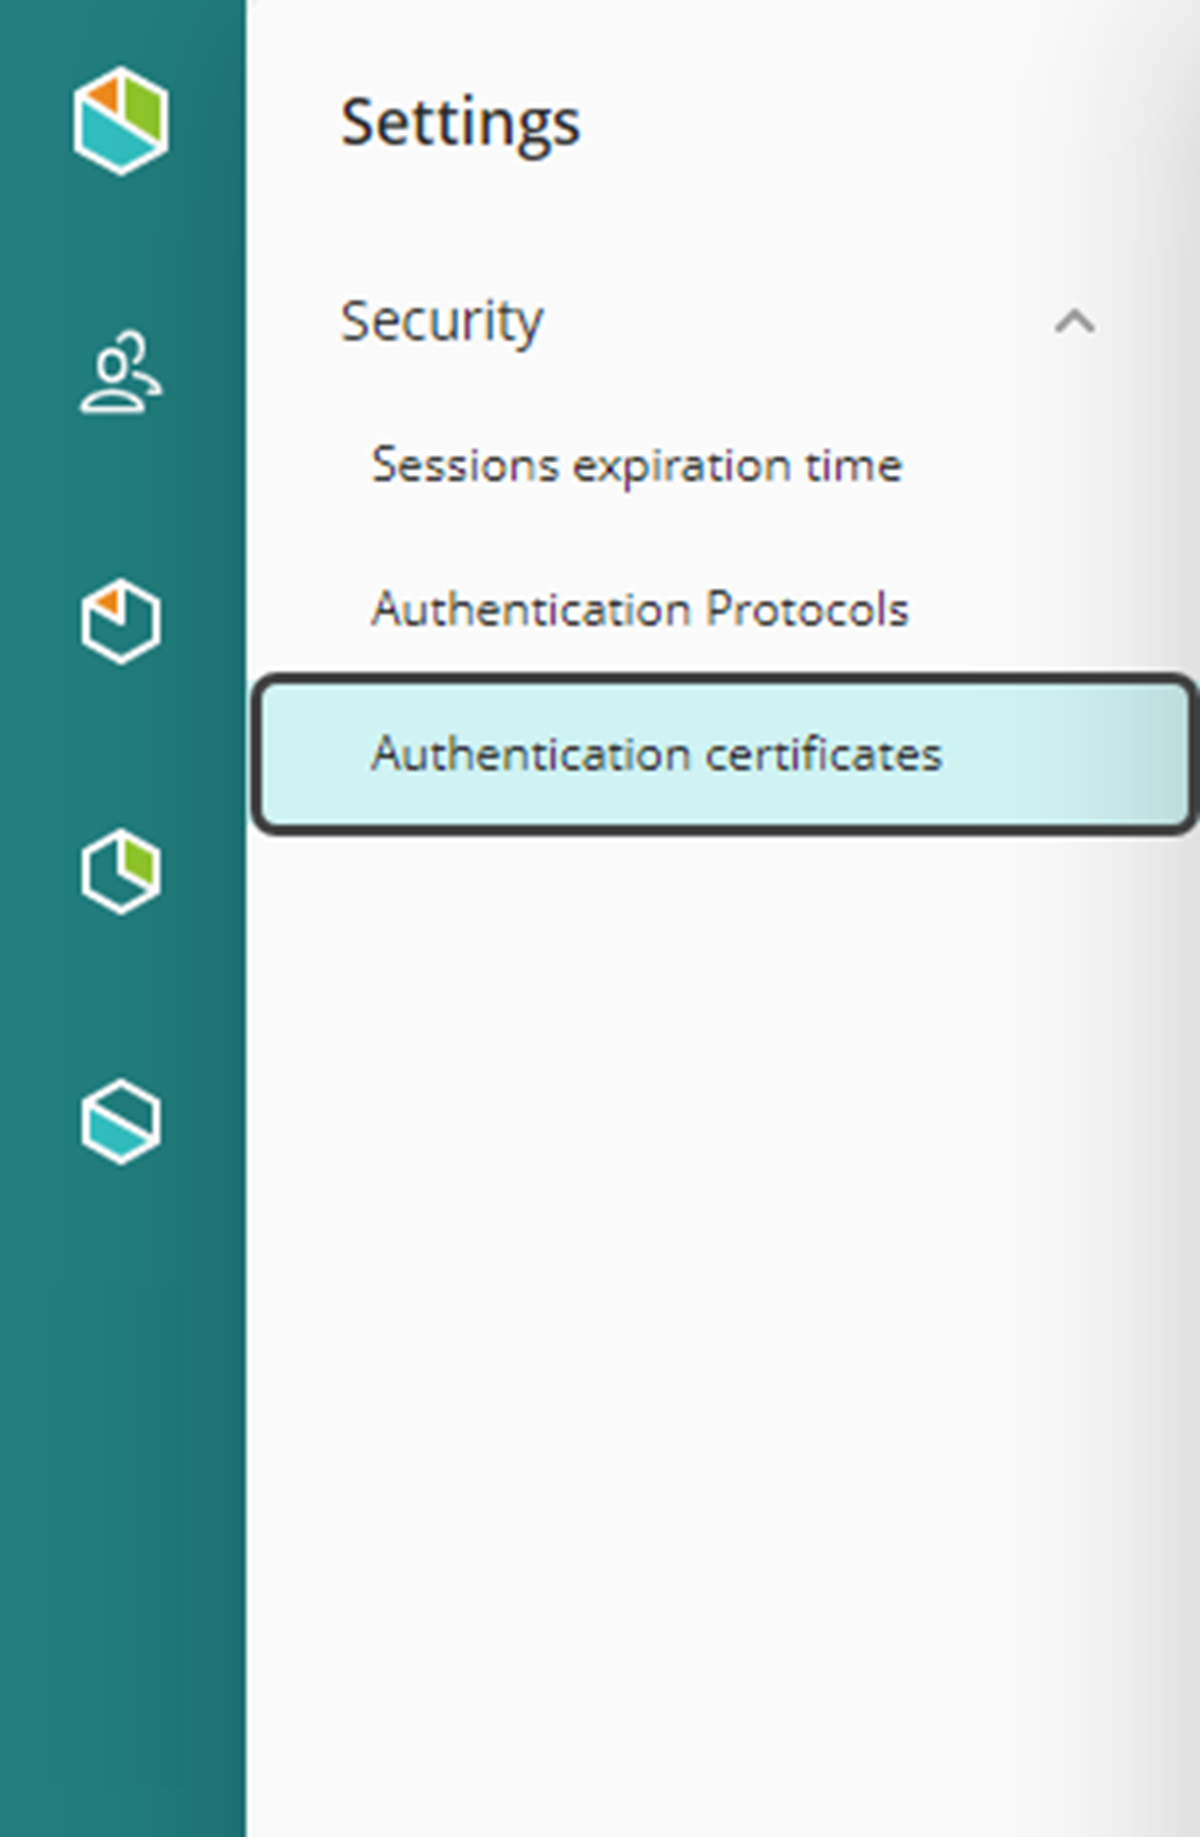
2.A panel expands from the left with all the security related topics. Select the Authentication certificates option.
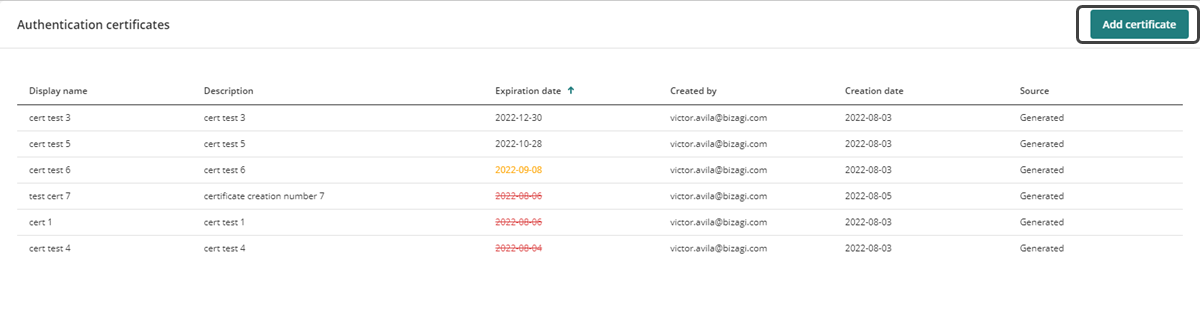
3.Inside this section, there is a list of certificates with details like Name, Description, Expiration date, Owner and Creation date and its creation source. In the top right corner, select the Add certificate button.
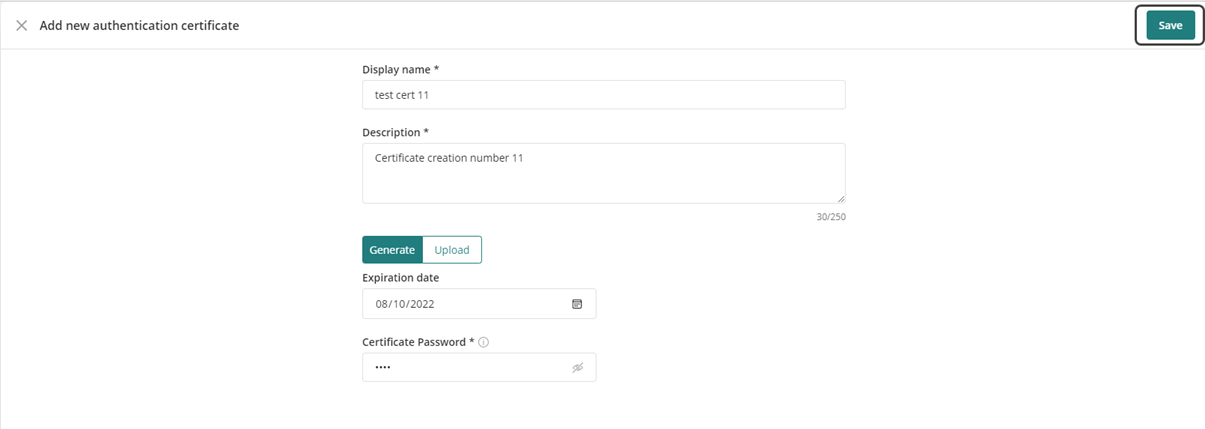
4.The Add new authentication certificate window opens for you to create the new security certificate and you must fill out the five different required fields:
a.Display Name.
b.Description.
c.Either select the Generate (to create a new certificate) or Upload (to upload a existing certificate) option for the toggle button.
d.Expiration date.
e.Certificate password.
When opting for the Generate option, specify the Expiration date and assign a Certificate password. In the case of selecting the Upload option, it is mandatory to upload digital certificate files in either PFX or P12 format. Subsequently, choose the type of algorithm to implement—either SHA256 or SHA1. Finally, enter the password associated with the certificate.

5.After all the required fields have been entered, click Save in the top right corner.
After the certificate is created a message will appear in the right bottom corner indicating it has successfully been saved.
To manage the generated security certificate in the Customer Portal refer to the Managing Authentication Certificates documentation.
Last Updated 1/8/2025 11:00:25 AM