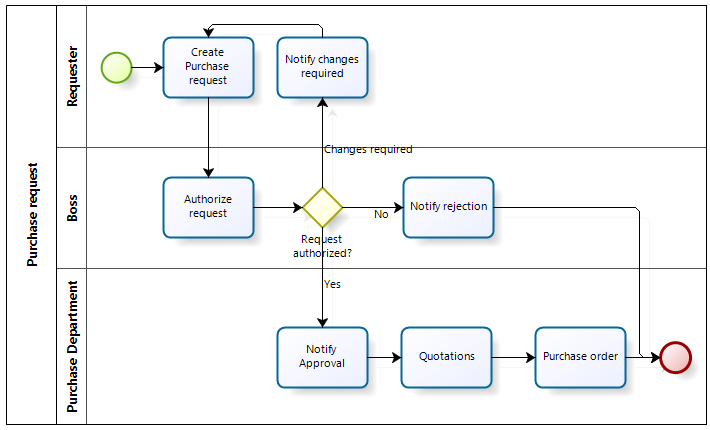
Overview
It is quick and easy to create Process diagrams in Bizagi. To demonstrate the ease in which this is done we use the Purchase Request Process.
The following steps are carried out when creating the Process:
•A Purchase Request is created.
•The employee's immediate supervisor approves, rejects, or changes the request (in Bizagi, the immediate supervisor will be addressed as "Boss" for this example).
•Quotations are obtained in order to select a Supplier.
•A Purchase Order is created.
•The Administrative Manager approves, rejects, or modifies the Order.
•The Purchase Order is sent to the Supplier.
•The Purchase Order is created in the ERP.
1. To create a new Process, click the New Process option in step 1 (Model Process) of the Process Wizard.

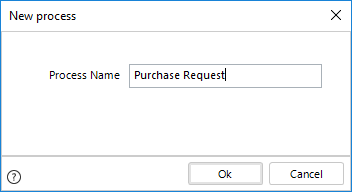
2. Give your Process a name and click OK.
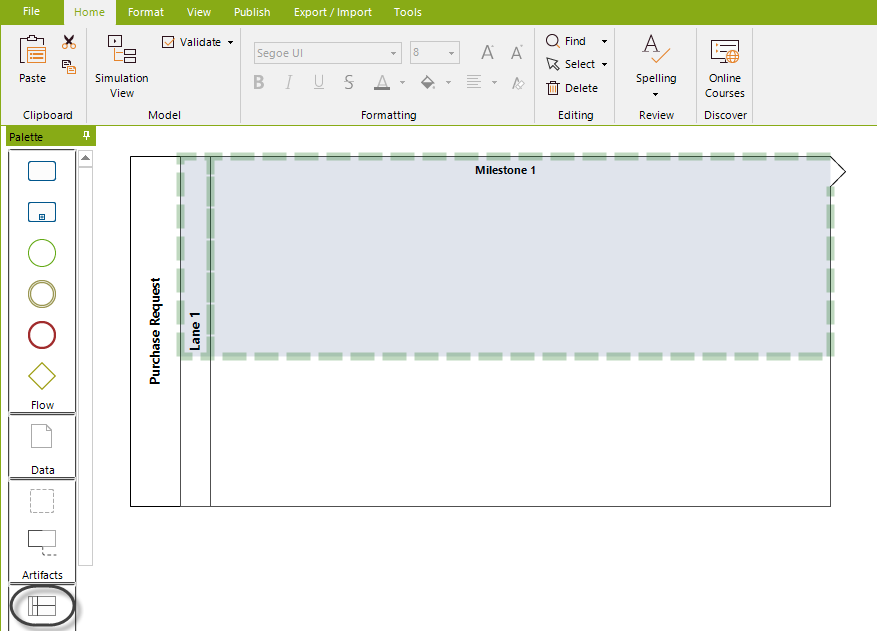
As soon as you open the Modeler a Pool will be ready for you to start diagramming.
The first Lane in the Pool is automatically created when the Process is created.
3. Add Lanes to include participants in your Process.
Drag and drop a lane, for each participant, from the Palette on the left.
In our example, we will select three lanes: One for Boss, one for the Requester and one for the Purchase Department.
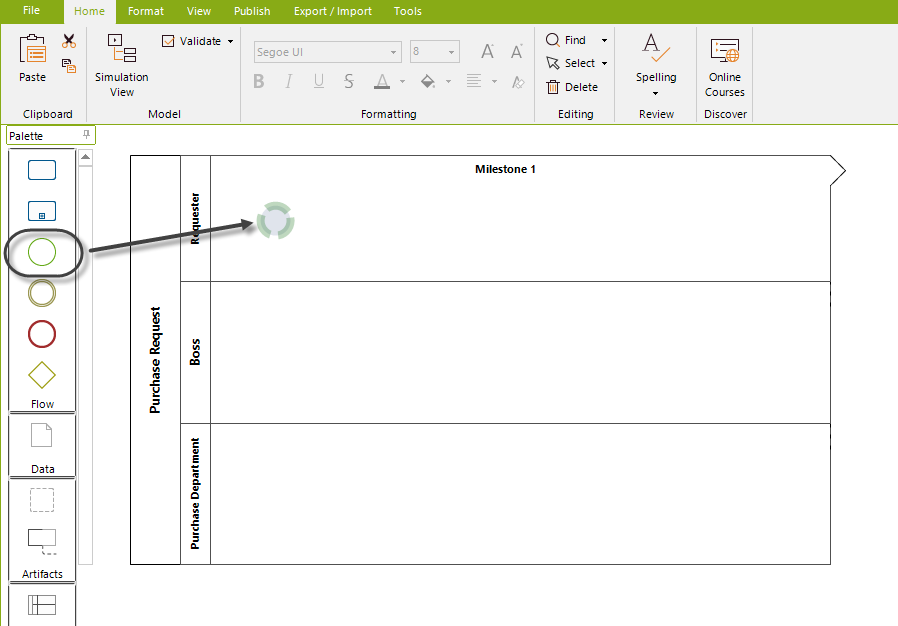
4. Include a start point in your Process.
Drag and drop a Start Event from the Palette.
5. Continue diagramming your Process using the Pie Menu. Select the next element and drag and drop where you wish to locate it.
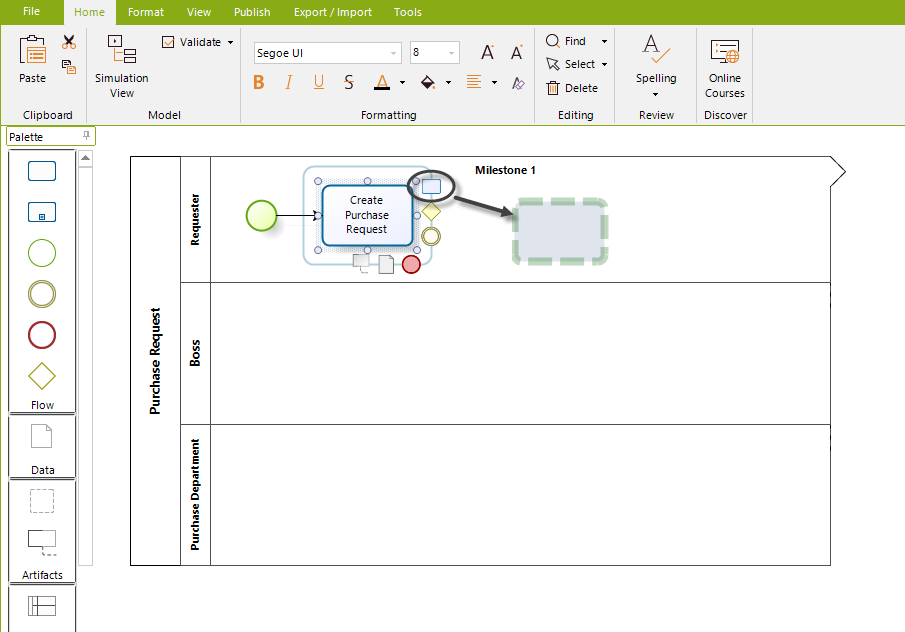
6. To connect two diagram elements in a sequence flow, select an object from the Pie Menu and drag it to the second diagram element. They will automatically be connected.
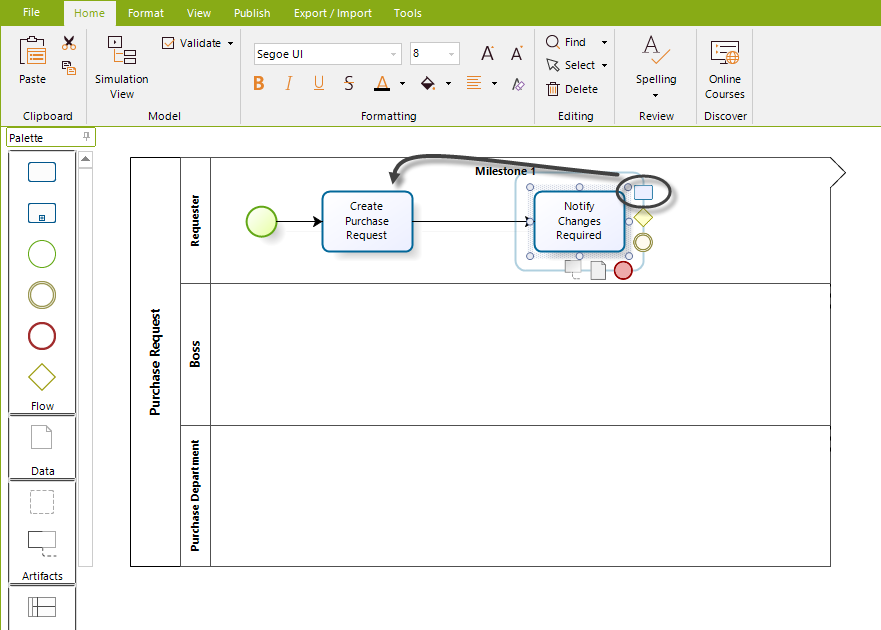
7.Continue selecting the required shapes until your diagram is complete.
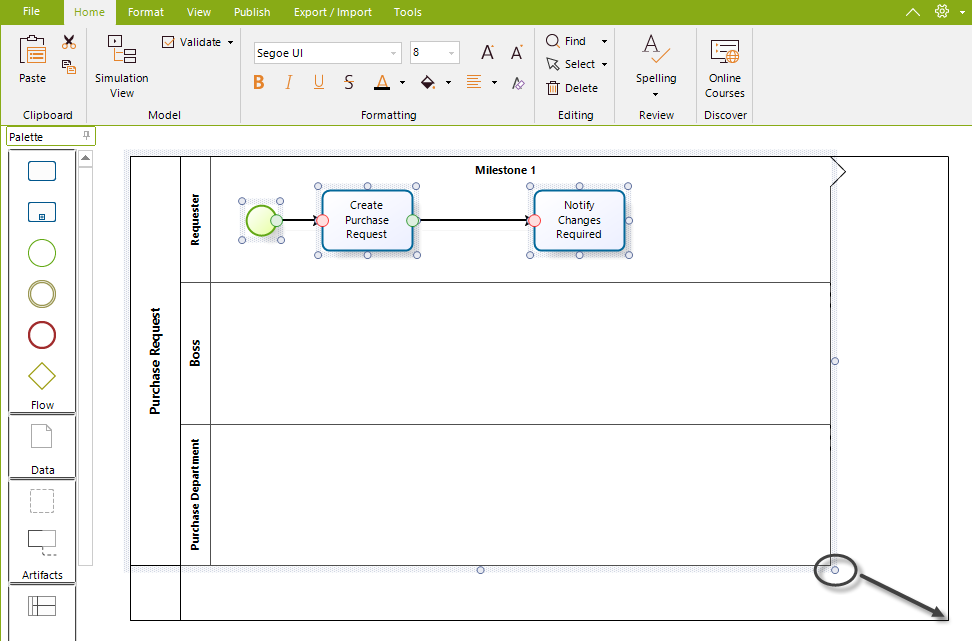
8.To resize the pool, select and drag the appropriate corner of the border.
The following image displays the basic diagram of the Purchase Request Process.
Last Updated 2/22/2024 11:37:00 AM