|
Considerations •This article is specifically designed for those people who understand CSS and HTML. •We strongly recommend using Google Chrome to facilitate the different taks related to this Feature. •Take into account that in this guide we are going to use Visual Studio Code to create the .css and .js, but you are free to use the tool you prefer. |
Overview
When working with web applications—especially for automation, customization, or integrations—you often need to locate the IDs of specific elements. Google Chrome provides powerful built-in tools for this, and Google’s AI assistant can streamline the process even further.
Using Chrome’s Inspect Tool to Find Element IDs
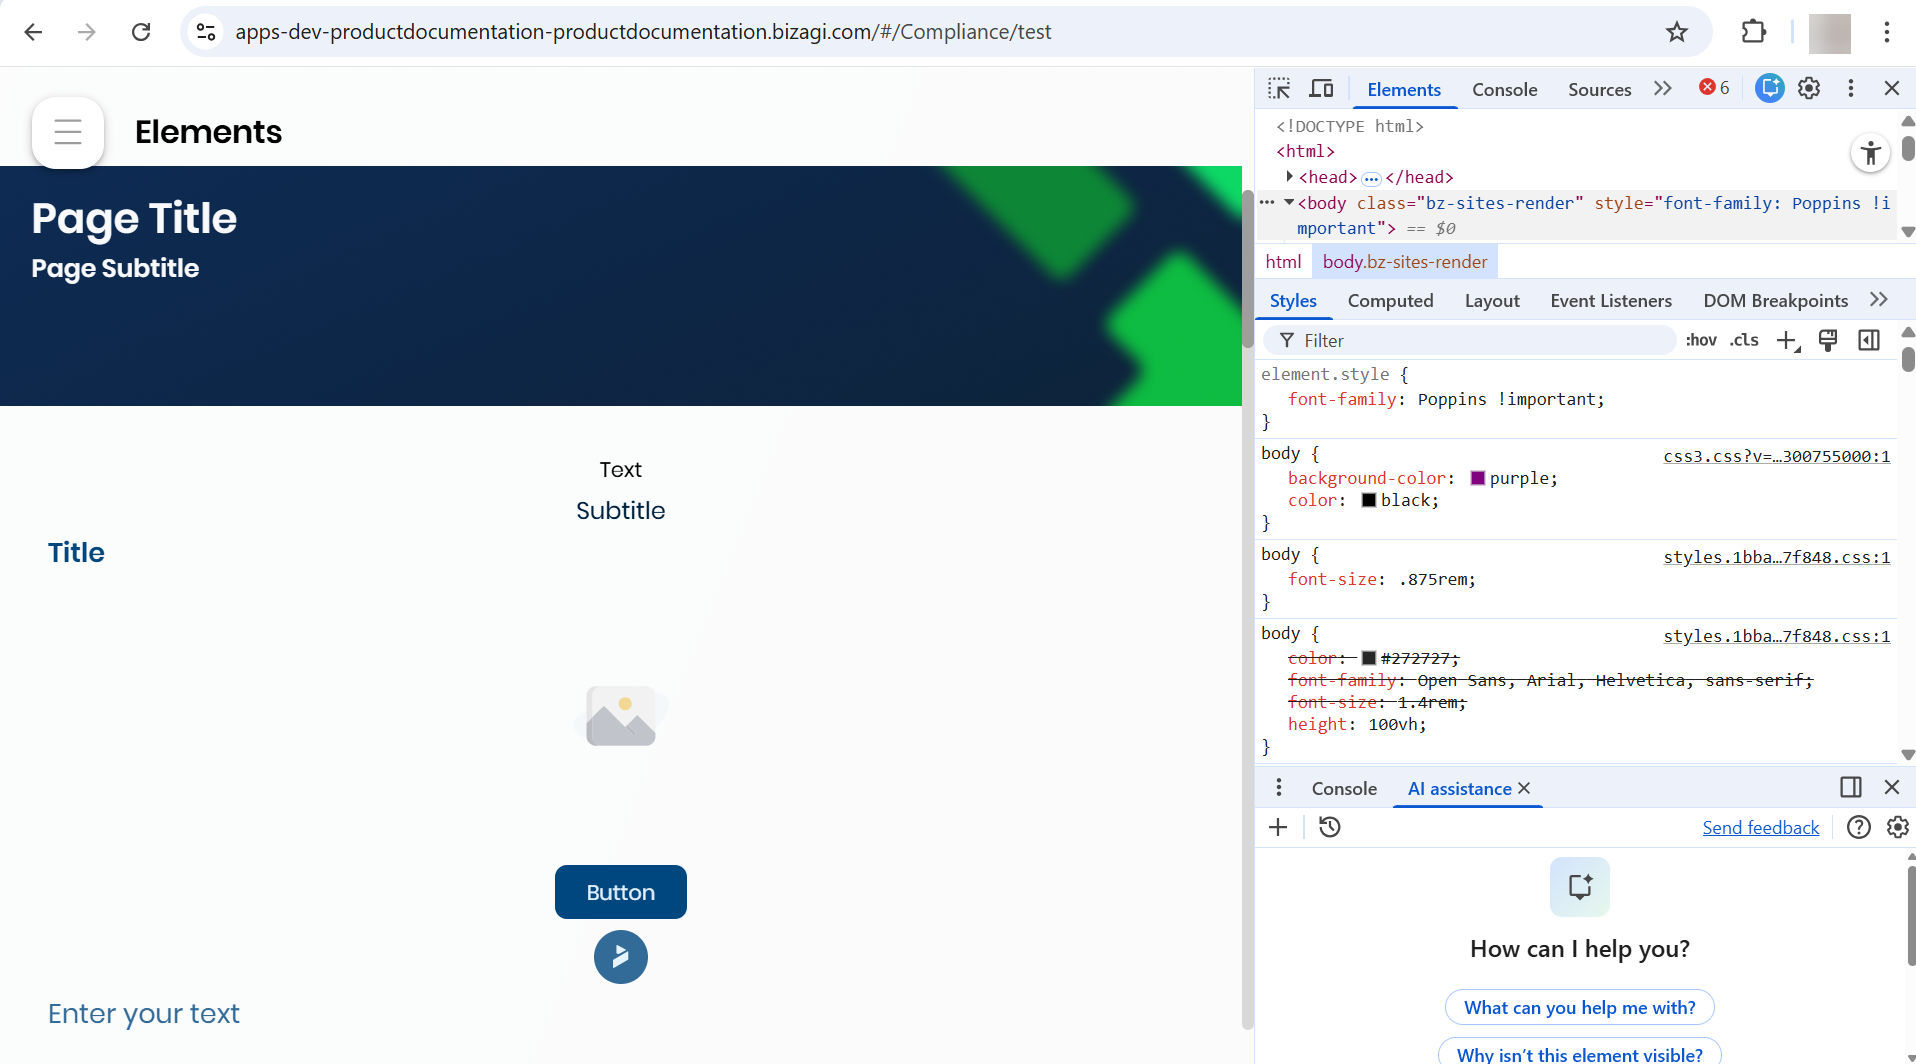
Step 1: Open Developer Tools
1.Right-click anywhere on the webpage.
2.Select Inspect (or press F12 or Ctrl+Shift+I).
3.This opens the Elements Panel, where you can explore the HTML structure.
Step 2: Select an Element on the Page
1.In the top-left corner of DevTools, click the element selector (the mouse-pointer icon).
2.Hover over the page until the element you want is highlighted.
3.Click it.
4.Chrome will scroll to the corresponding HTML node.
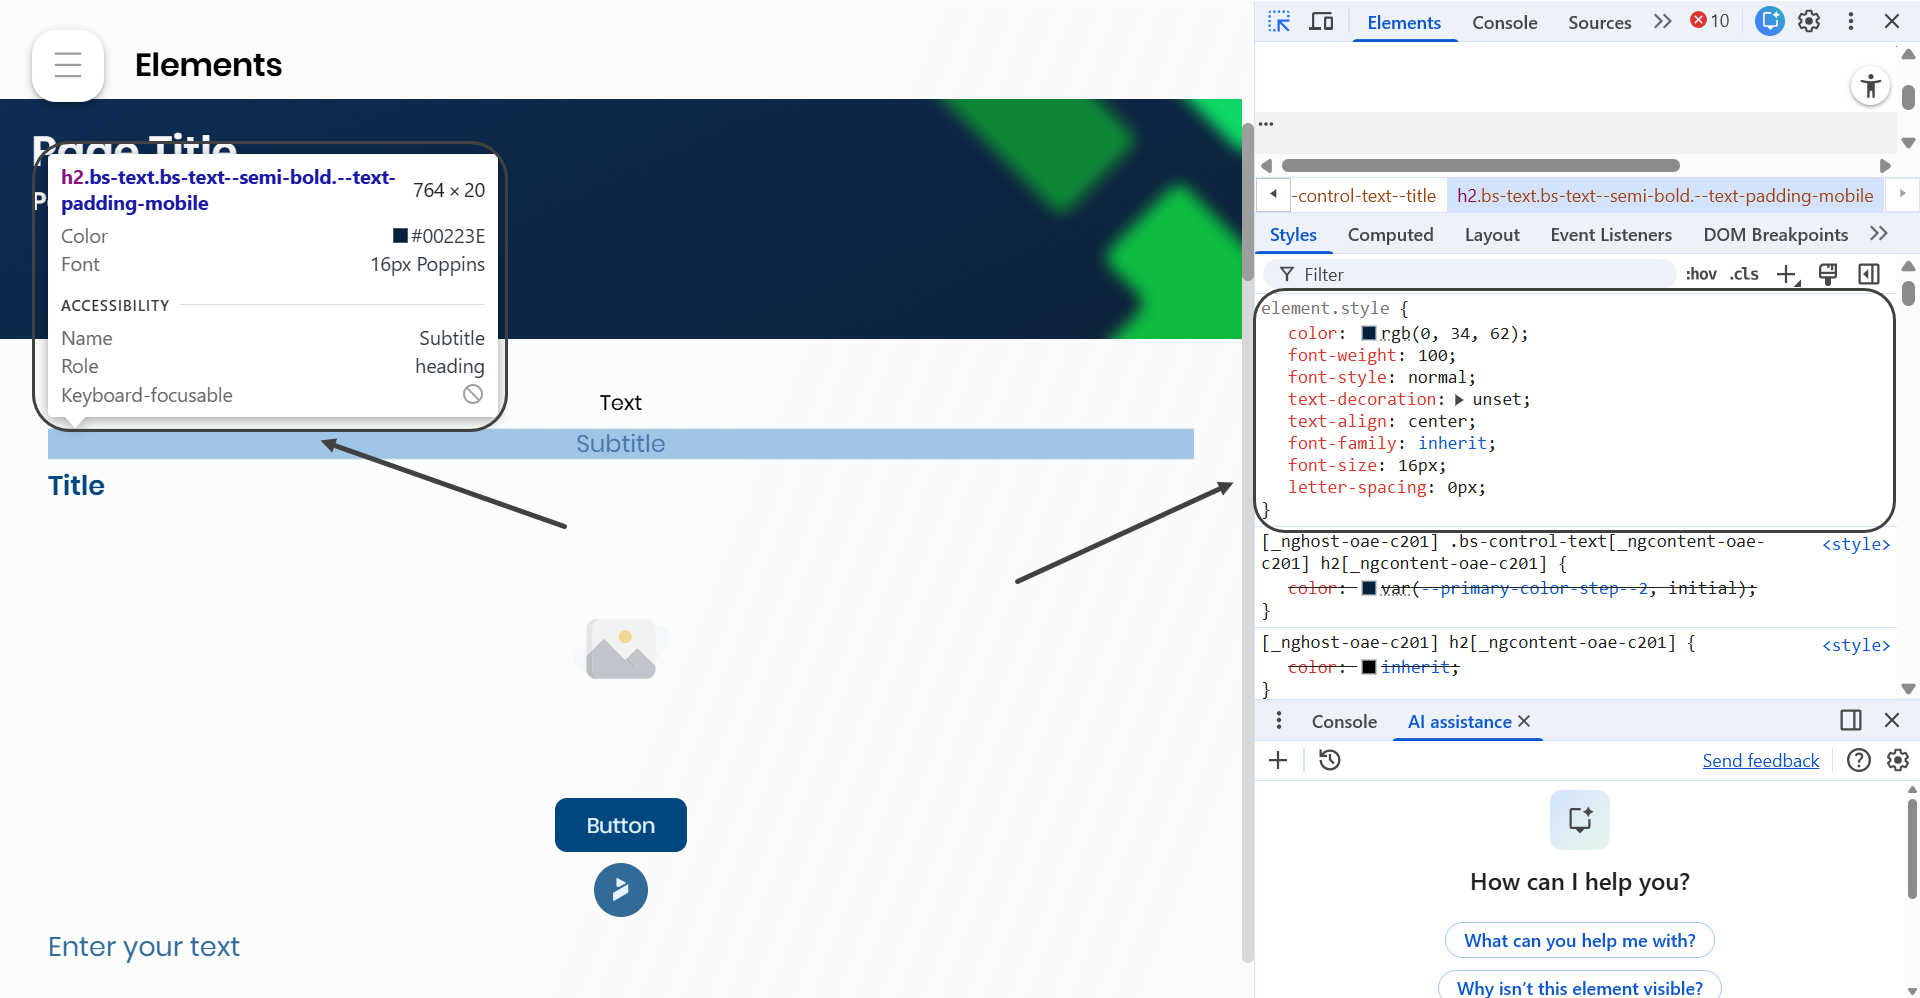
Step 3: Locate the ID Attribute
Inside the highlighted HTML tag, look for something like:
<input id="usernameField" class="form-input" type="text">
If the element has an id, it will appear as id="something".
If the element does not have an ID, you can rely on other attributes such as class, name, data-attributes, aria-attributes, or generate selectors.
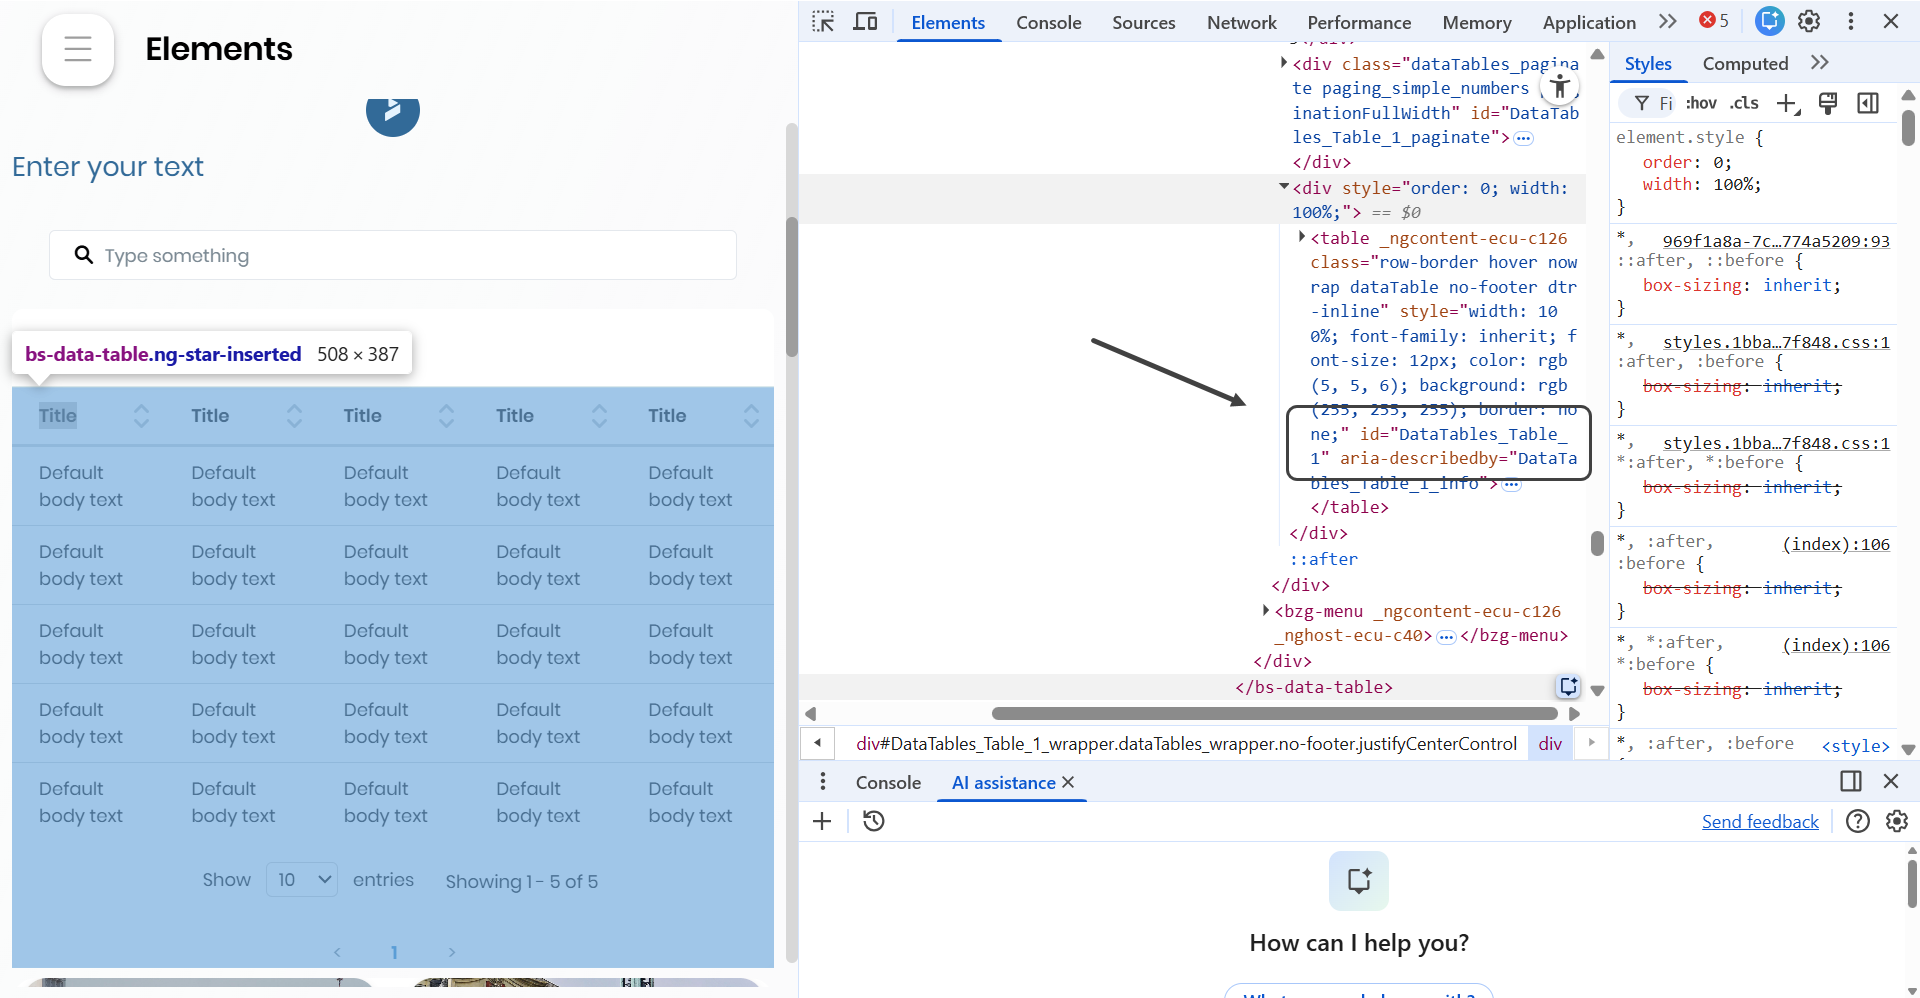
For example the id of the table is:
id="DataTables_Table_1"
Step 4: Copy the Selector (Optional)
Right-click the element → Copy → choose:
Copy selector
Copy JS path
Copy XPath
These are helpful for automation tools like Selenium or Bizagi scripts.
Using Google’s AI Tool to Identify Element IDs
Google’s AI assistant in DevTools can analyze the page and tell you the ID or selector of almost any element.
What the AI Tool Can Do
•Identify IDs instantly
•Suggest stable selectors
•Explain what an element does
•Summarize page structure
•Help with dynamic or complex HTML
Step 1: Enable the AI Assistant (if needed)
Open chrome://flags.
Search for “DevTools AI assistant.”
Enable it and restart Chrome.
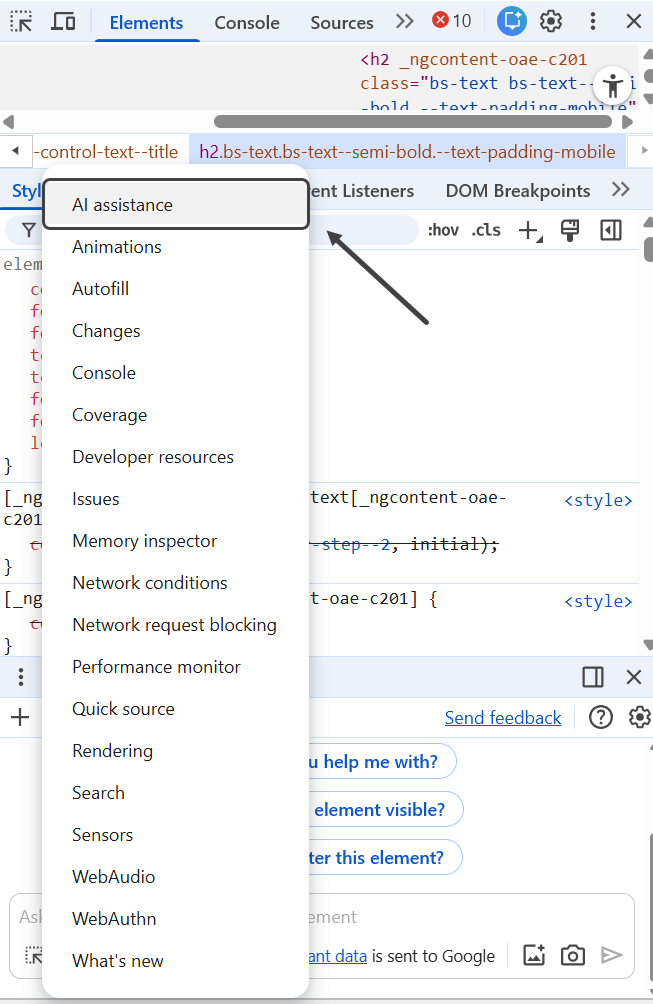
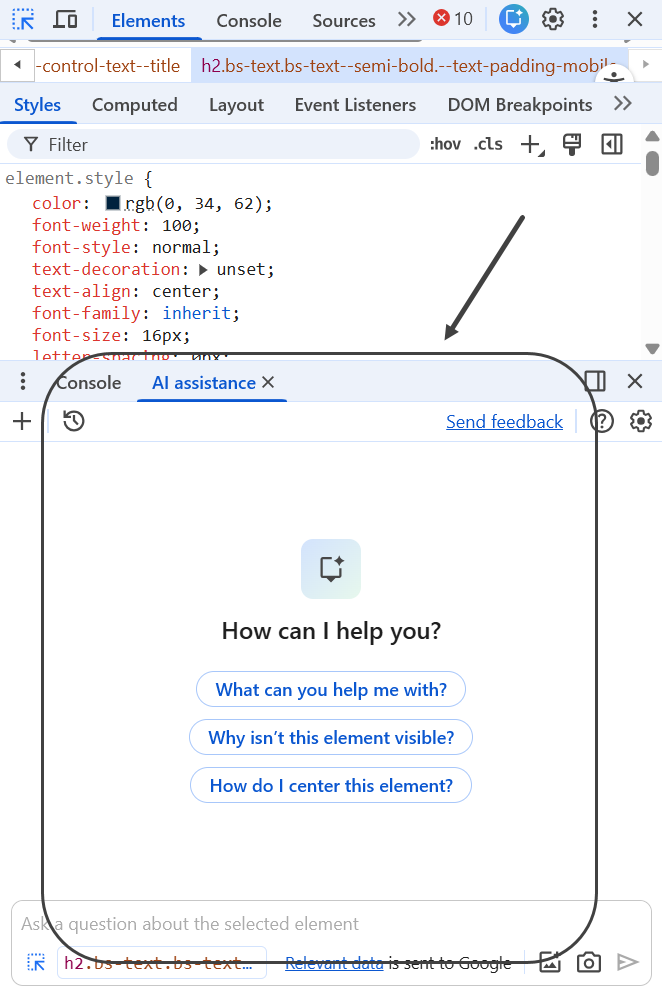
Step 2: Ask the AI in DevTools
Open Inspect.
Open the AI panel or icon.
Ask prompts like:
•“What is the ID of the login button?”
•“List all elements on this page with an ID.”
•“What selector should I use for the navigation menu?”
•“Show me the ID of the search bar.”
The AI will examine the DOM and respond with the exact ID or best selector.
Example Interaction
You ask: “What is the ID of the search box?”
AI replies: “The search input field has the ID searchInputMain.”
3. Combining Both Tools for Best Results
Use Inspect to visually pick the element you need.
Use the AI assistant to verify IDs, generate selectors, and get explanations.
Copy the final selector and use it in your automation, customization, or integration.
With the IDs of the different elements you are going to be able to customize more easily as you will be able to declare the specific elements you want to customize in the CSS and the JS files.
|
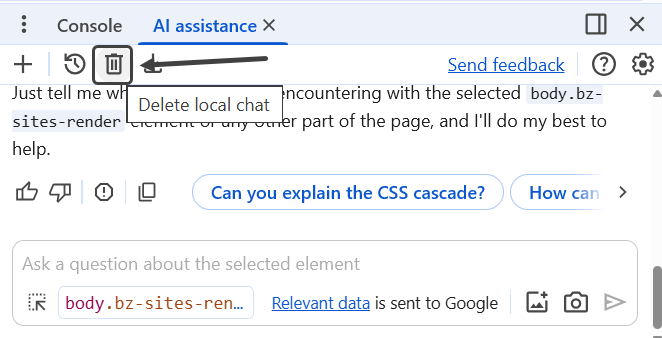
To start a new chat with the AI assistant, you can either close and reopen the Inspector or click the trash icon. |
Last Updated 12/9/2025 10:25:25 AM