Overview
Bizagi Widget Xchange provides several ready-to-use Widgets that you can use in your project with minimal configuration.
Such Widgets are provided for your processes to reuse particular controls which are being used by the Bizagi community, and that have been implemented in projects having related business requirements (e.g, a plug-and-play Webcam Widget for processes in which processes need to capture an image of the requester with a desktop Webcam).
In addition to using these widgets, you may explore and adapt them to suit your specific requirements.
Whichever widget you may need to support your processes, might already be created and ready for download at the Widget Xchange.
You may also modify and customize these ready-to-use Widgets by using the Widget Editor.
This section describes the features of the Widget Xchange, and how to install the available Widgets.
|
The information presented below refers to one of the two ways there are to install Widgets. For more information about the alternate way of installing Widgets, refer to Widgets Management. |
Widget Xchange User Interface Explained
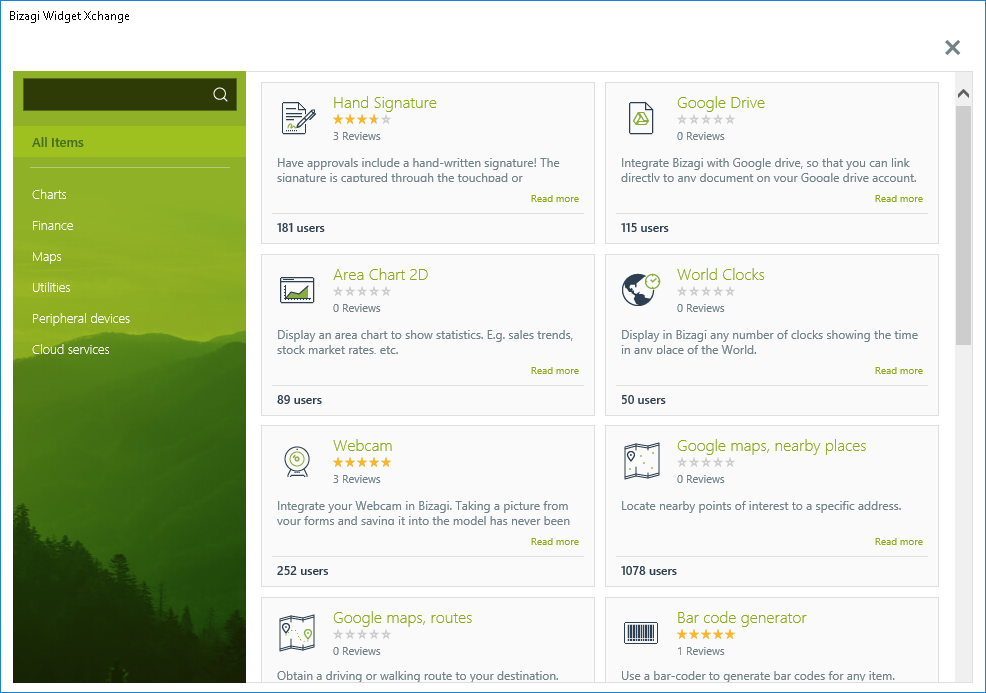
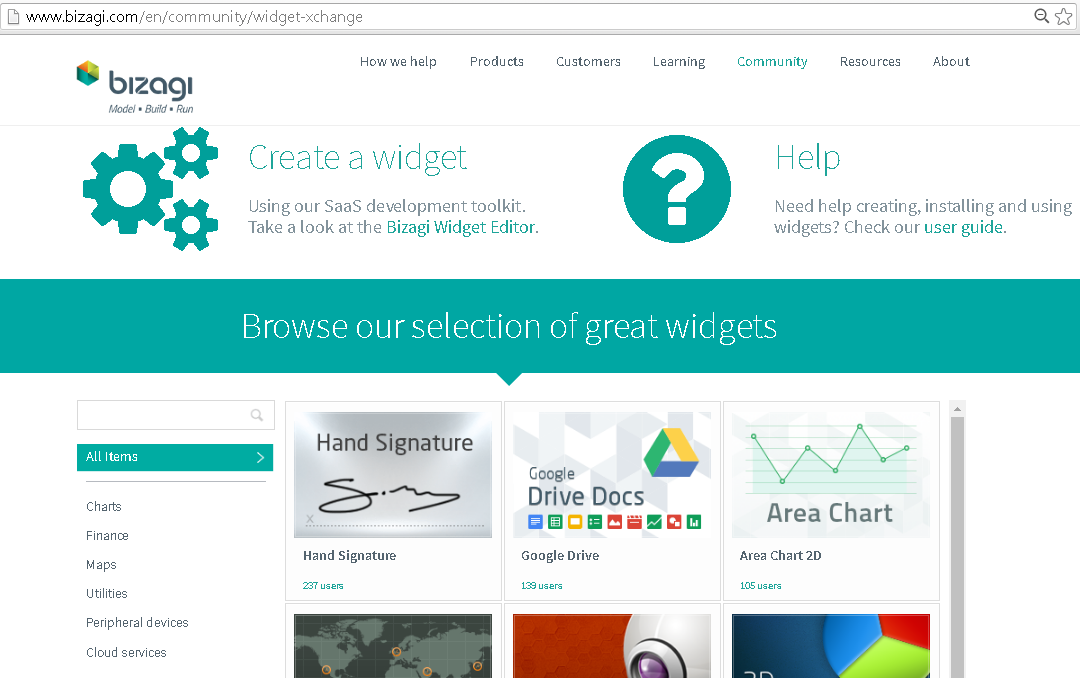
Within the Widget Xchange, you will find available Widgets listed in categories (to the left hand of the window).
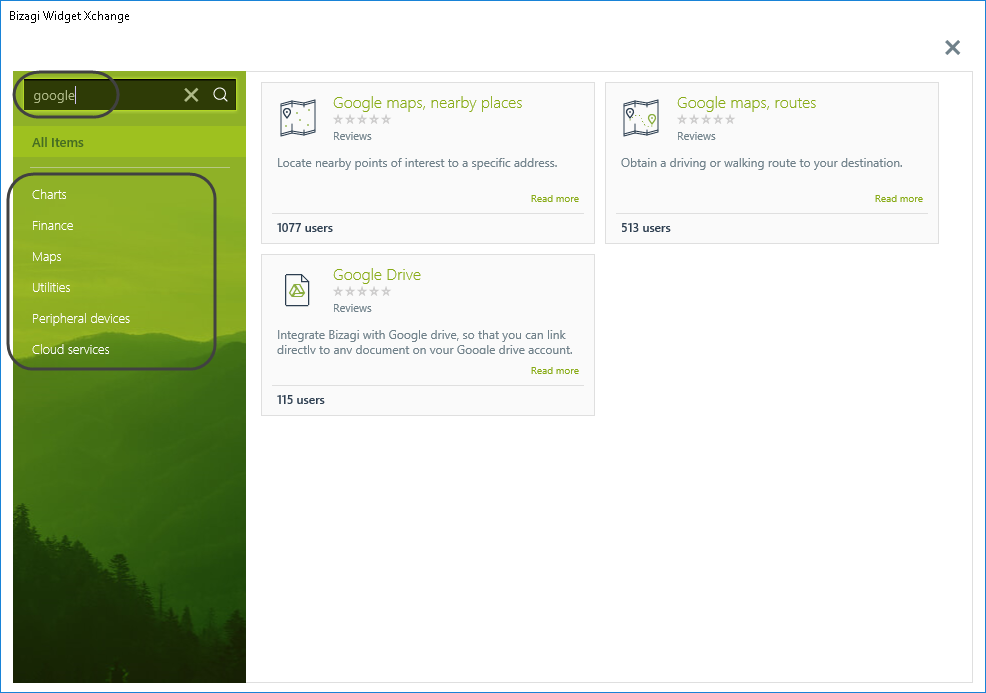
You may enter key words to search for Widgets, or filter them according to the different categories:
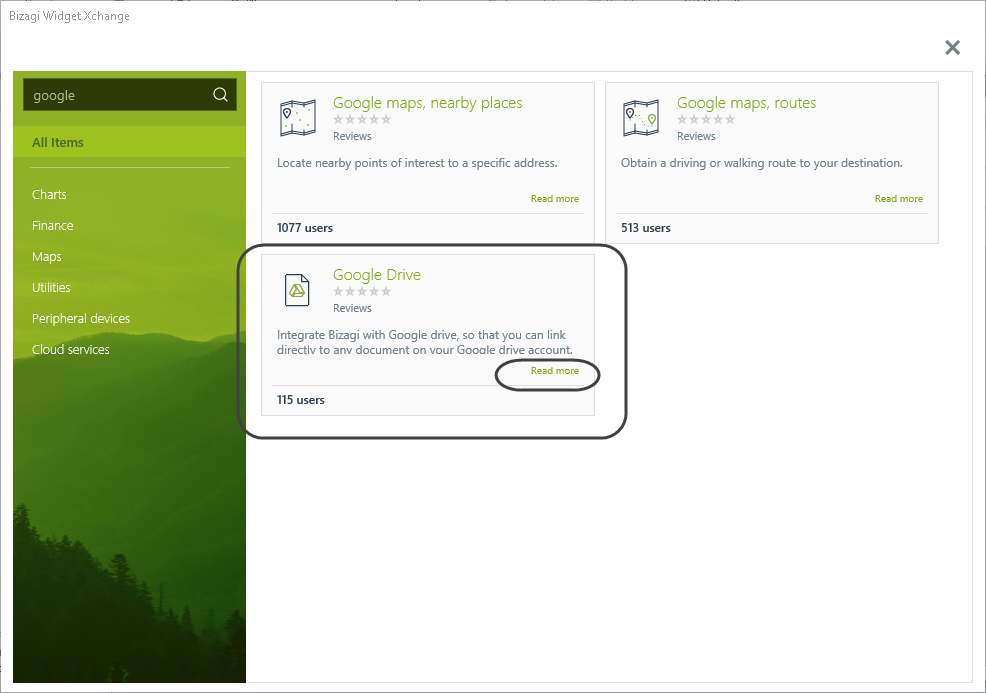
You may view the summary of a specific Widget, and click Detail for more information about the Widget (e.g to see sample images), or to download and install it:
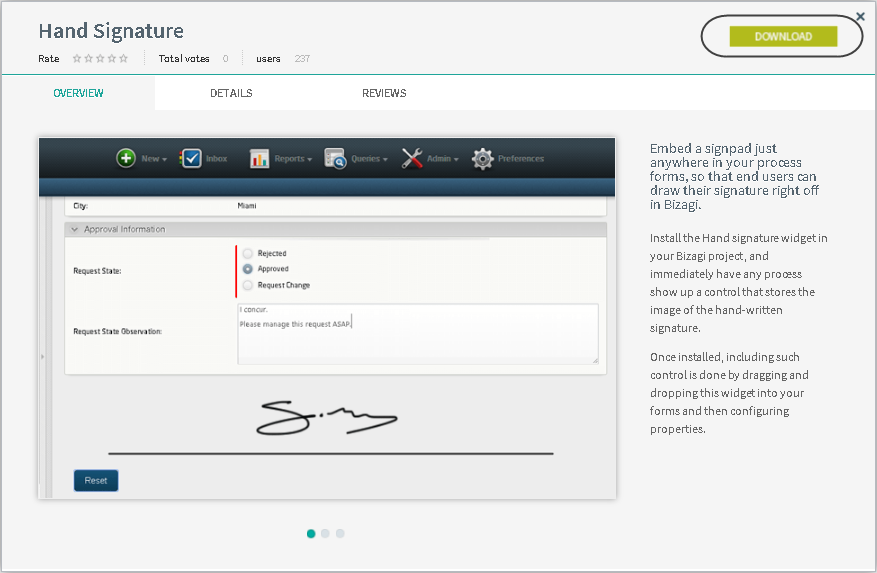
Within the details, you will see:
•An Overview tab having a description on what the Widget does and provides (including special notes and considerations).
•A Details tab, having a guide on how to use and configure the Widget in your Forms.
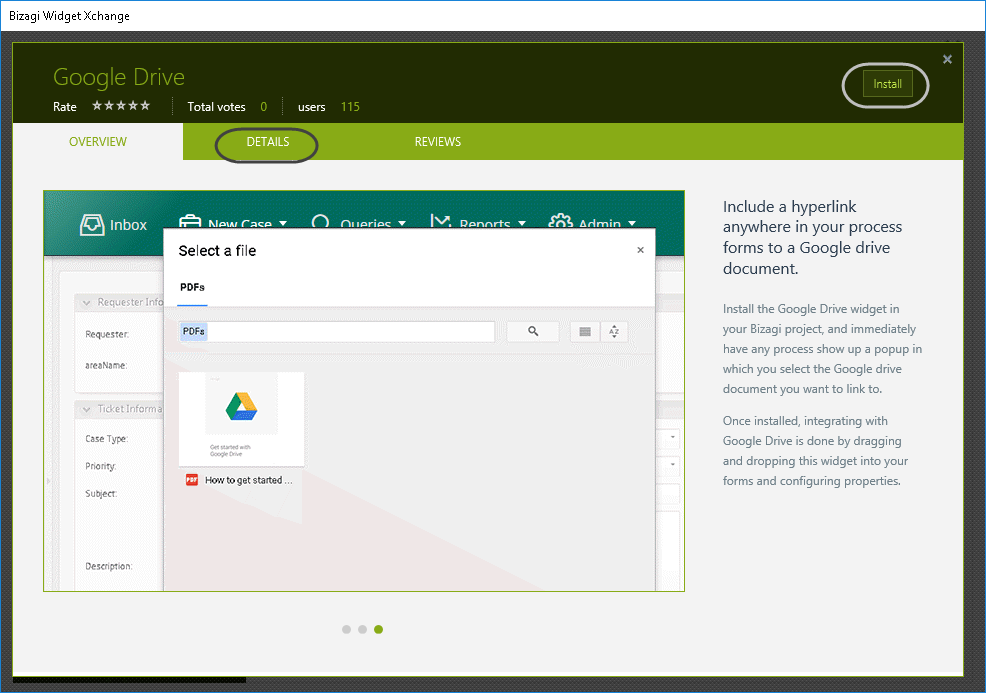
At anytime you may click the Install button to use this Widget in your project, as described in the section below.
Widget Installation
To automatically install Widgets from the Widget Xchange into your project, access it through the Forms Designer.
In the Controls tab of the Forms Designer, you will find a banner that opens up the Widget Xchange, while never leaving Bizagi Studio:
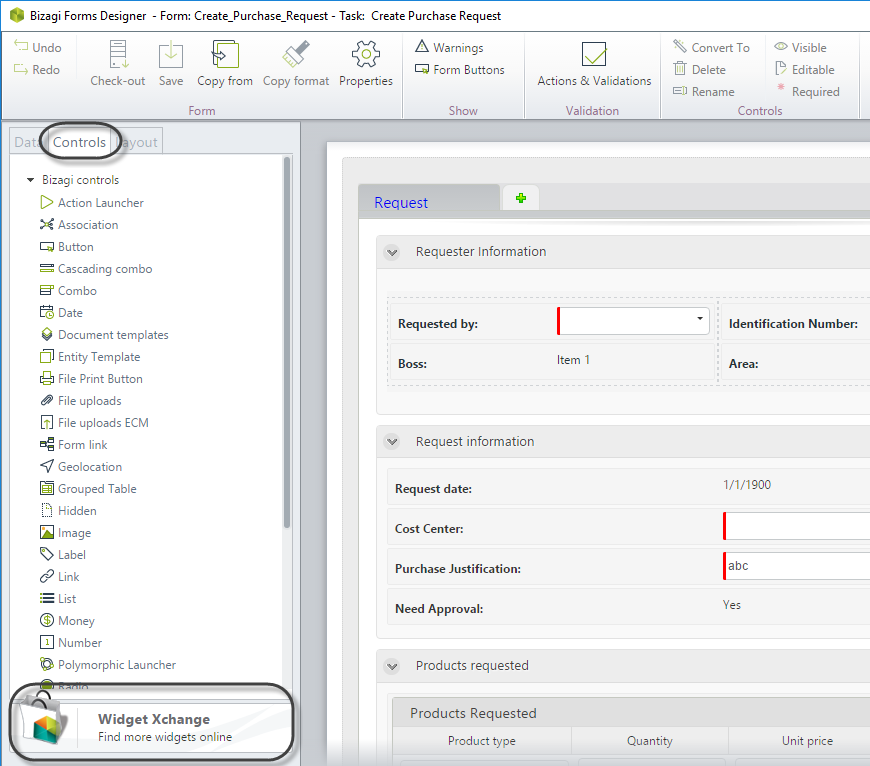
Click the banner, ensuring previously you have an available internet connection:
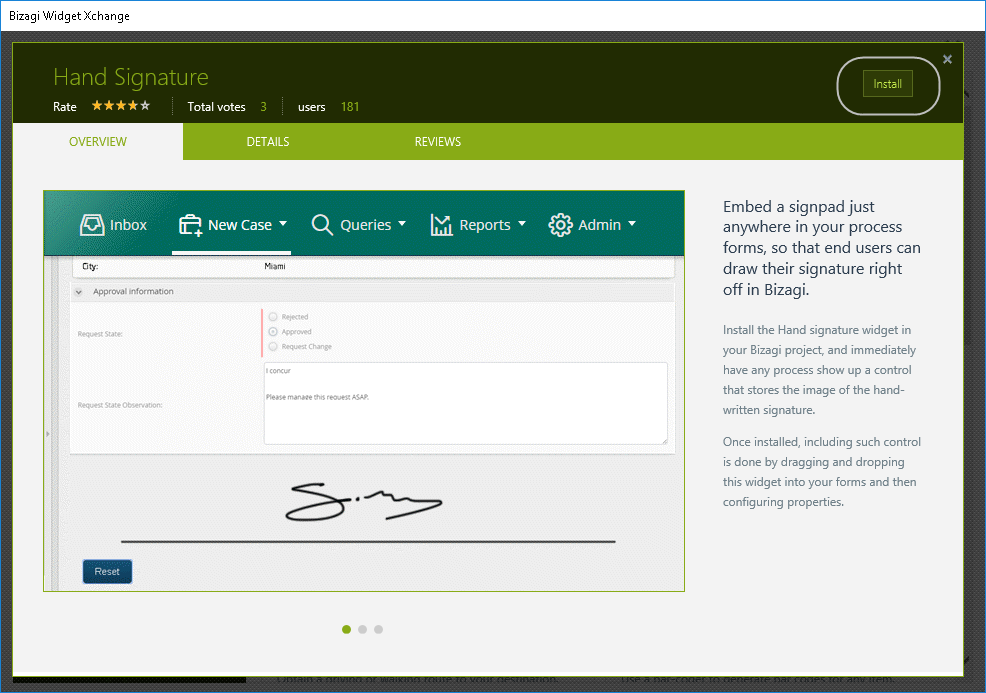
Hover the Widget of your choice and click Read more.
At this window, click Install:
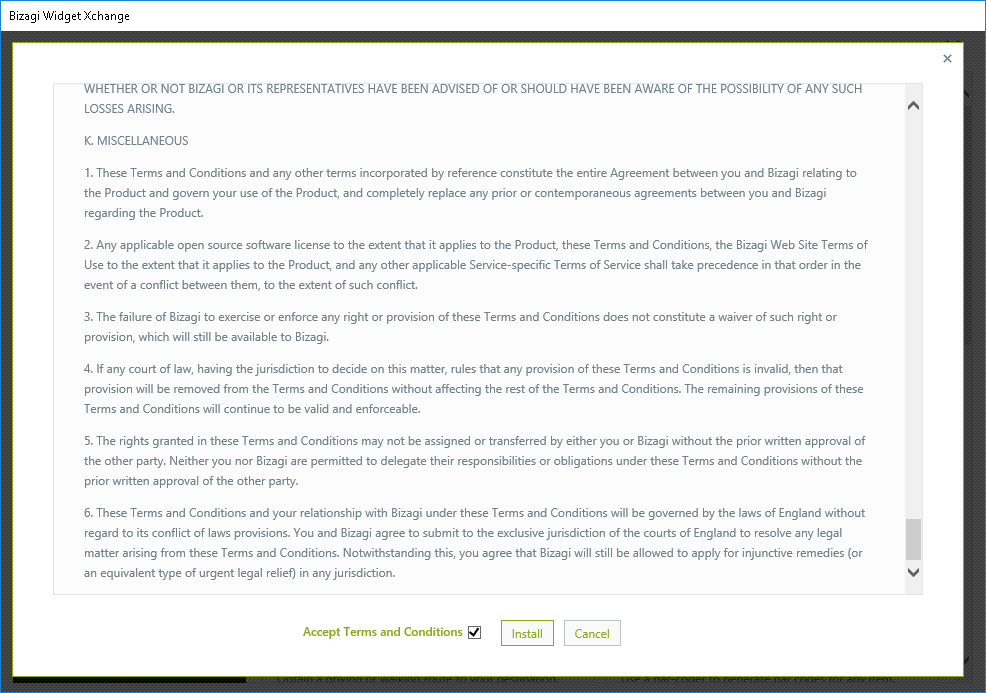
Make sure you read and accept the End User License Agreement (EULA) for Bizagi Widget Xchange and its Widgets
When done reading, click Install to begin the installation (it may take around a minute):
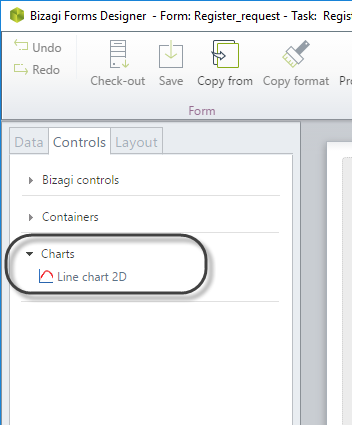
Once installed, your Form will be automatically refreshed and the installed Widget will appear listed under its given category in the available controls (Controls Tab).
For example, chart Widgets will be located under the Charts category:
At this point, the Widget is ready to use and you just need to define the Content Security Policy (in case it is needed) and configure its parameters.
Configuring parameters is done in the same fashion as parameters are configured for controls in Bizagi.
For each of the Widgets at the Widget Xchange, its configuration parameters are described at the detailed information located for that Widget under the Details tab.
View an example on How to configure a Widget.
Important
The Widget Xchange is a service provided and hosted by Bizagi.
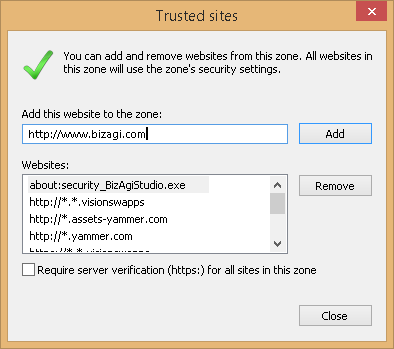
Therefore, to use this option directly from Bizagi Studio you will need internet connection and it is recommended to review that www.bizagi.com is set as a trusted site in your browser's configuration:
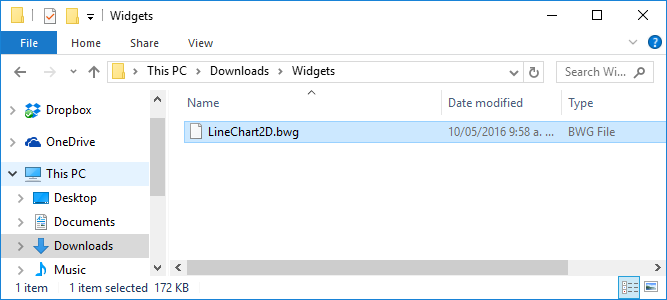
If the machine where Bizagi Studio is installed does not have internet access, you must first access Widget Xchange from another machine with internet connectivity. To do so, open a web browser and navigate to the following URL: https://www.bizagi.com/en/platform/xchange
In this way, you can download the widget as a local .bwg file, using the same Download button that appears when accessing the Widget Xchange outside of Bizagi Studio.
When downloading the Widget from a browser, you will need to then use the local file to manually install the Widget.
For a manual installation, refer to the steps as described at Widgets Management.
Last Updated 1/16/2026 5:45:04 PM