Overview
Within the Integration Hub, Bizagi offers different options that let you to create, modify and test your own connectors, called the Connector Editor.
To access the Connector Editor, go to the Integration Hub through the main ribbon at the Tools tab.
In there, click the API Connectors option and select Build your own API Connector.
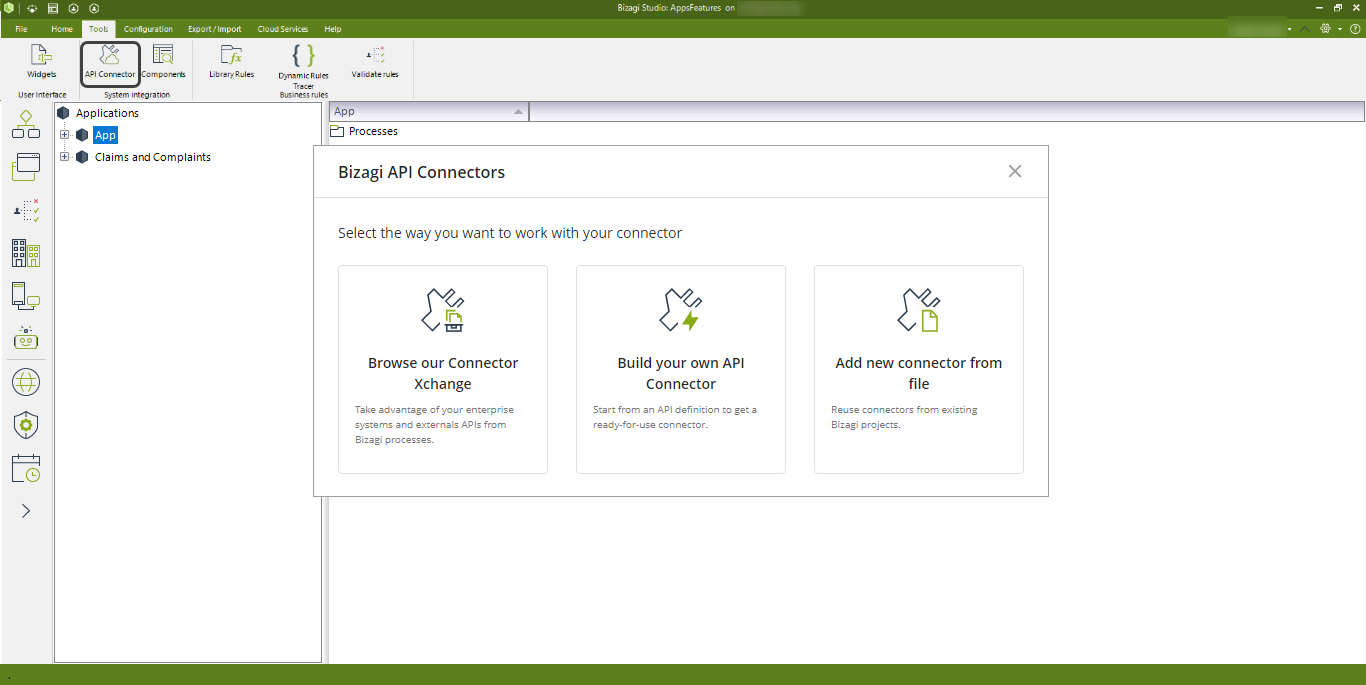
With the Connector Editor you have different options for building your own connectors. Recall that there are two types of connectors: Easy REST connectors which require no code (preferred approach), and Custom connectors which allow you to include any third-party libraries and write your own code.
For more information about these above concepts, refer to Creating connectors.
Main features
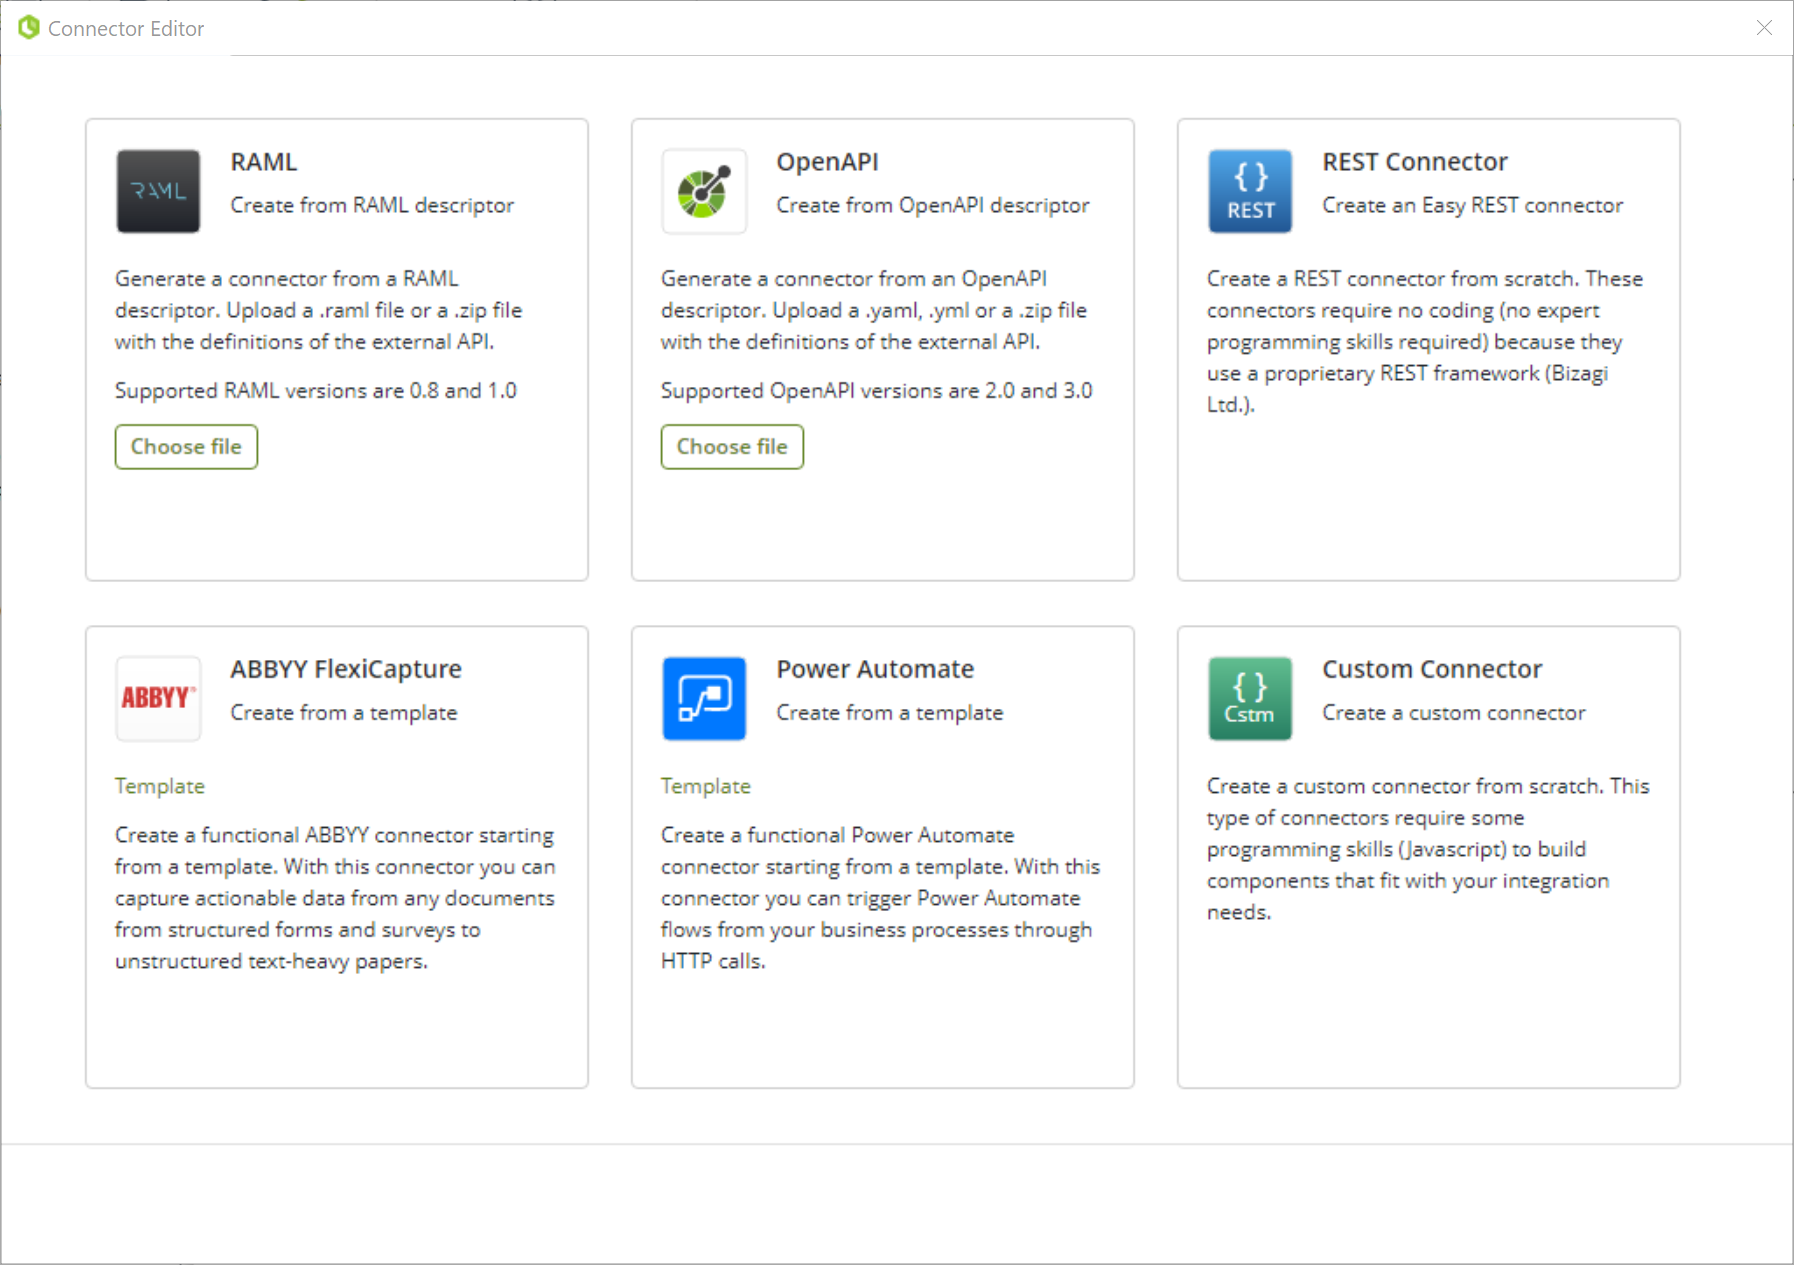
Through the Connector Editor you create connectors from scratch, from a starting template or using an API descriptor.
Main features available to speed up the implementation of your specific integration requirements are:
•Rely on powerful options such as: the possibility to include third-party libraries, using Bizagi API right away, or package and download your final connector.
•Make the most of an easy-to-use graphic user interface that helps you define the structure of inputs, outputs and error handling.
You can also download the full documentation for our Connector Editor online by clicking here.
Getting started with the Connector Editor
The Connector Editor allows you to easily start off by:
•Creating an Easy REST connector.
•Generating a connector from a RAML specification.
•Generating a connector from an OpenAPI specification.
•Creating a connector from a template
Creating an Easy REST connector
Create a new REST connector by selecting the option labeled as REST Connector and clicking Create connector:
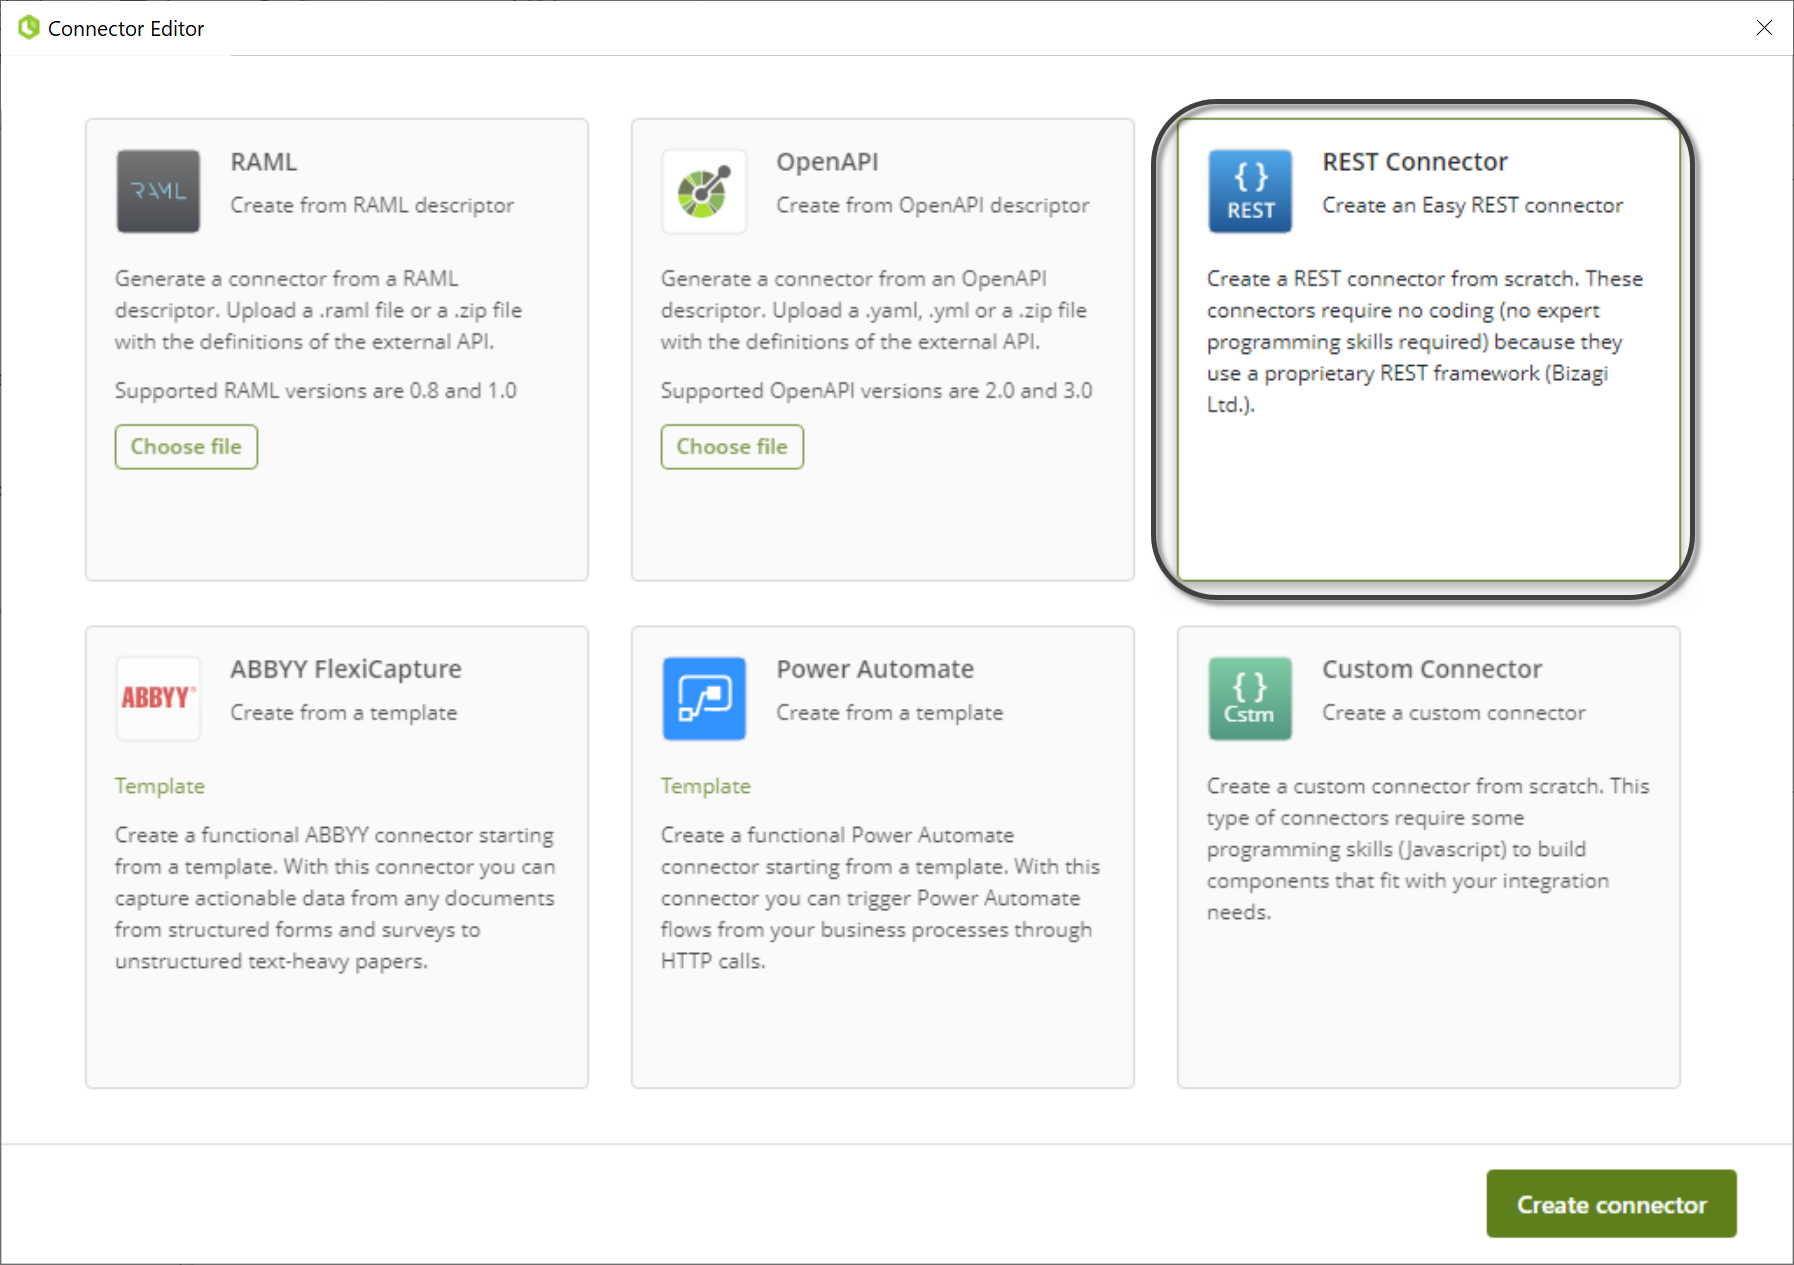
To know more about the available options and the interface shown when creating an Easy REST connector, click here.
Create a new custom connector by selecting the option labeled as Custom Connector and clicking Create connector:
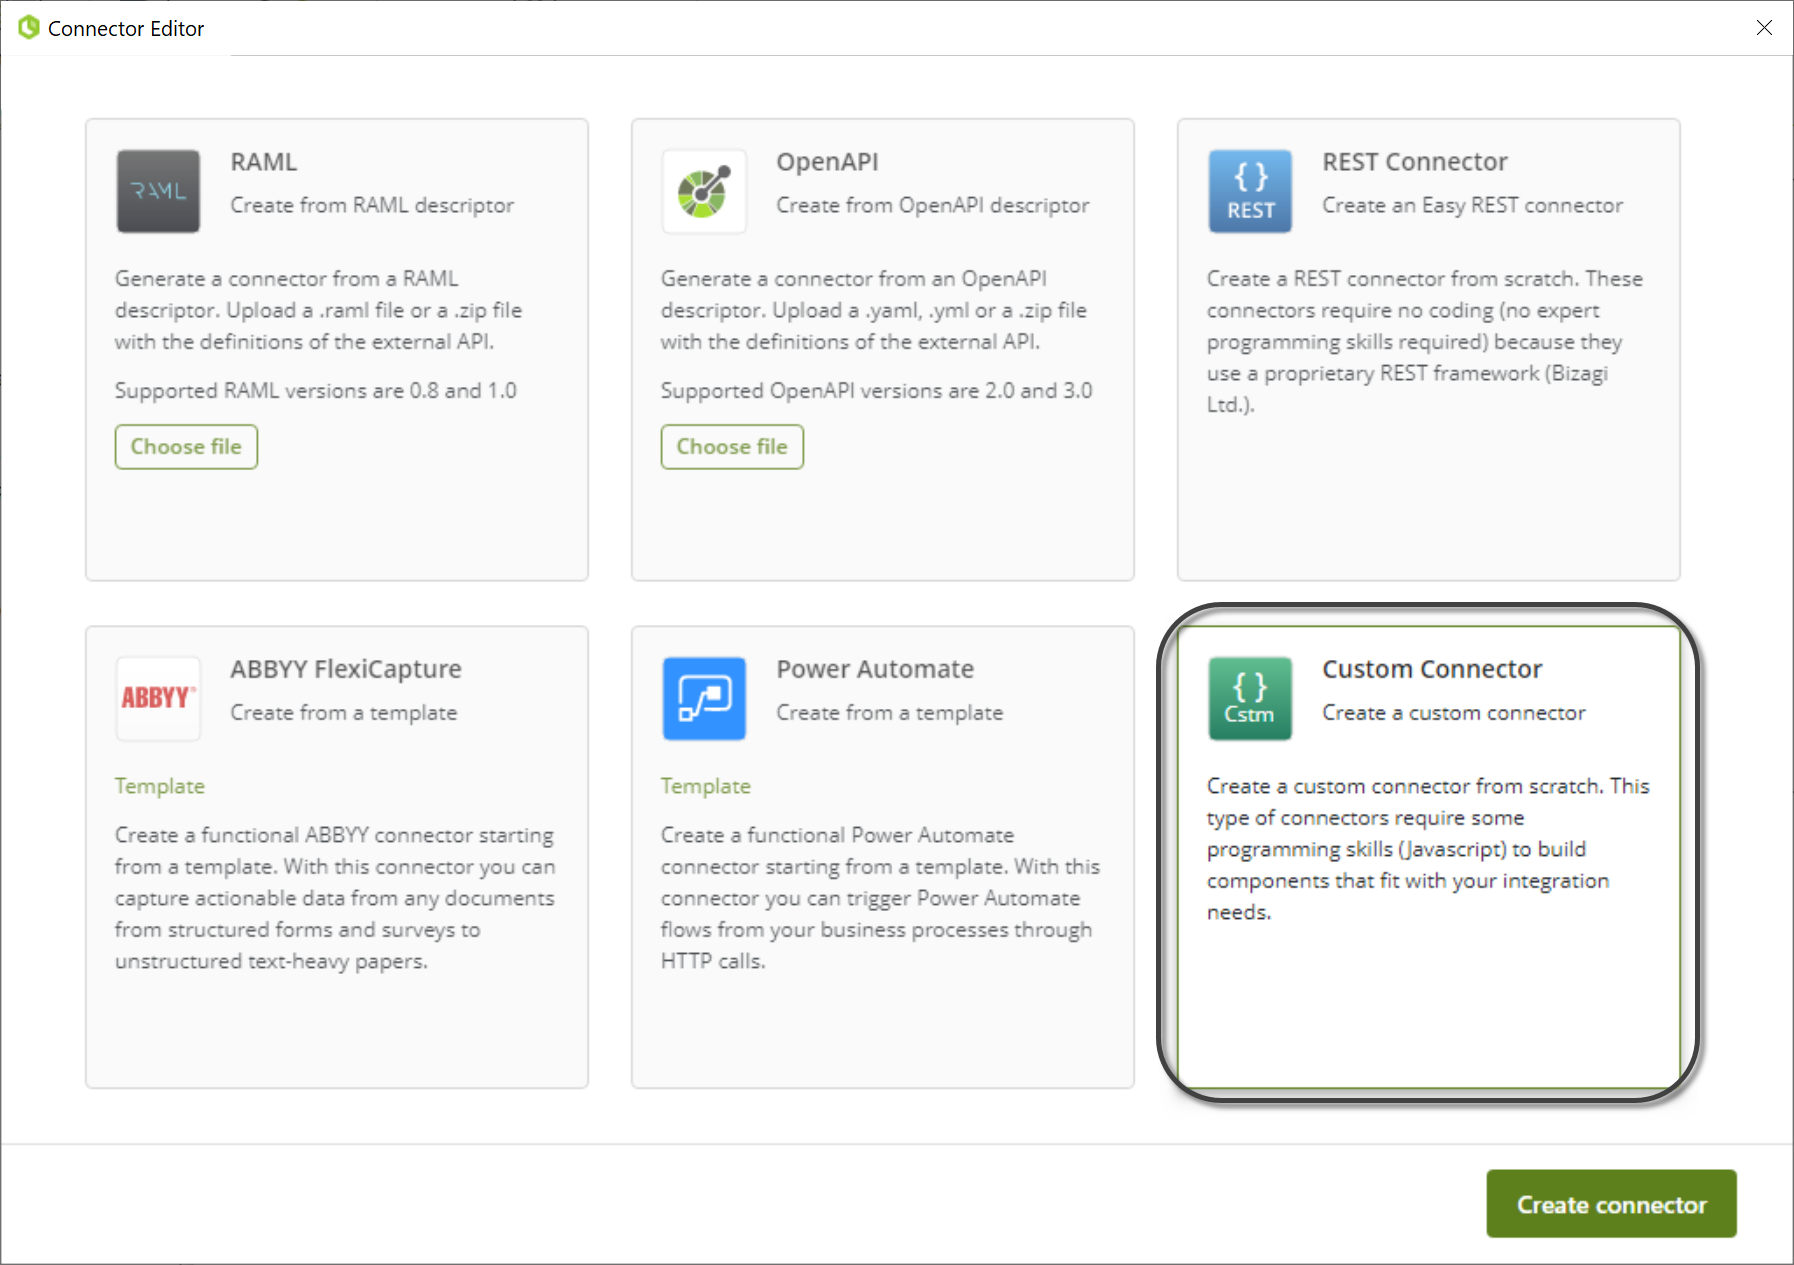
To know more about the available options and the interface shown when creating a custom connector, click here.
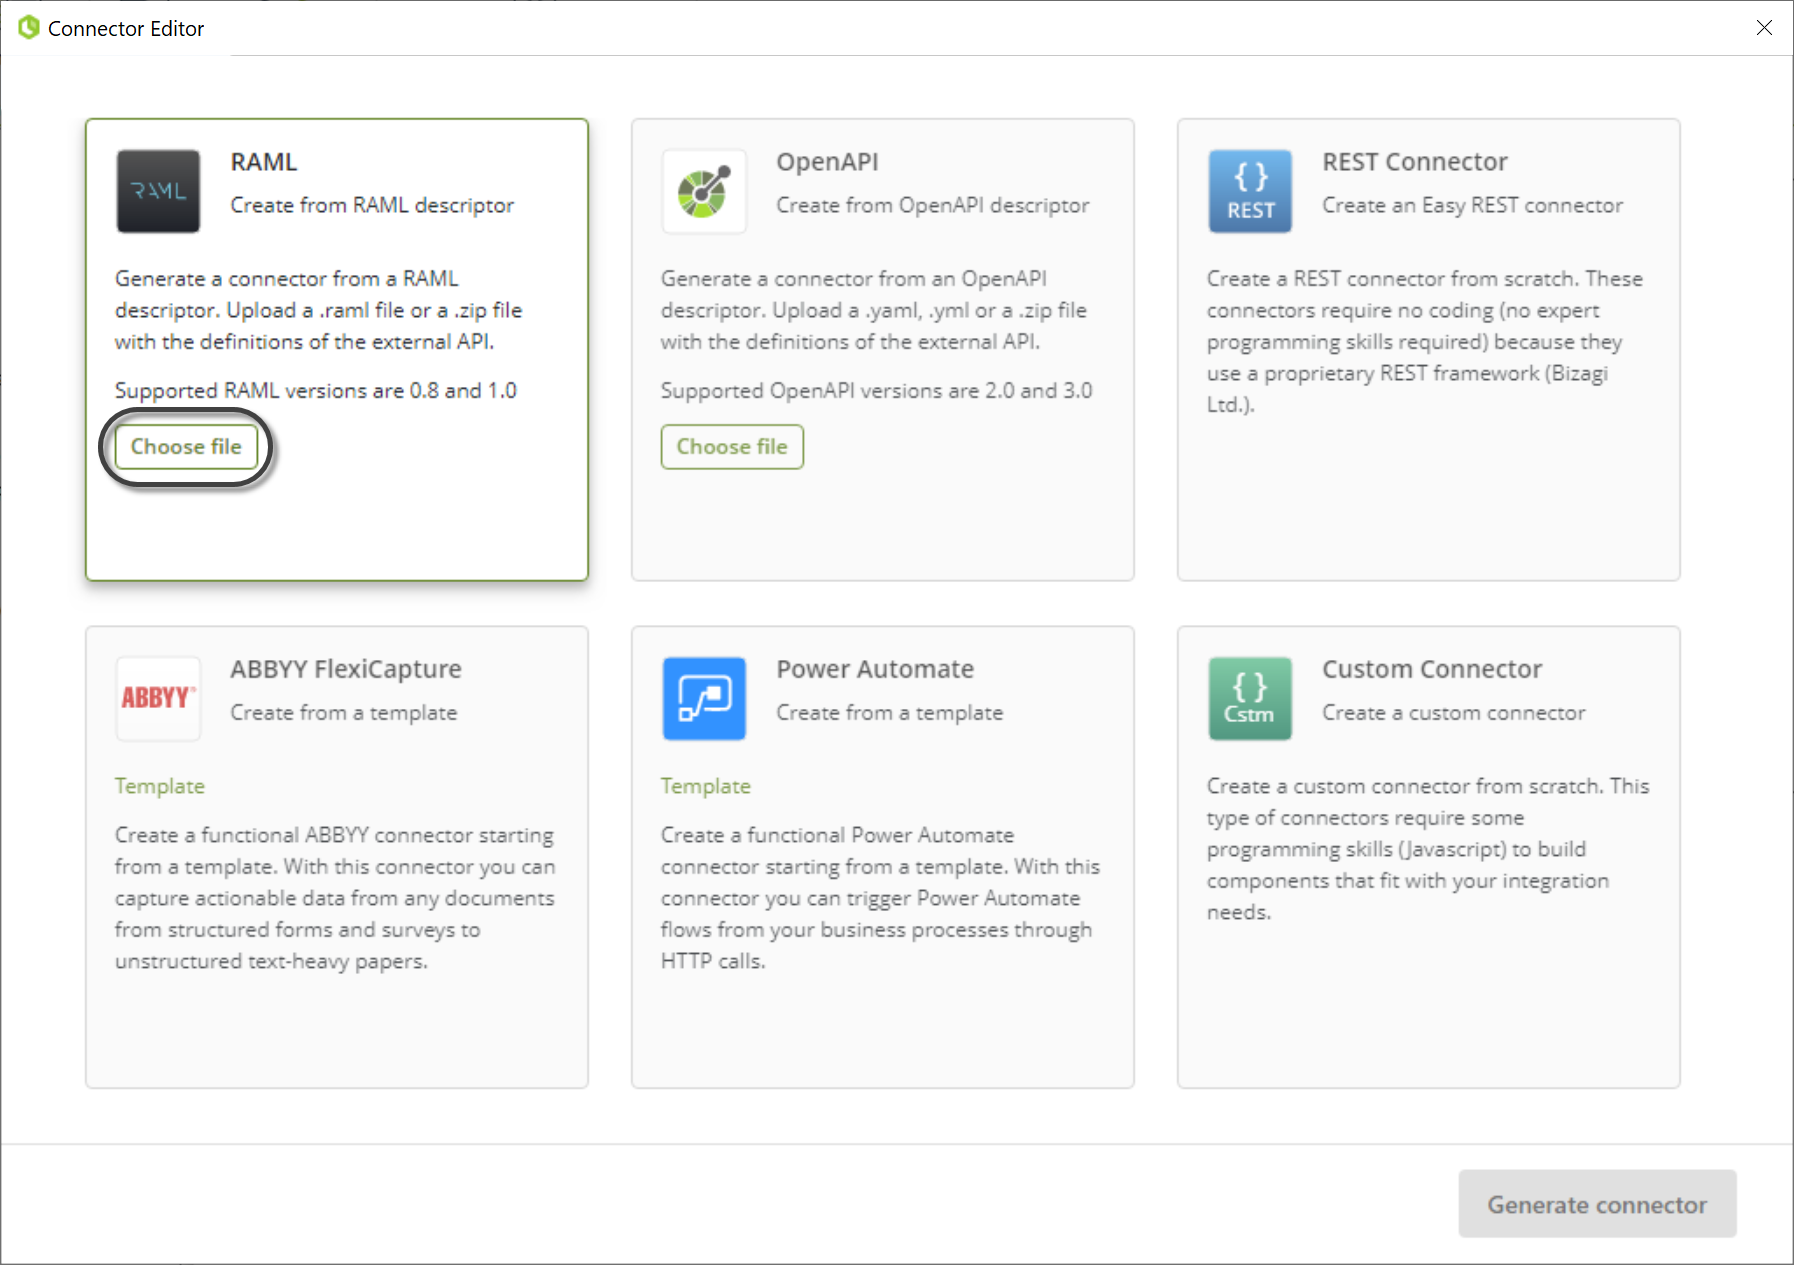
Generating a connector from a RAML specification
To Generate a connector from a RAML specification, click the Choose file button in the RAML option:
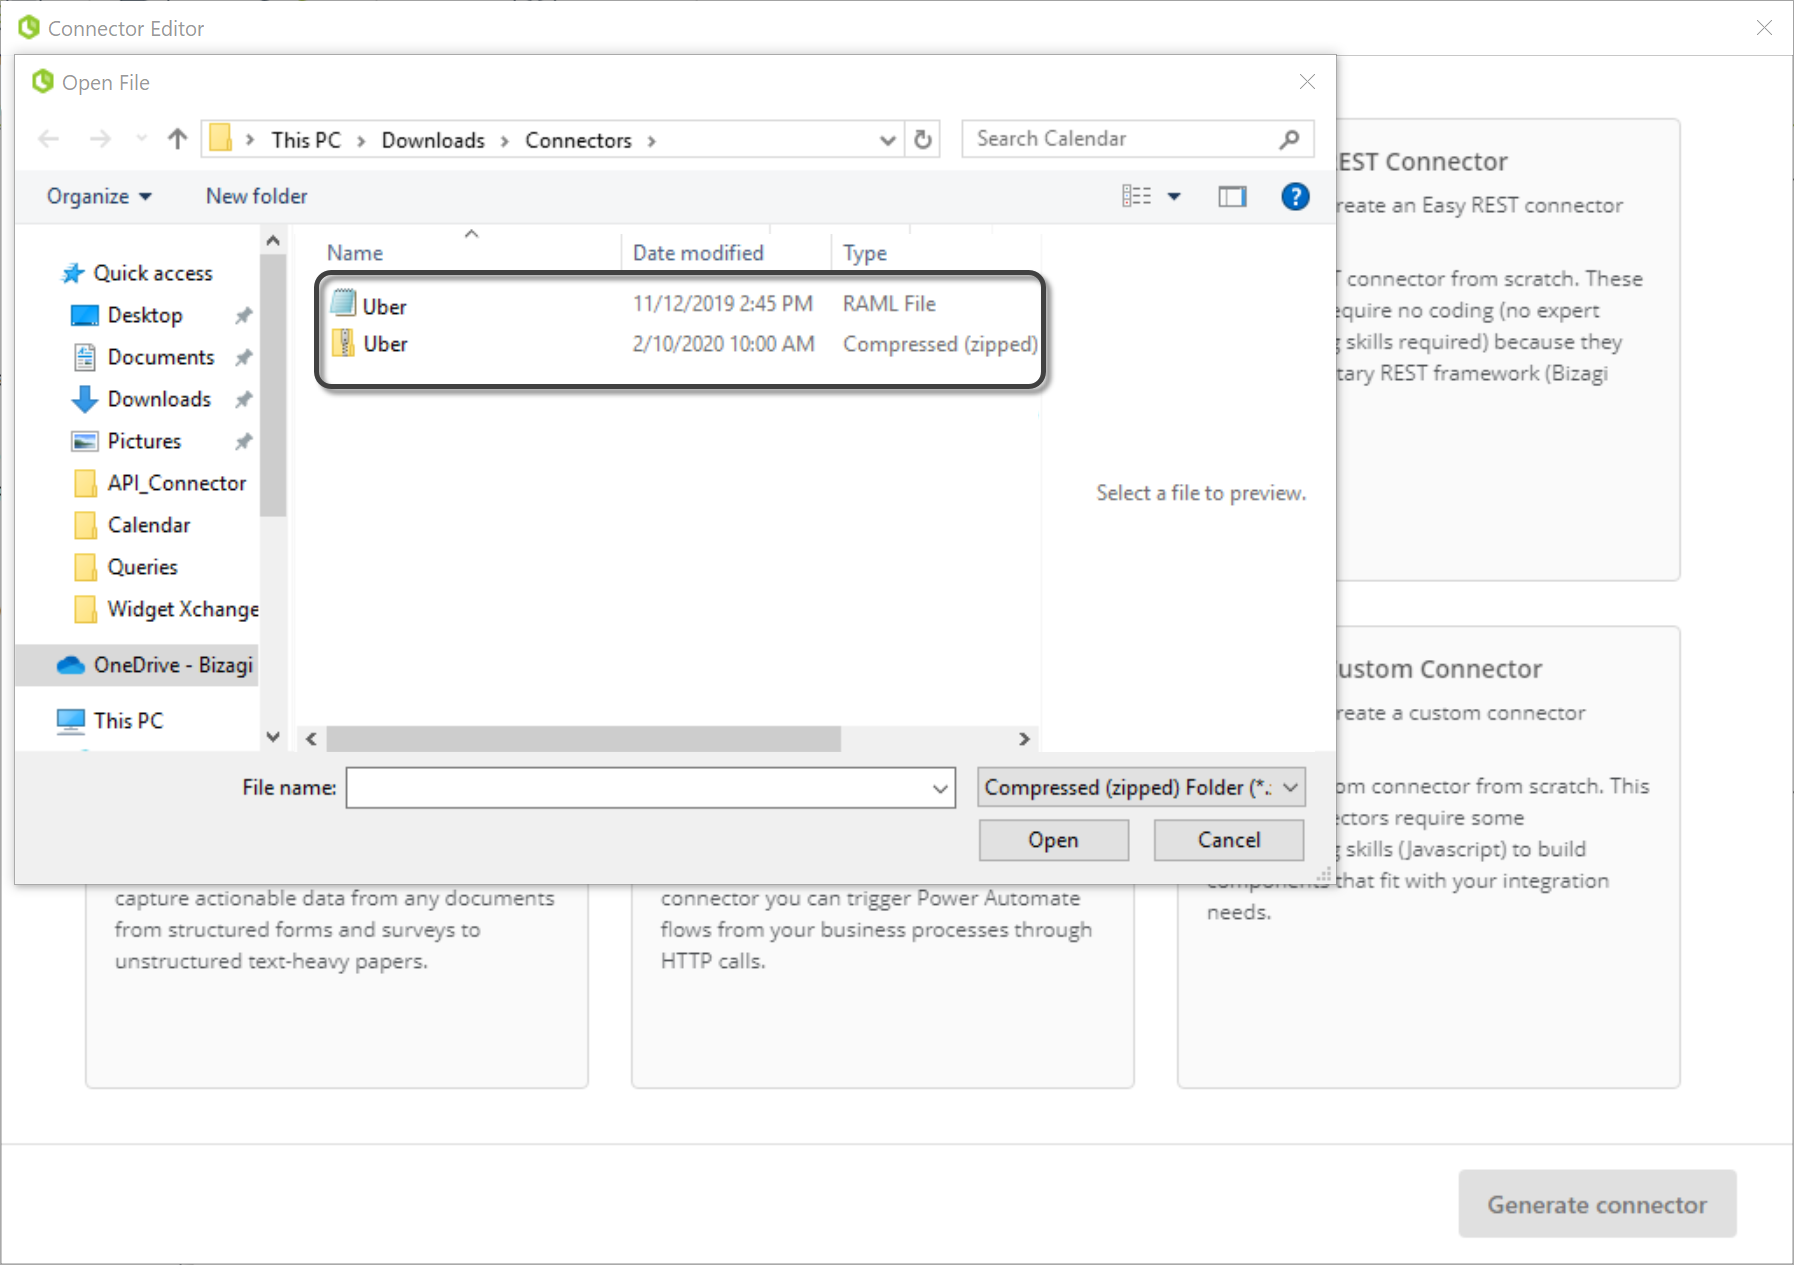
This opens a new window where you can choose the file that contains the specification of your external system. To upload the external system description, you can upload a .raml or .zip folder with the entire project. When choosing the file that contains the specification of your connector, you will be redirected to the user interface where the information of the connector will be shown.
To learn more about generating connectors from a RAML specification go to Creating a connector using an api descriptor.
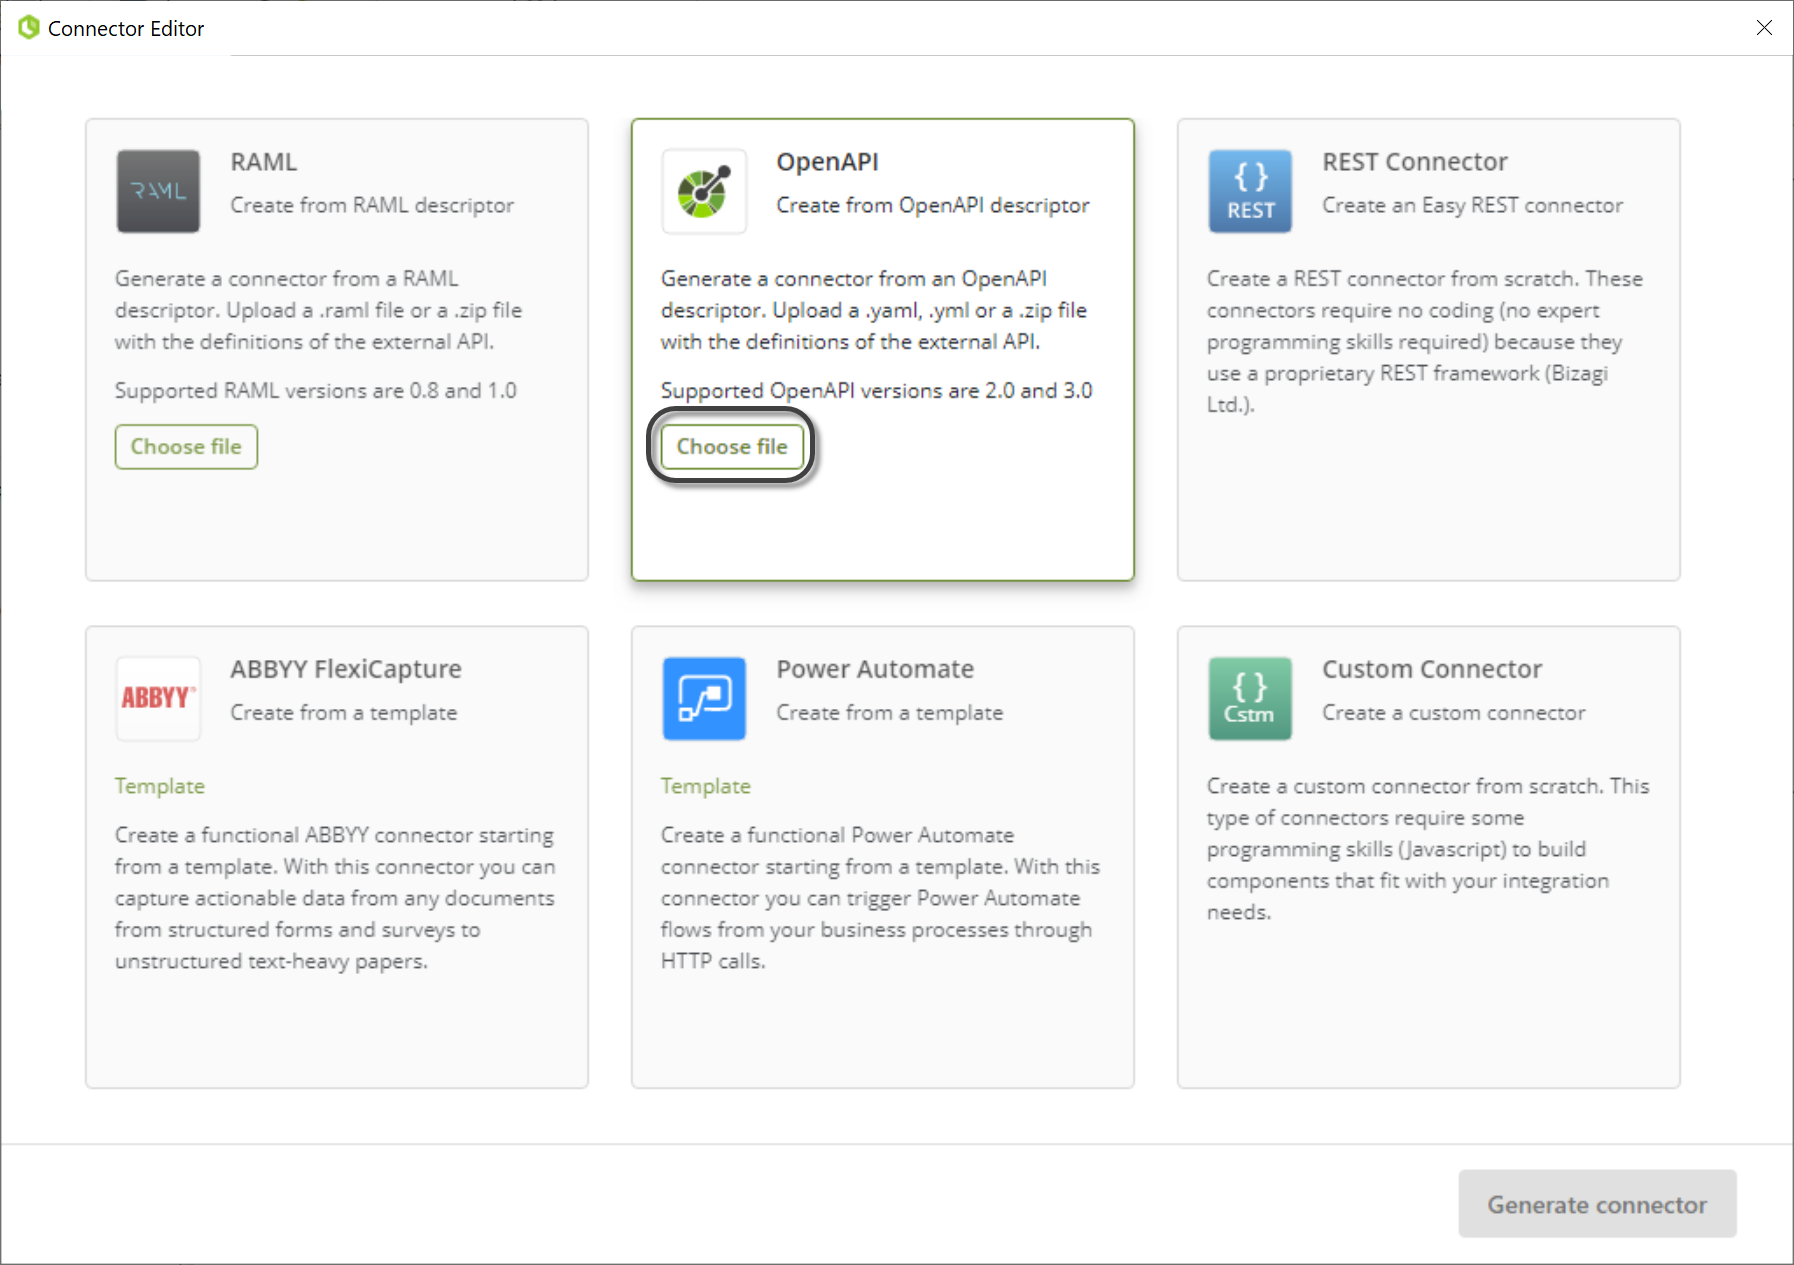
Generating a connector from an OpenAPI specification
To Generate a connector from an OpenAPI specification, click the Choose file button in the OpenAPI option:
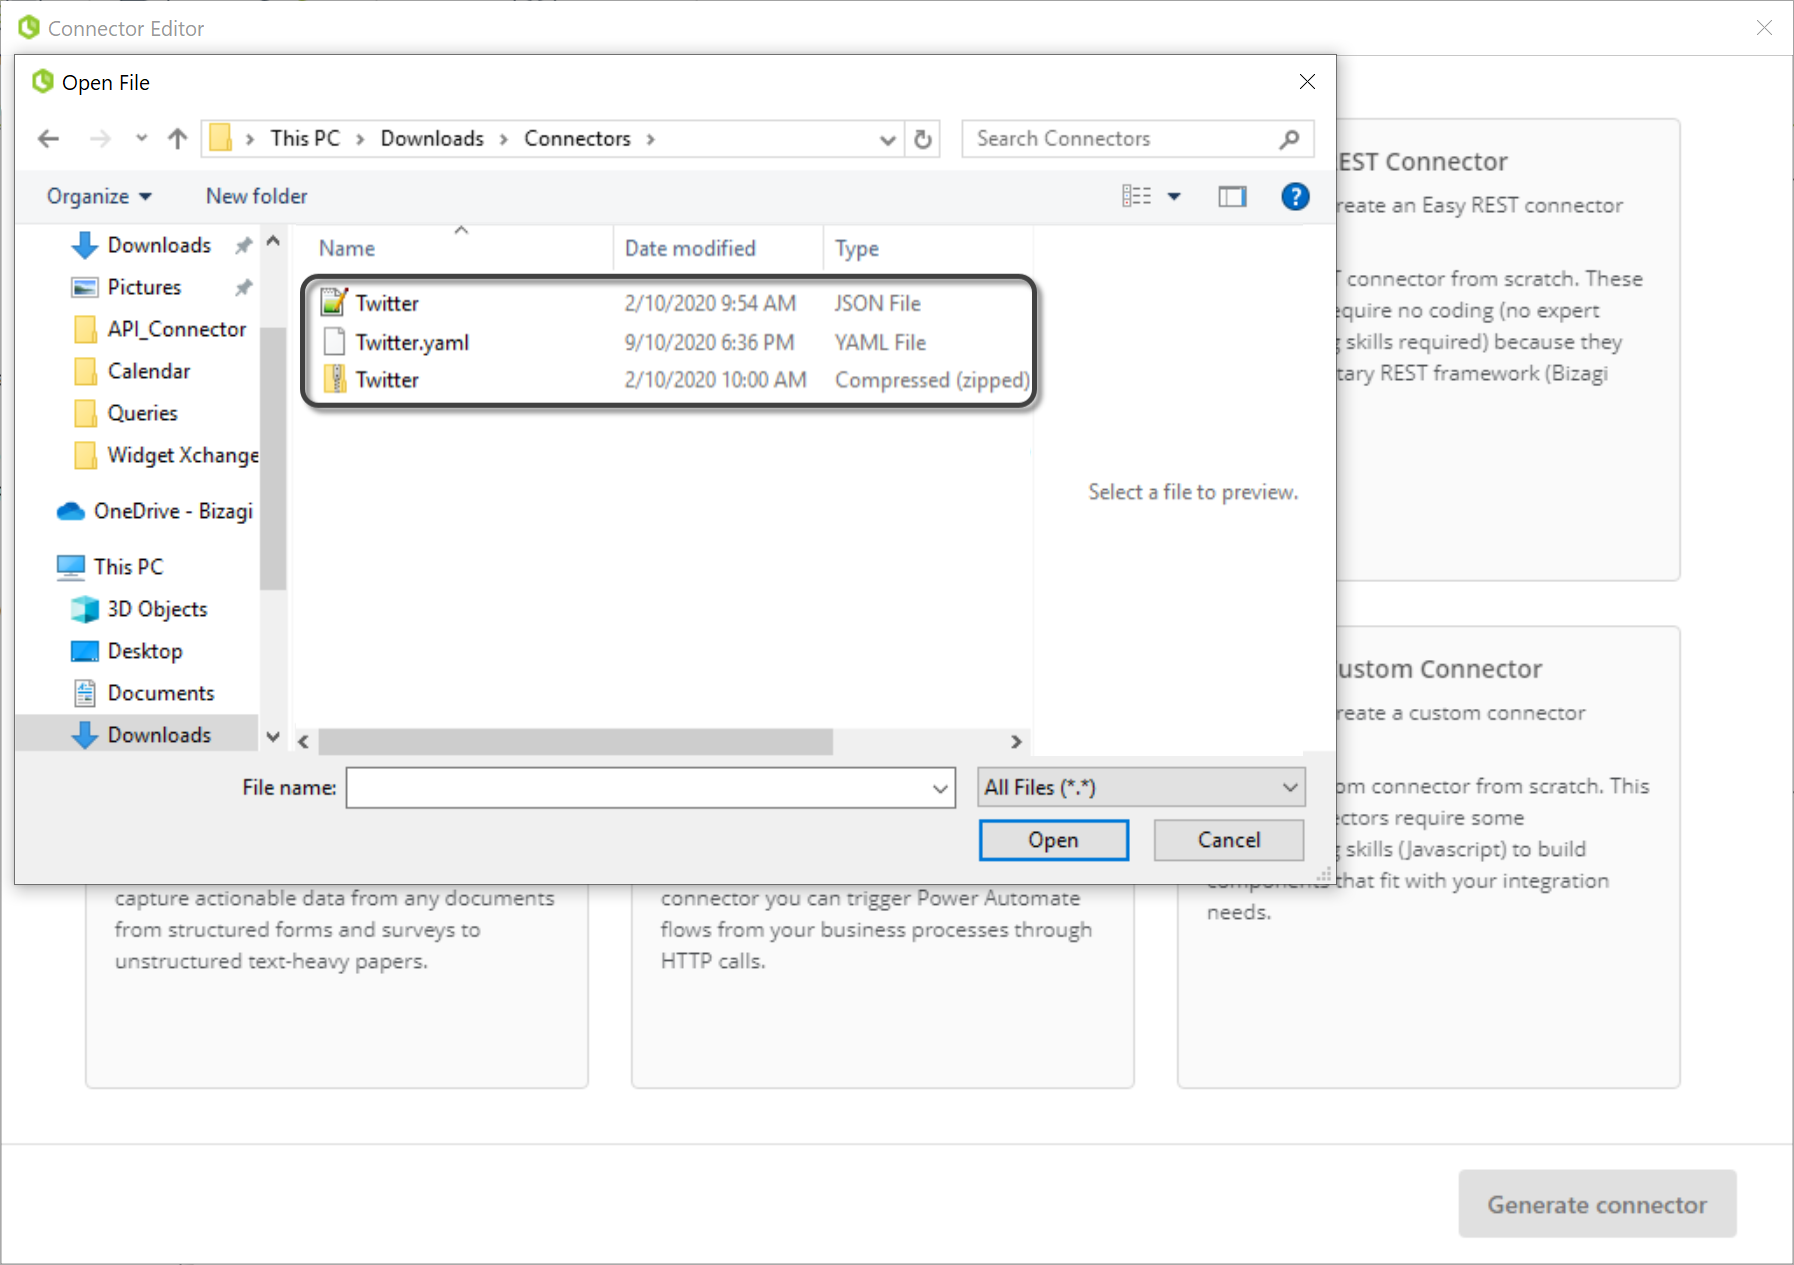
This opens a new window where you can choose the file that contains the specification of your external system. To upload the external system description, you can upload a .json, .yaml, .yml or .zip filder with the entire project. When choosing the file that contains the specification of your connector, you will be redirected to the user interface where the information of the connector will be shown.
To learn more about generating connectors from an OpenAPI specification go to Creating a connector using an api descriptor.
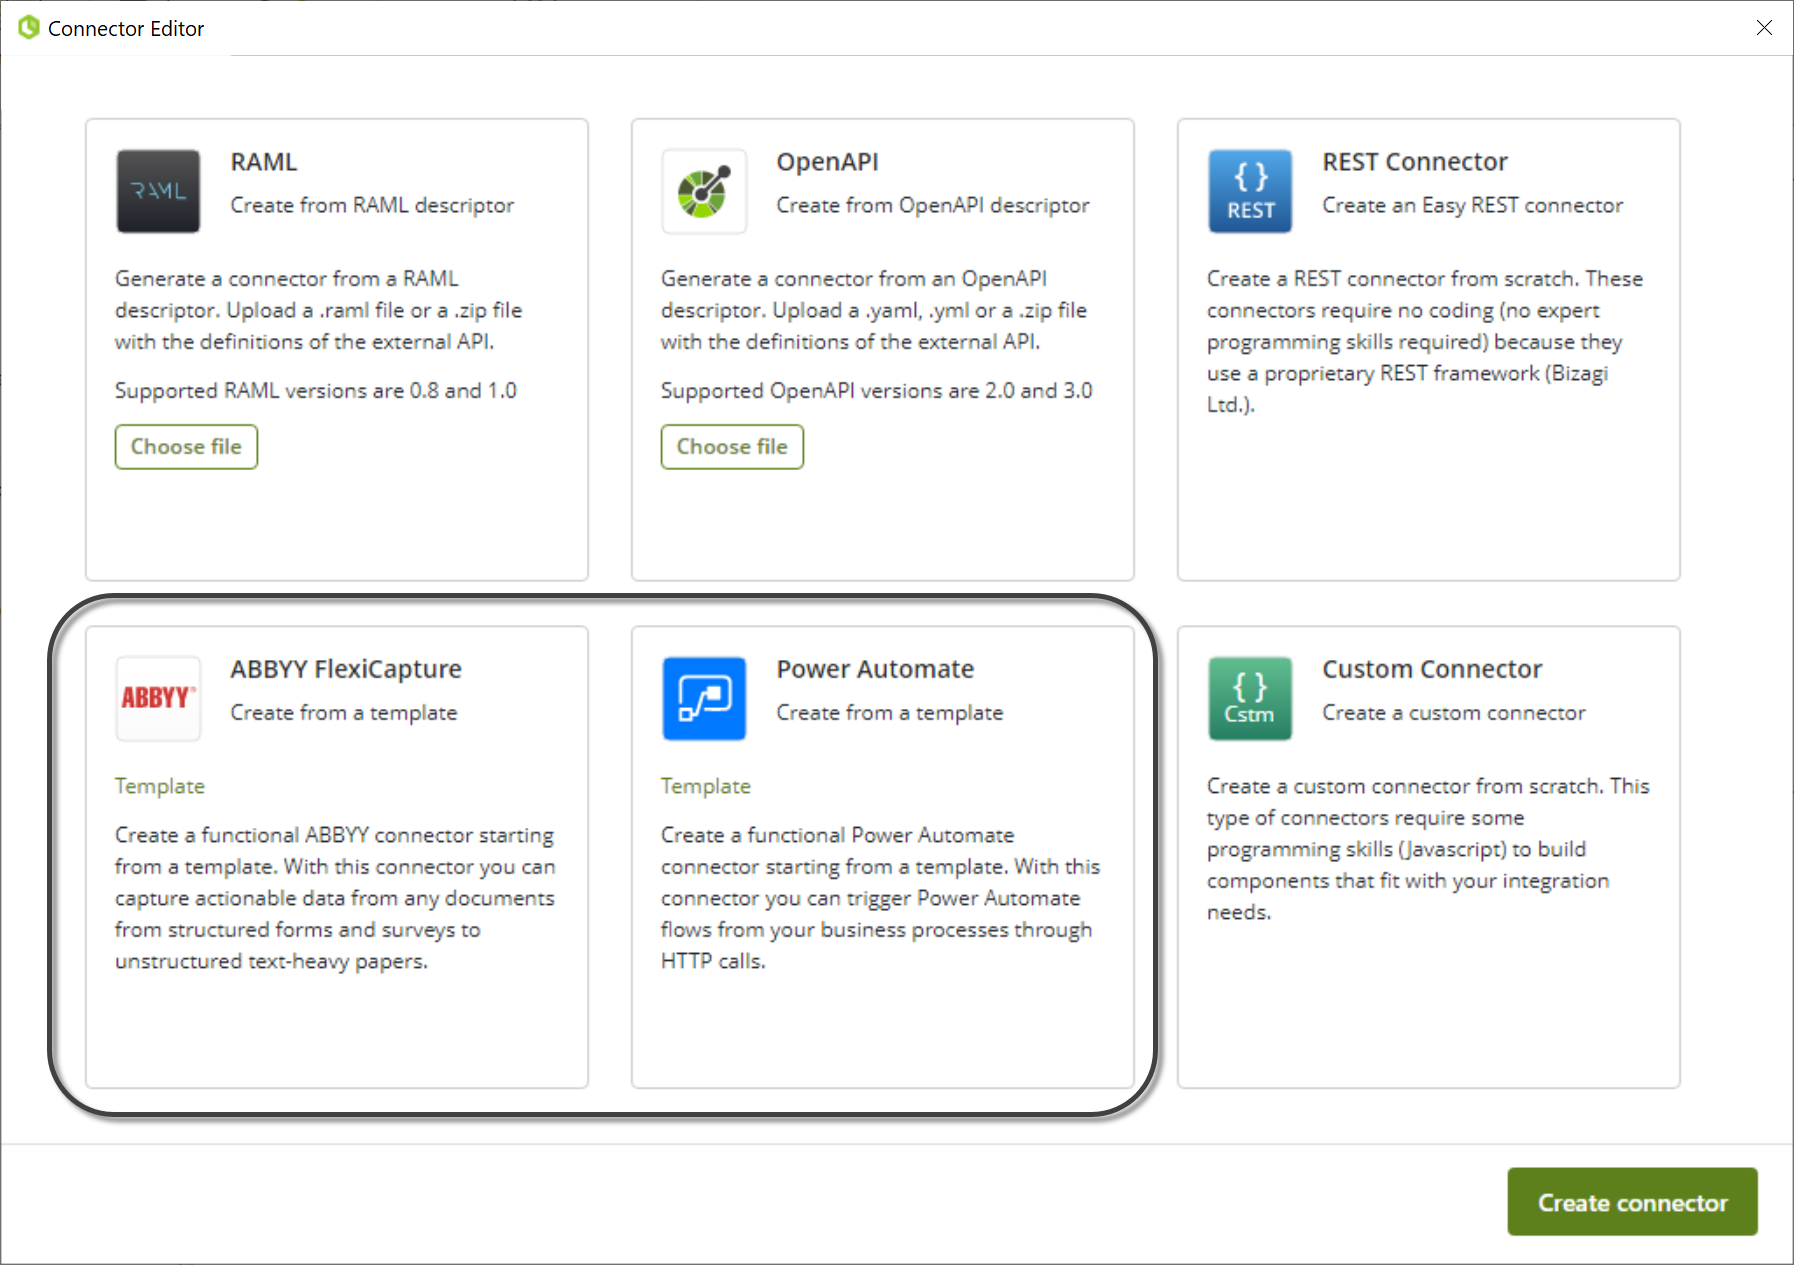
Creating a connector from a template
When creating a connector from a template, you will be able to start from a non-functional template to configure it according to the use case of your process. To create a new connector from a template, choose from the following available templates:
Last Updated 1/3/2024 10:44:17 AM