Overview
This guide explains how to extract the thumbprint of a certificate, which is required to configure the AllowedLocalCertificatesWhitelist parameter in the Management Console. The thumbprint serves as a unique identifier for the certificate and is essential for enabling local certificate support.
The extraction process varies depending on the operating system:
•Windows: Use the Microsoft Management Console (MMC) to retrieve the thumbprint.
•OpenSSL: Use command-line tools to generate and format the fingerprint.
It is important to note that only the thumbprint of the TLS/SSL certificate used to publish and establish the service connection will be accepted. The thumbprint of any intermediate certificate or root certificate authority will not be validated.
Extracting the Thumbprint
In Windows
To extract the thumbprint of a certificate in Windows, follow these steps:
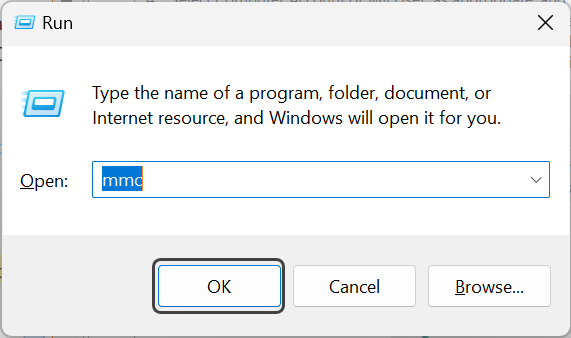
1.Open the Run Dialog:
Press Win + R, type mmc, and click OK to open the Microsoft Management Console (MMC).
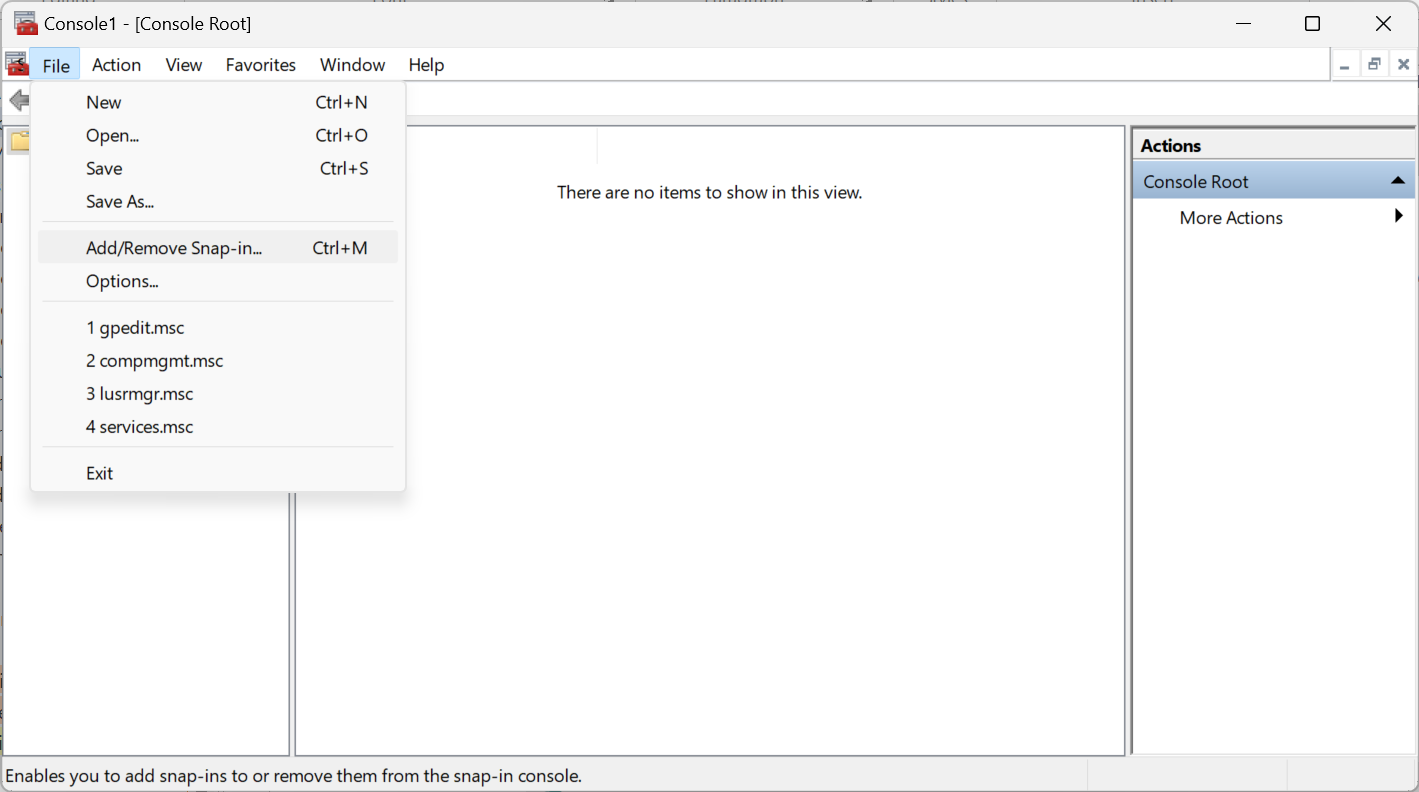
2.Add the Certificates Snap-In:
•In the MMC console, go to File > Add/Remove Snap-in....
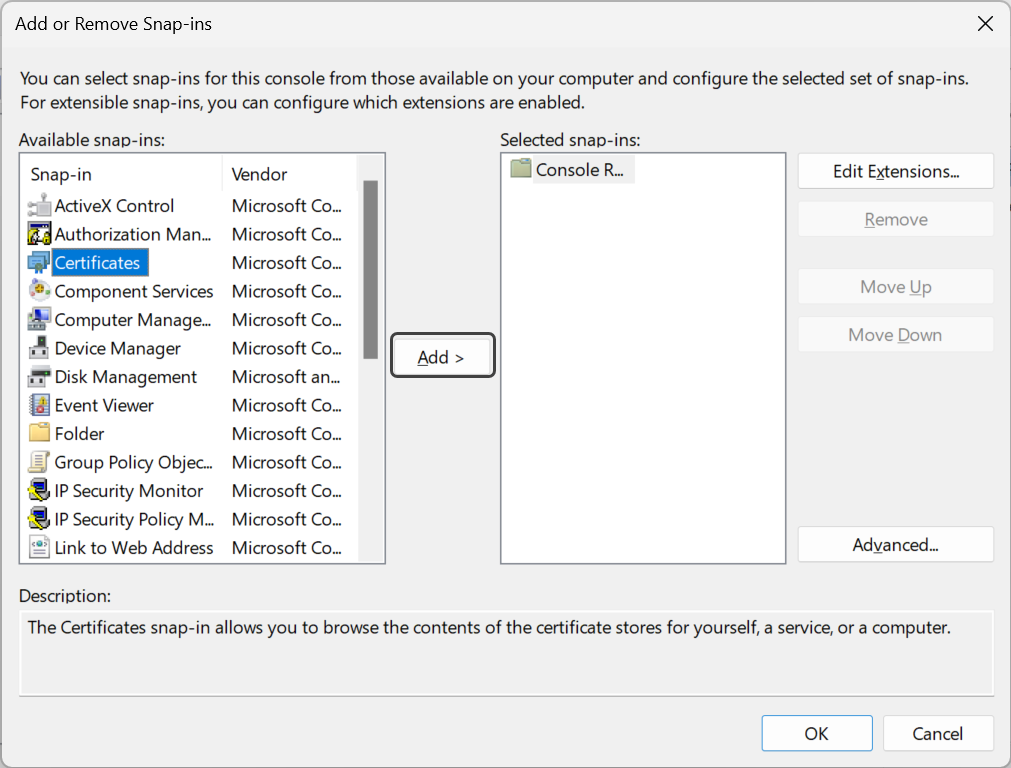
•In the dialog that appears, select Certificates and click Add.
•Choose My user account, Service account, or Computer account, depending on where the certificate is stored, then click Finish.
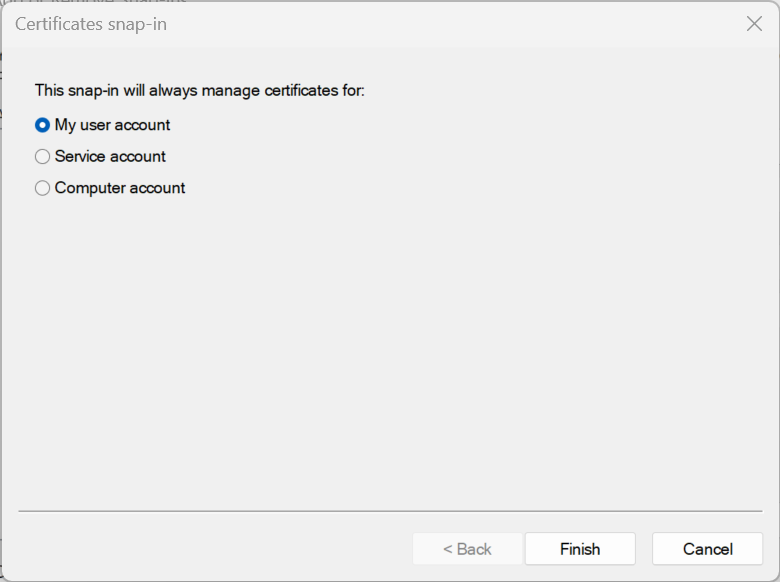
•Click OK to close the dialog.
3.Navigate to the Certificate Store:
•Expand the Certificates node in the left-hand pane.
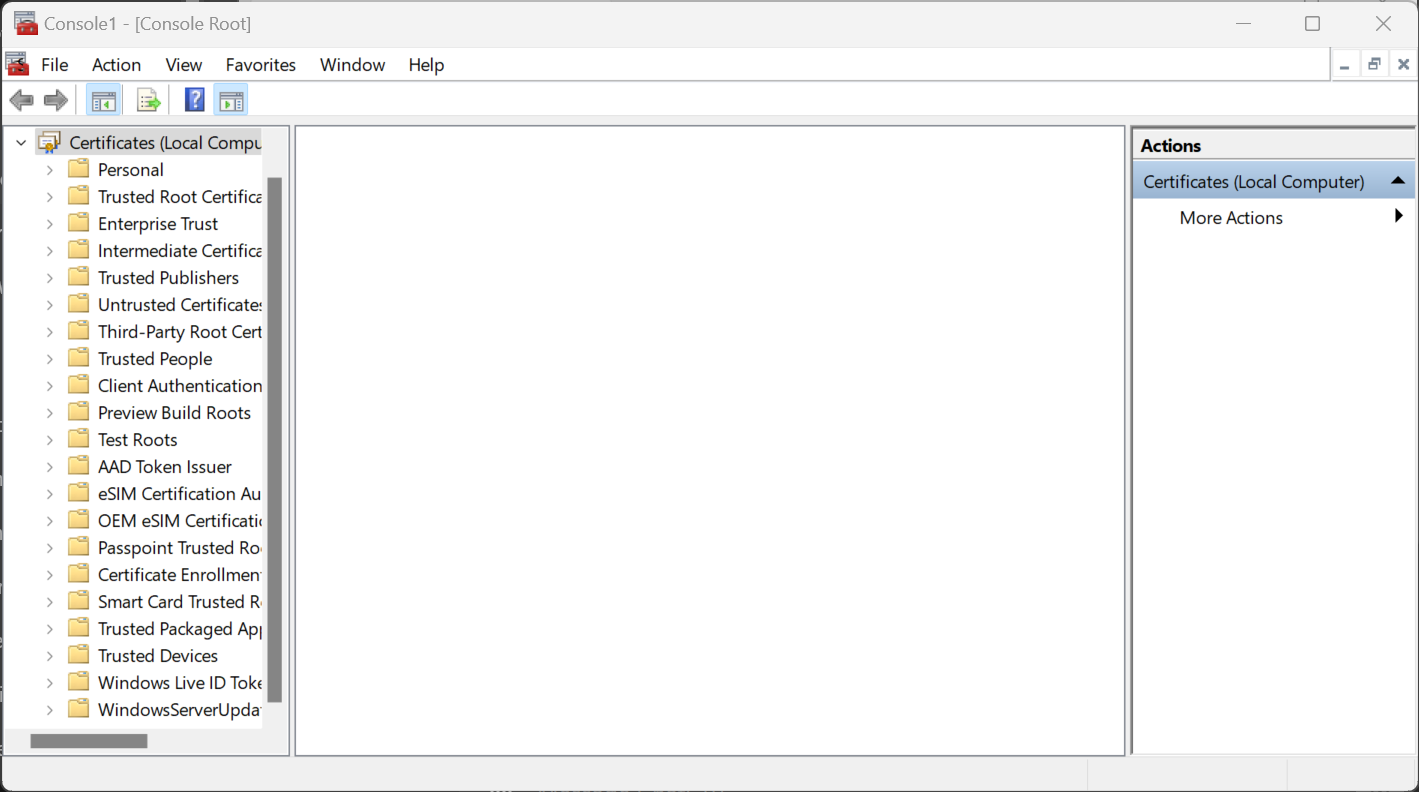
•Locate the relevant certificate under the appropriate store (e.g., Personal, Trusted Root Certification Authorities).
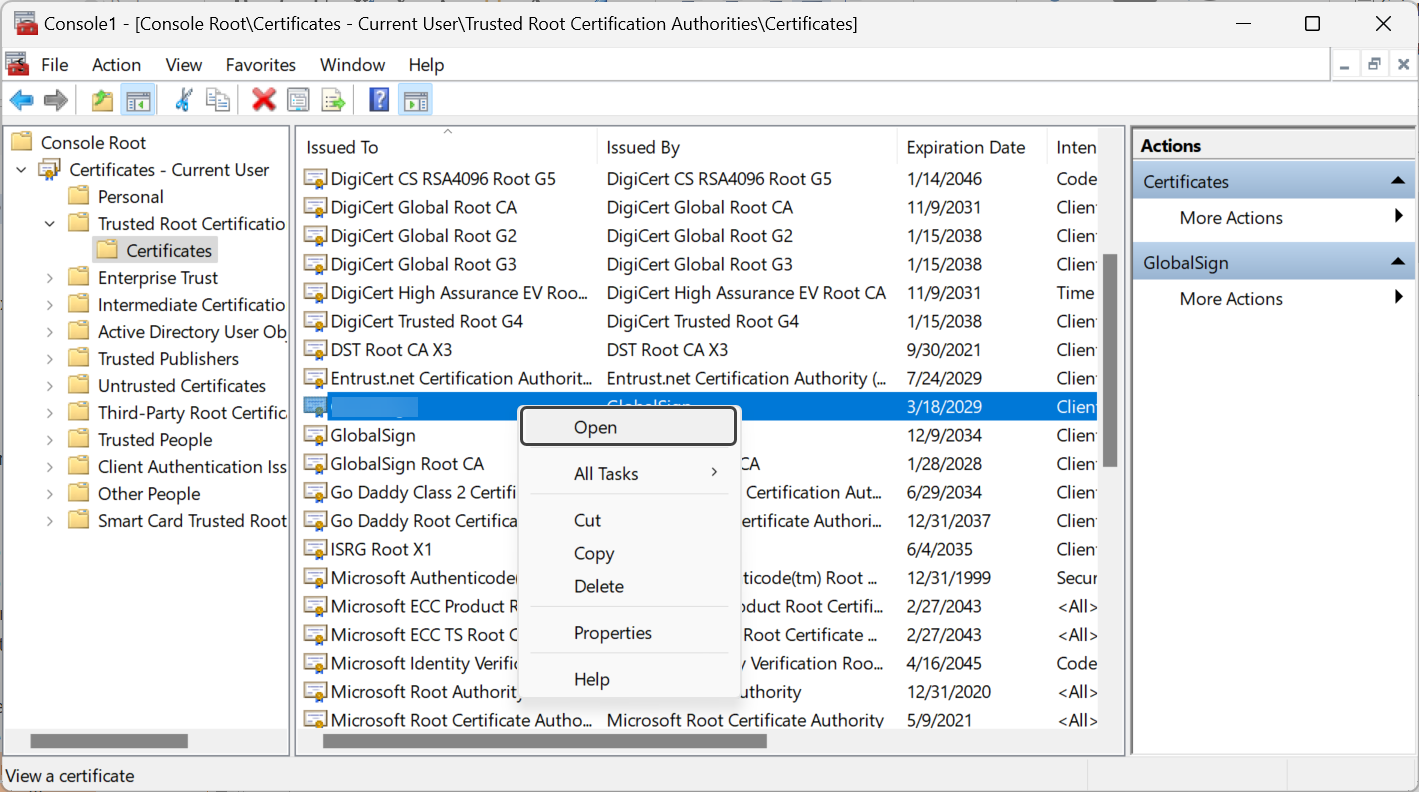
4.Find and open the certificate:
•Locate the certificate you are interested in.
•Right-click the certificate and select Open.
5.Get the Thumbprint:
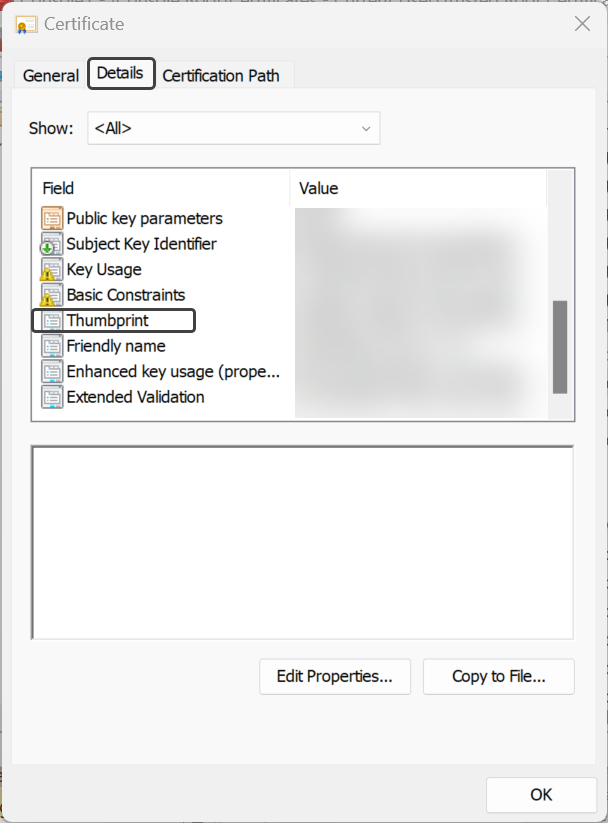
•In the certificate properties window, go to the Details tab.
•Scroll down in the list of fields to find Thumbprint.
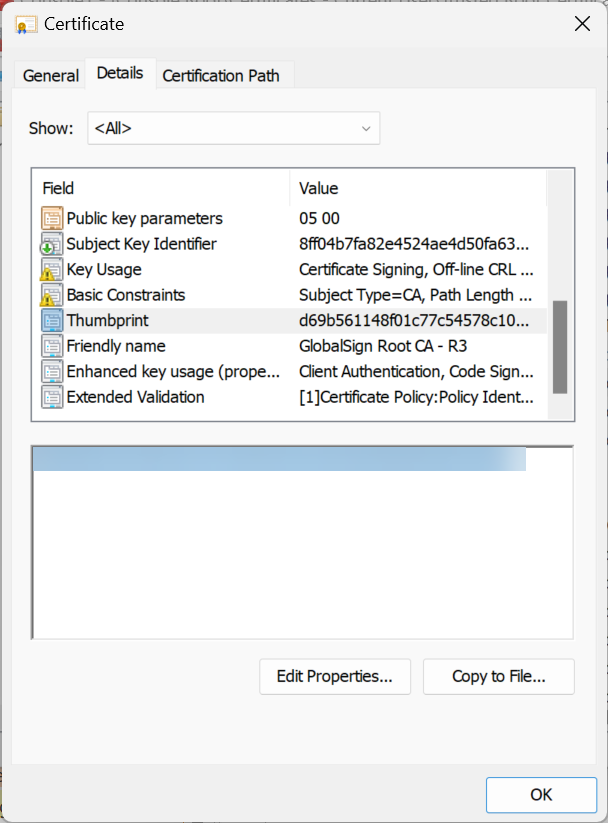
•Select Thumbprint. The thumbprint will be displayed in the lower pane.
•Copy the thumbprint by selecting the text and pressing Ctrl + C.
•This is an example of what a Thumbprint looks like 761f1ef0dd91880af2d3cadd571b734b89eb3fa3.
|
Windows displays the thumbprint with spaces between character pairs. When using this value, remove all spaces and ensure no prefix (e.g., "0x") is included. |
Using OpenSSL
OpenSSL is a powerful command-line tool for working with SSL certificates. In OpenSSL, the command to obtain the thumbprint (also known as the fingerprint) does not directly offer an option to format it without colons (:) or spaces, nor does it add a prefix like "0x". However, you can obtain the certificate fingerprint and then use command-line tools such as sed or tr on Unix-like systems (Linux, macOS) to format the output according to your needs.
1.Install OpenSSL (if not already installed):
•On Windows, you can download it from OpenSSL for Windows.
•On Linux, you can install it using your package manager:
sudo apt-get install openssl
•On macOS, you can install it using Homebrew:
brew install openssl
2.Prepare your certificate file:
Ensure you have the certificate file in PEM format. This file typically has a .crt or .pem extension.
3.Open a Command Prompt or Terminal.
4.Run the OpenSSL Command:
•To get the SHA-1 thumbprint:
openssl x509 -in path/to/your/certificate.crt -noout -fingerprint -sha1
•To get the SHA-256 thumbprint:
openssl x509 -in path/to/your/certificate.crt -noout -fingerprint -sha256
Example Commands
•SHA-1 Thumbprint
openssl x509 -in example.crt -noout -fingerprint -sha1
•SHA-256 Thumbprint
openssl x509 -in example.crt -noout -fingerprint -sha256
Example Output
•For the SHA-1 thumbprint command, the output will look something like this:
SHA1 Fingerprint=12:34:56:78:90:AB:CD:EF:12:34:56:78:90:AB:CD:EF:12:34:56:78
•For the SHA-256 thumbprint command, the output will look like this:
SHA256 Fingerprint=12:34:56:78:90:AB:CD:EF:12:34:56:78:90:AB:CD:EF:12:34:56:78:12:34:56:78:90:AB:CD:EF:12:34:56:78:90:AB:CD:EF
Removing Colons and Prefix
If you need the thumbprint without colons, you can process the output using sed or tr to remove the colons:
•Using sed
openssl x509 -in example.crt -noout -fingerprint -sha1 | sed 's/://g' | sed 's/^.*=//'
•Using tr
openssl x509 -in example.crt -noout -fingerprint -sha1 | tr -d ':' | sed 's/^.*=//'
This will output the thumbprint as a continuous string of hexadecimal characters without any colons or prefixes.
|
Only the extracted thumbprint is accepted—no other hash of the certificate will be validated. Ensure you use the thumbprint of the TLS/SSL certificate associated with the service connection, not that of an intermediate or root certificate authority. |
Last Updated 2/13/2025 1:27:59 PM