Overview
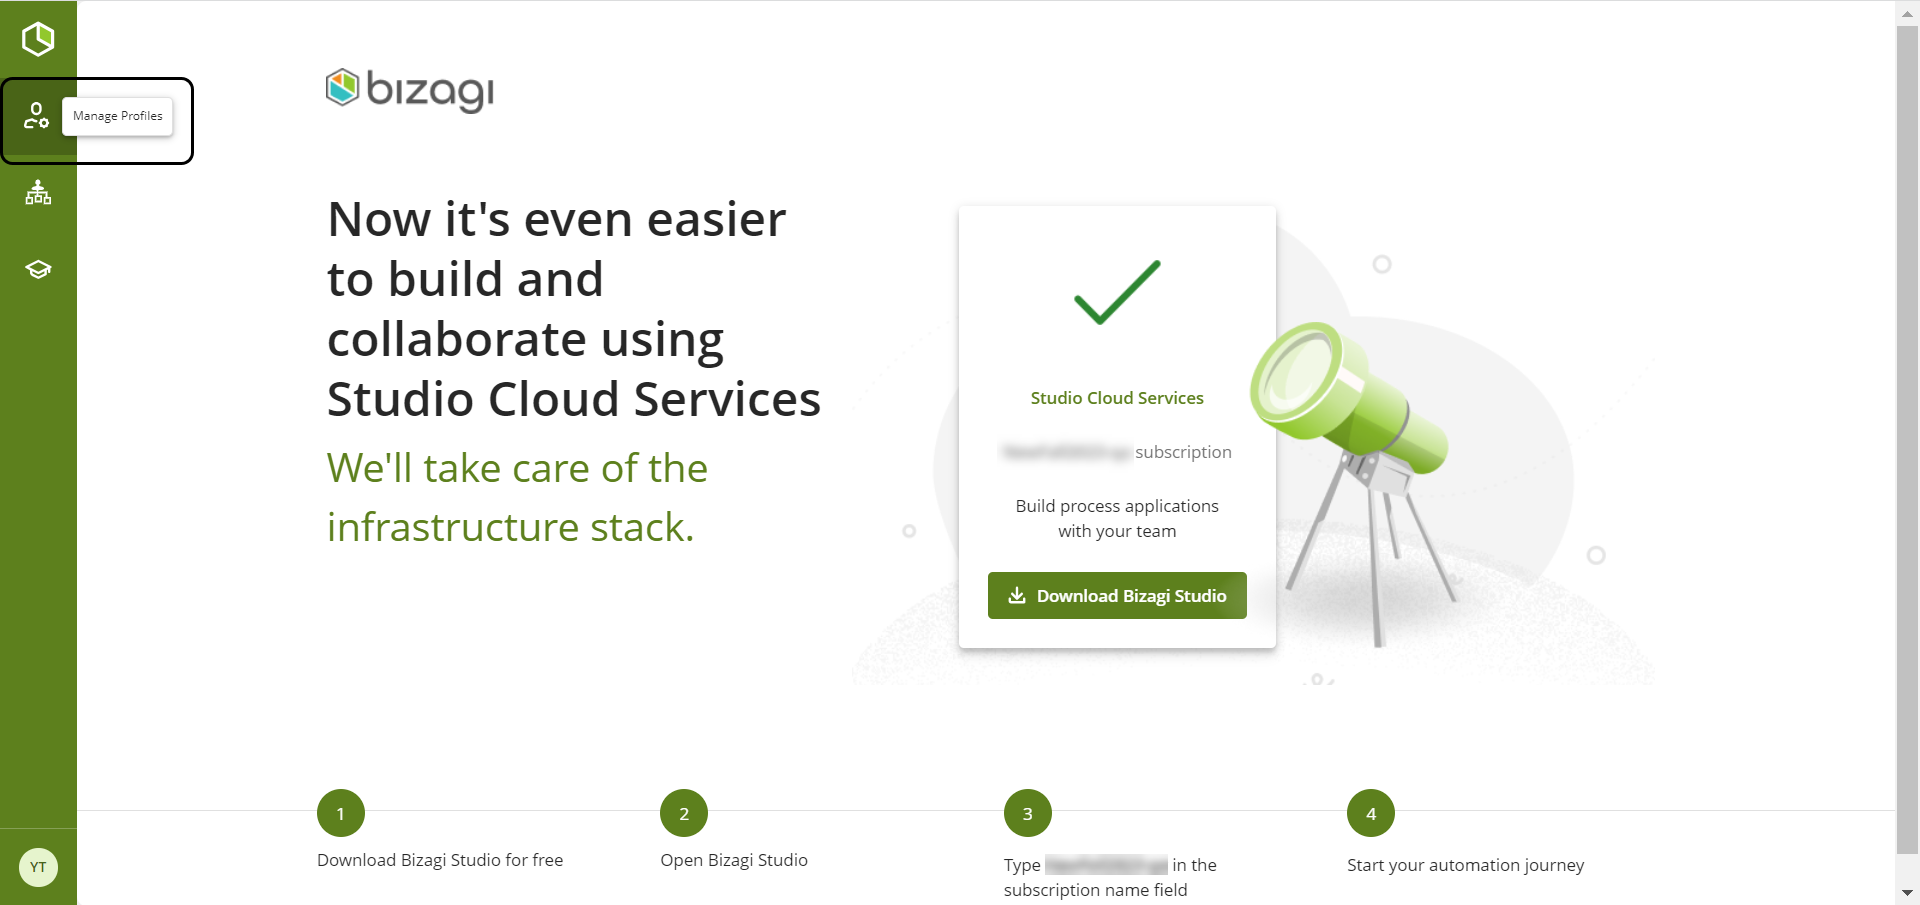
The Manage Profiles option allows you assign profiles to users and manage custom profiles that you create based on your needs. To access this option, click the Manage Profiles button in the Build Page side menu.
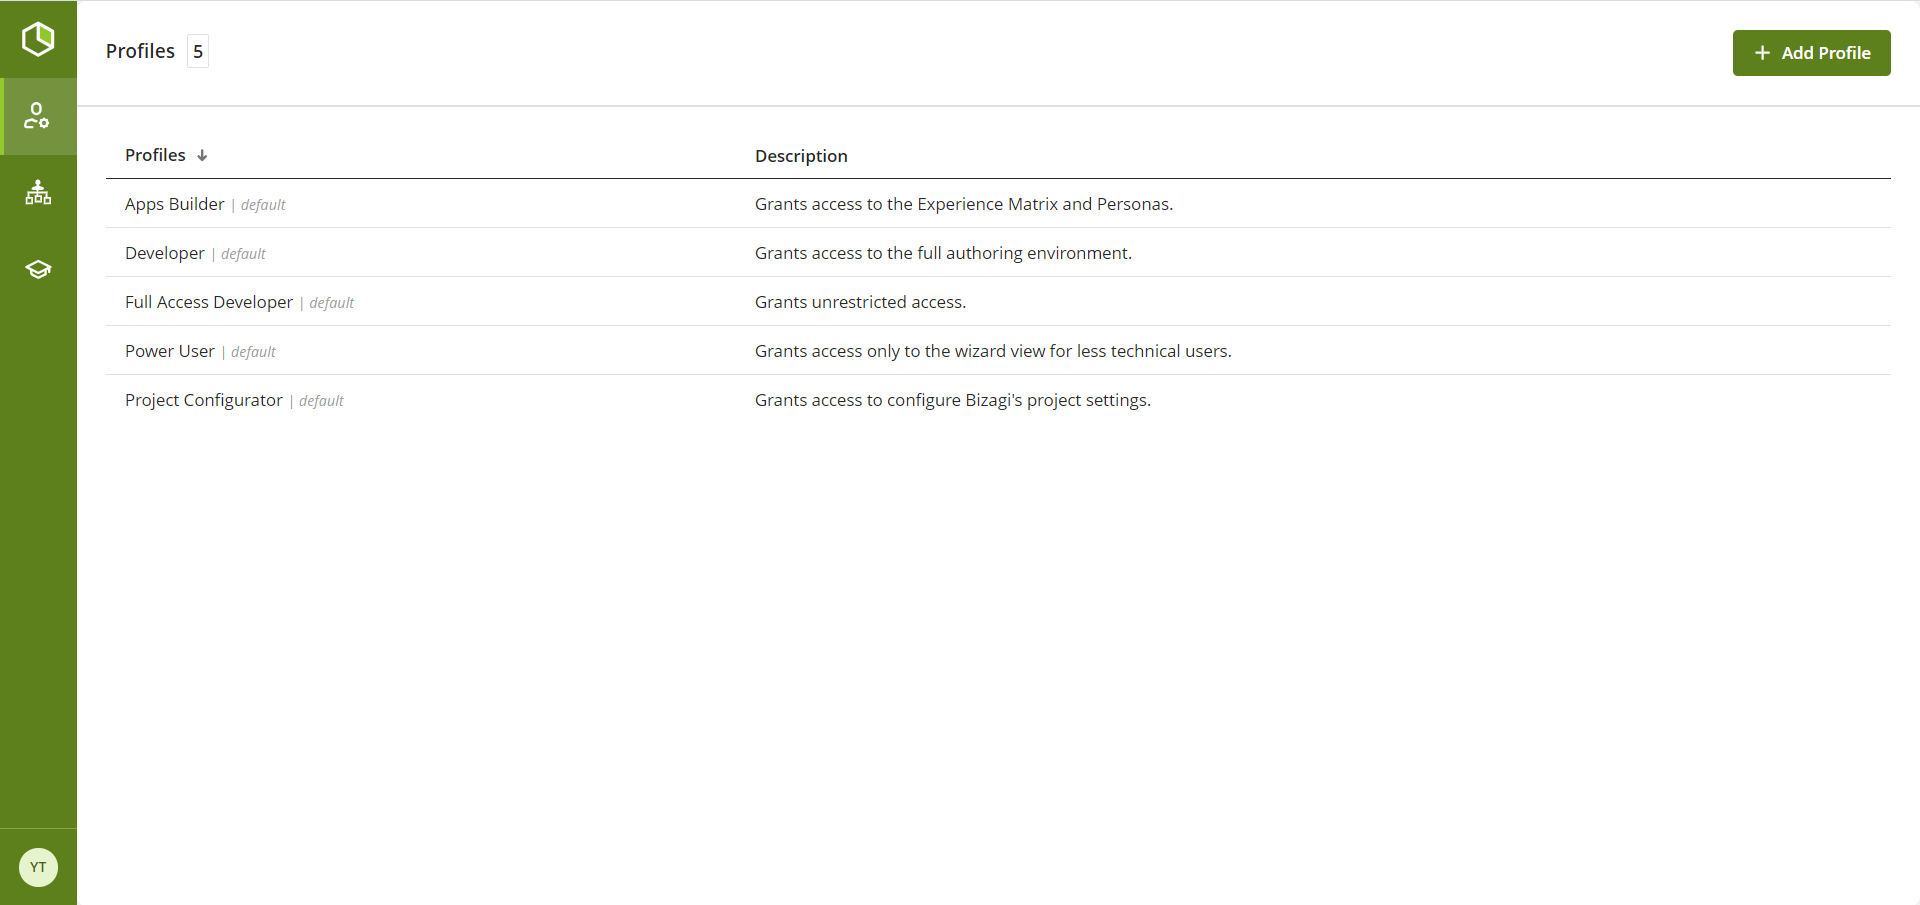
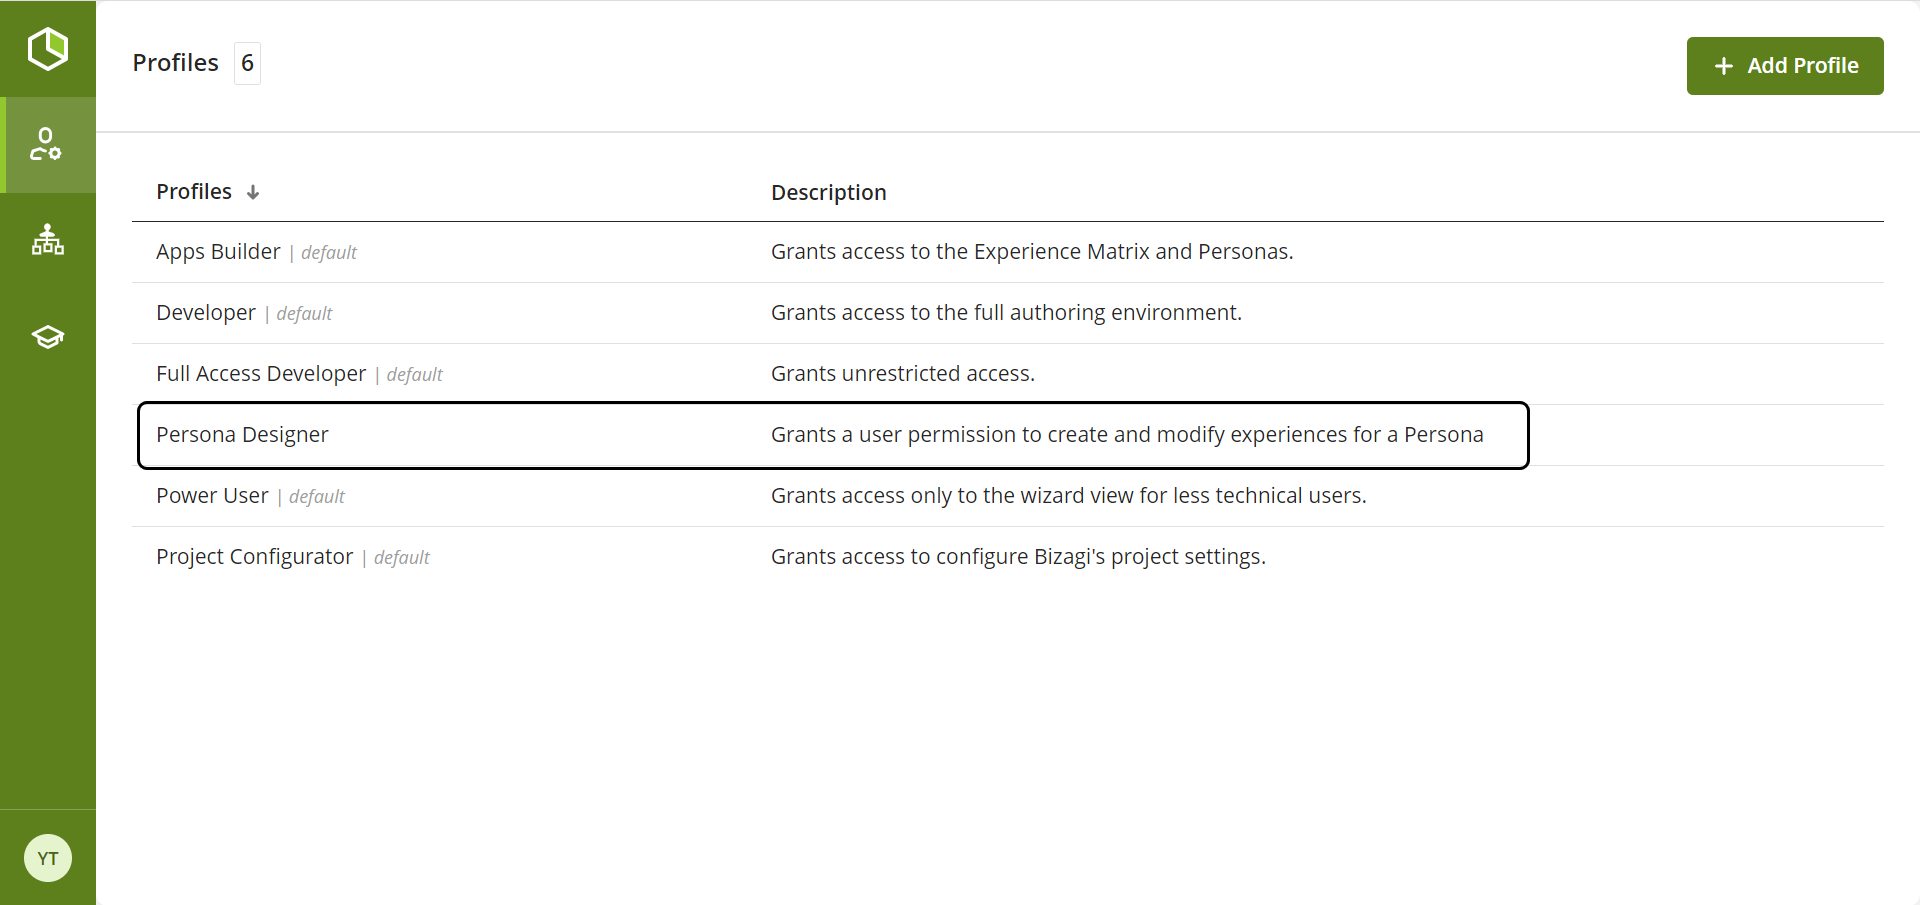
By accessing this option you will be able to see the profiles that your subscription has, which you will be able to manage with the following actions:
•Edit
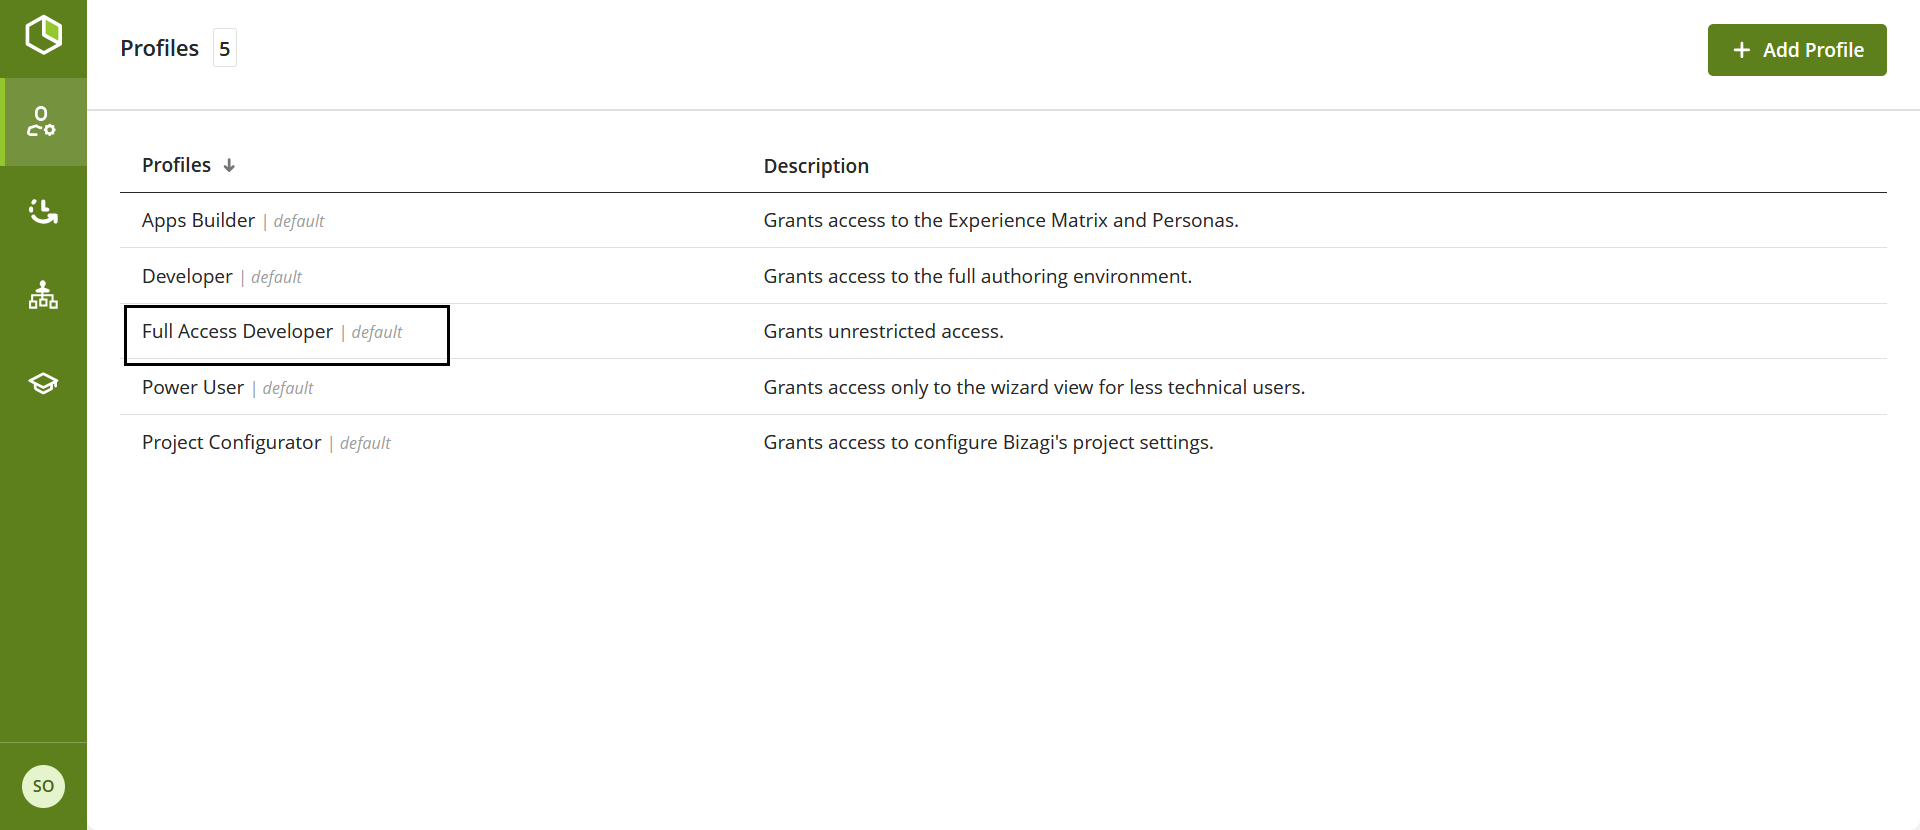
There are five pre-defined profiles created by Bizagi, from which the Subscription Owner has the authority to create customized profiles by modifying the five pre-defined profiles to align with specific business scenarios. These profiles are:
Custom profiles
Apart from the Default profiles, users can define Custom profiles that are created from one of the predefined Studio Profiles. From there, users can edit permissions for that role to give higher or fewer permissions in each of the Bizagi Studio tabs.
Custom profiles extend governance and access control restricting what a certain user can do in a Bizagi Studio project depending on the user's knowledge, experience, or tasks in the development team.
It is important to note that each user can have only one profile at once, including Predefined and Custom profiles. This means that to assign a profile to a certain user, the previous profile assigned will be overwritten.
Create a profile
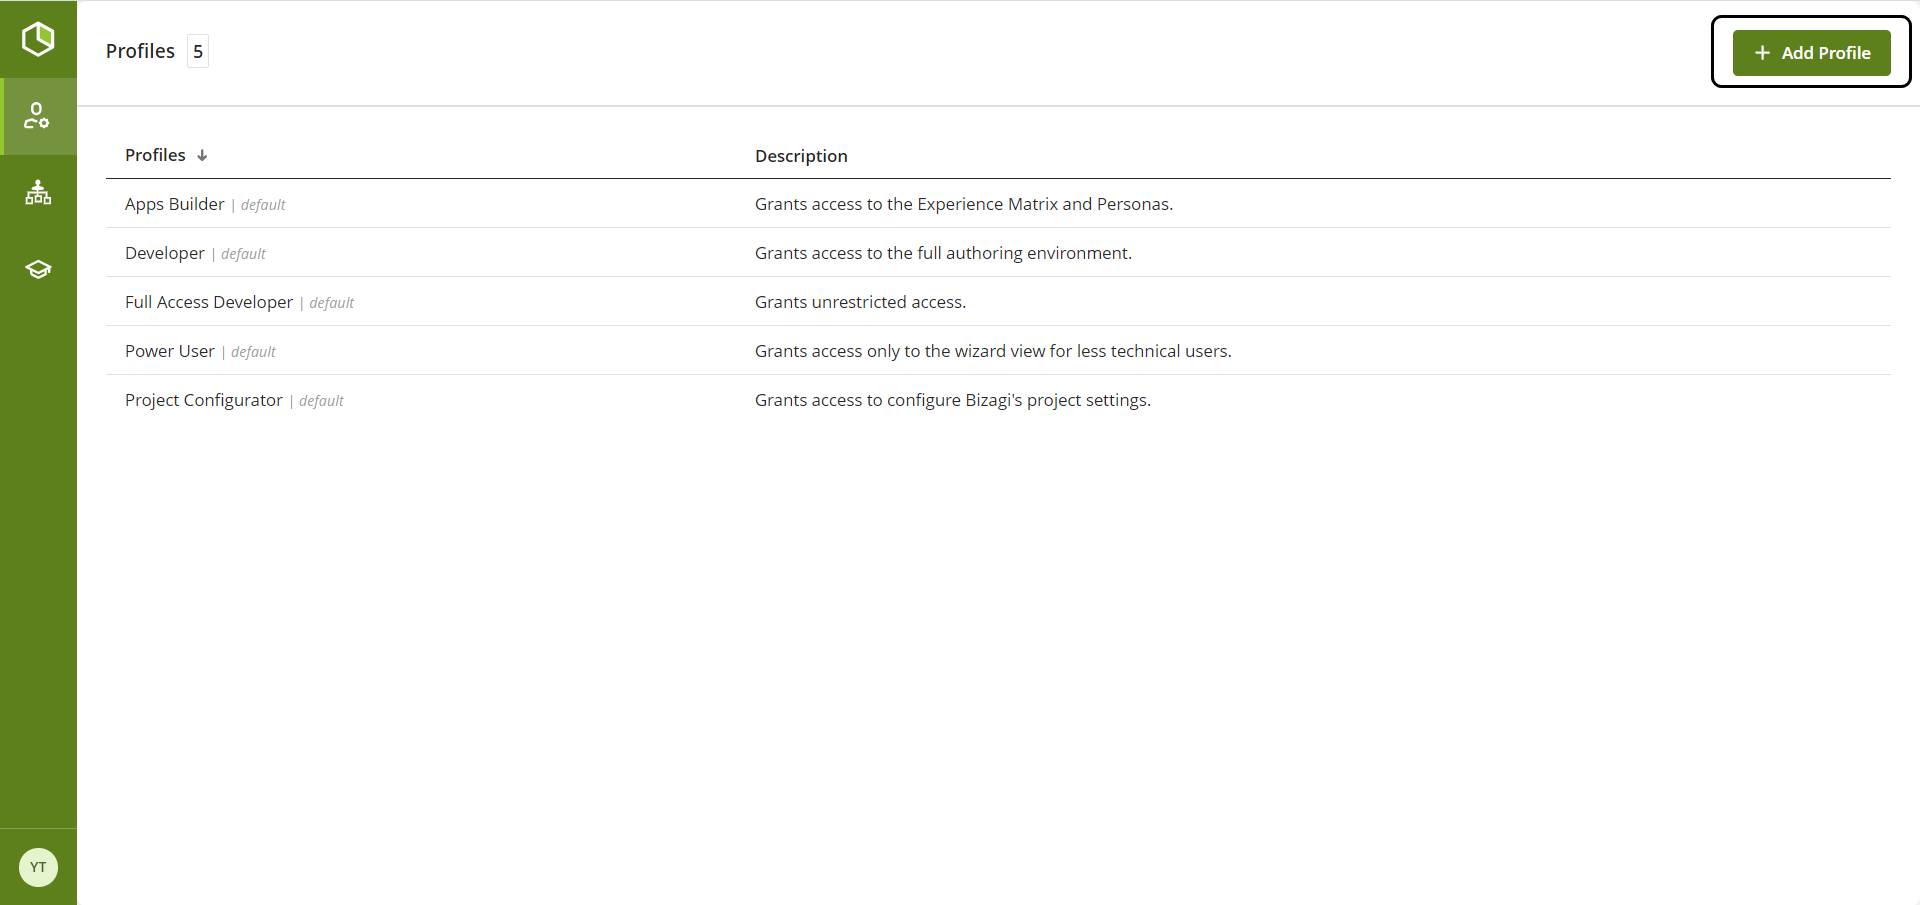
To create a profile click the + Add Profile button, located in the upper right corner of your screen.
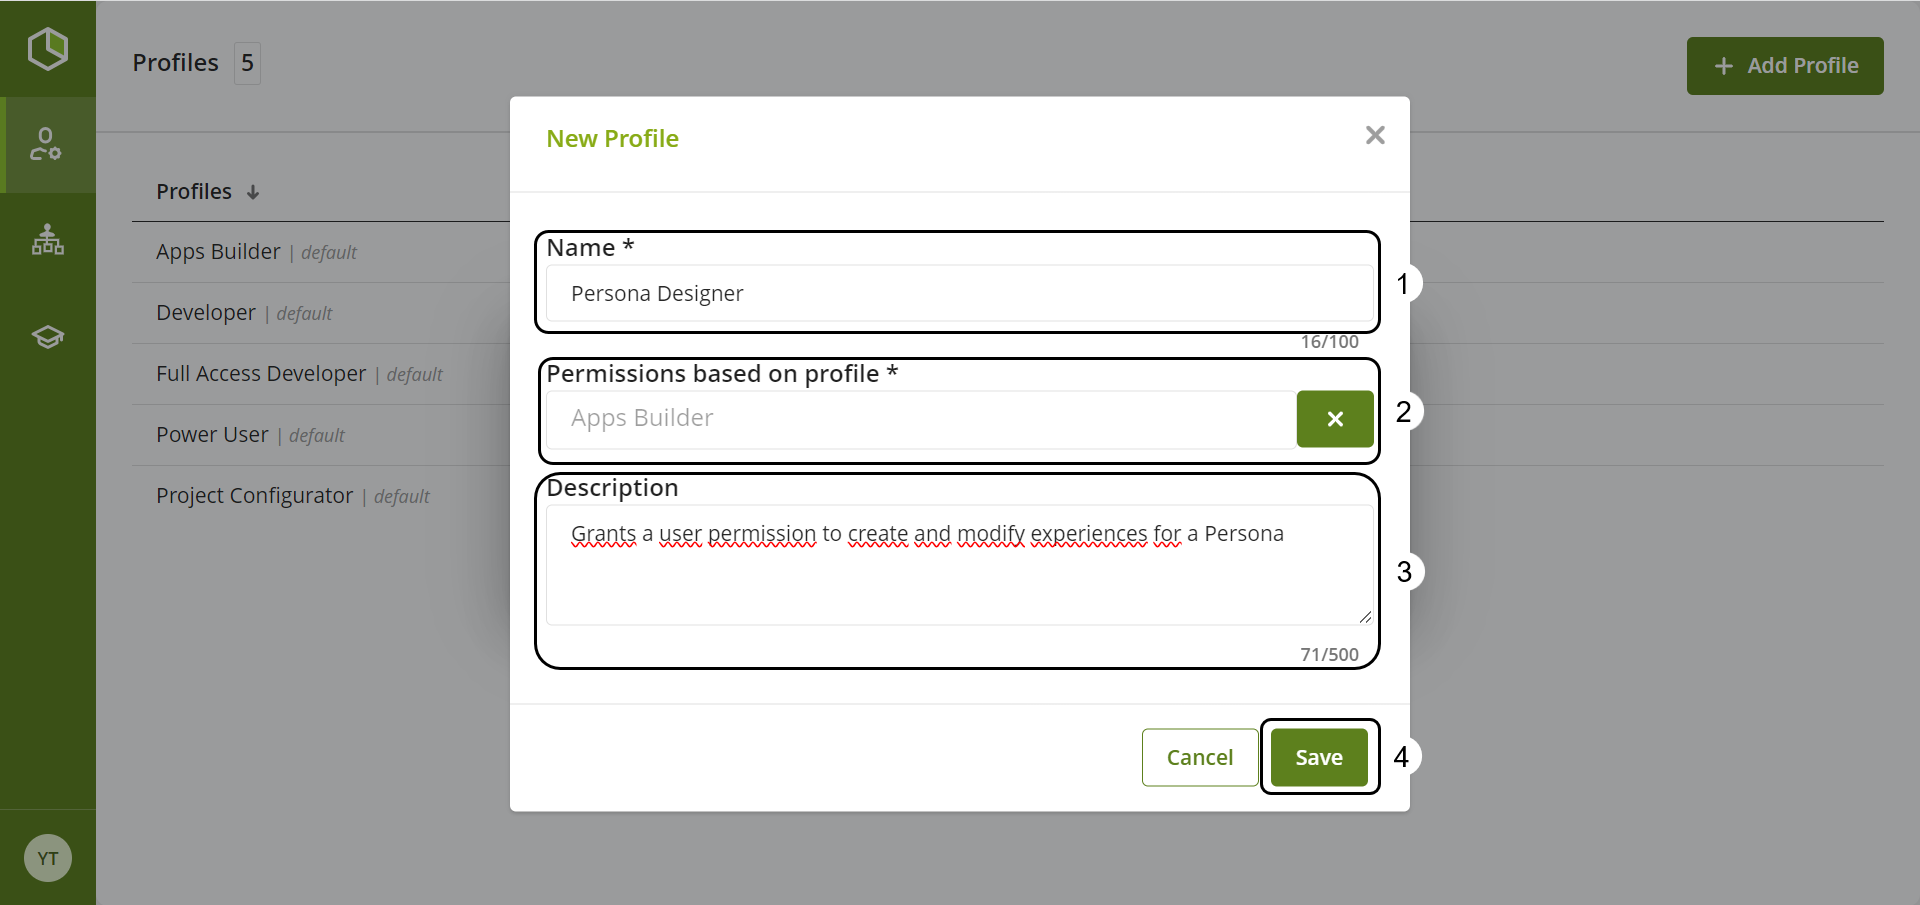
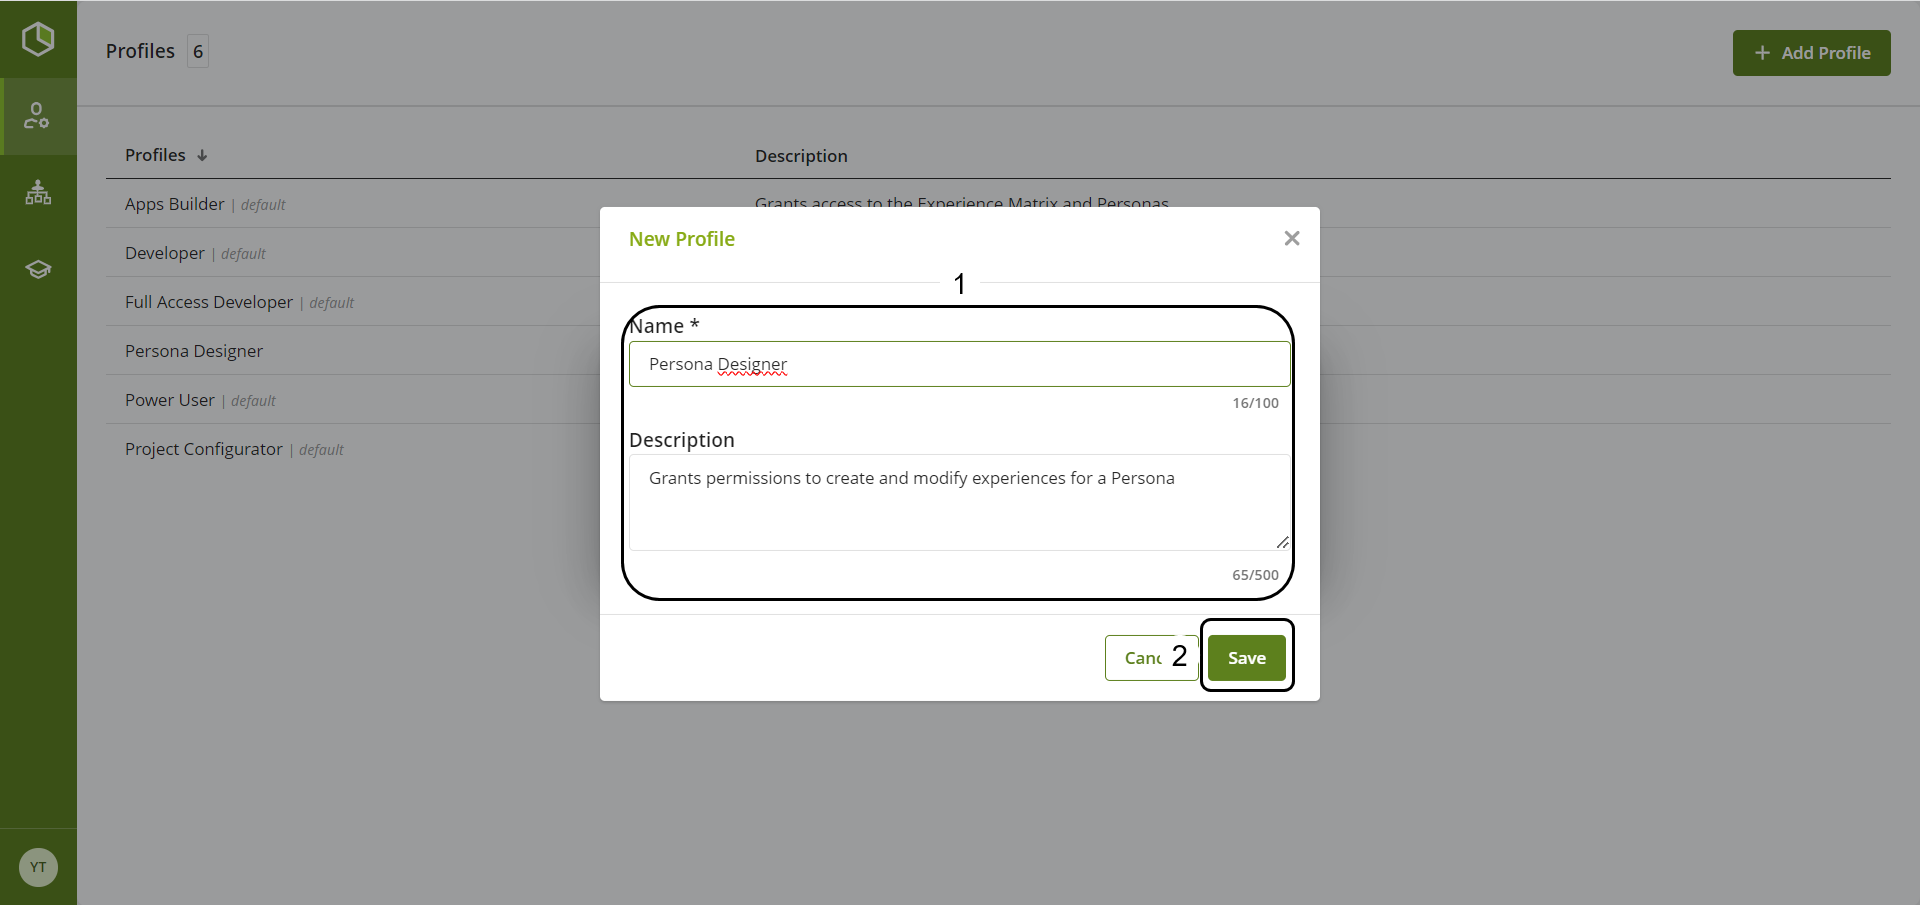
A new window will open, fill the following fields to create a personalized profile.
1.Type the name of the profile you want to create in the text field under the Name label.
2.Click the drop-down menu under the Permissions based on profile label and select the profile that has the permissions you want to use for your custom profile.
3.Once you have selected this profile, if you wish, add a profile description to differentiate it from the rest of the profiles you have.
4.Finally, click the Save button to successfully create your personalized profile.
The result of this operation is a new profile in your profile list.
Delete a profile
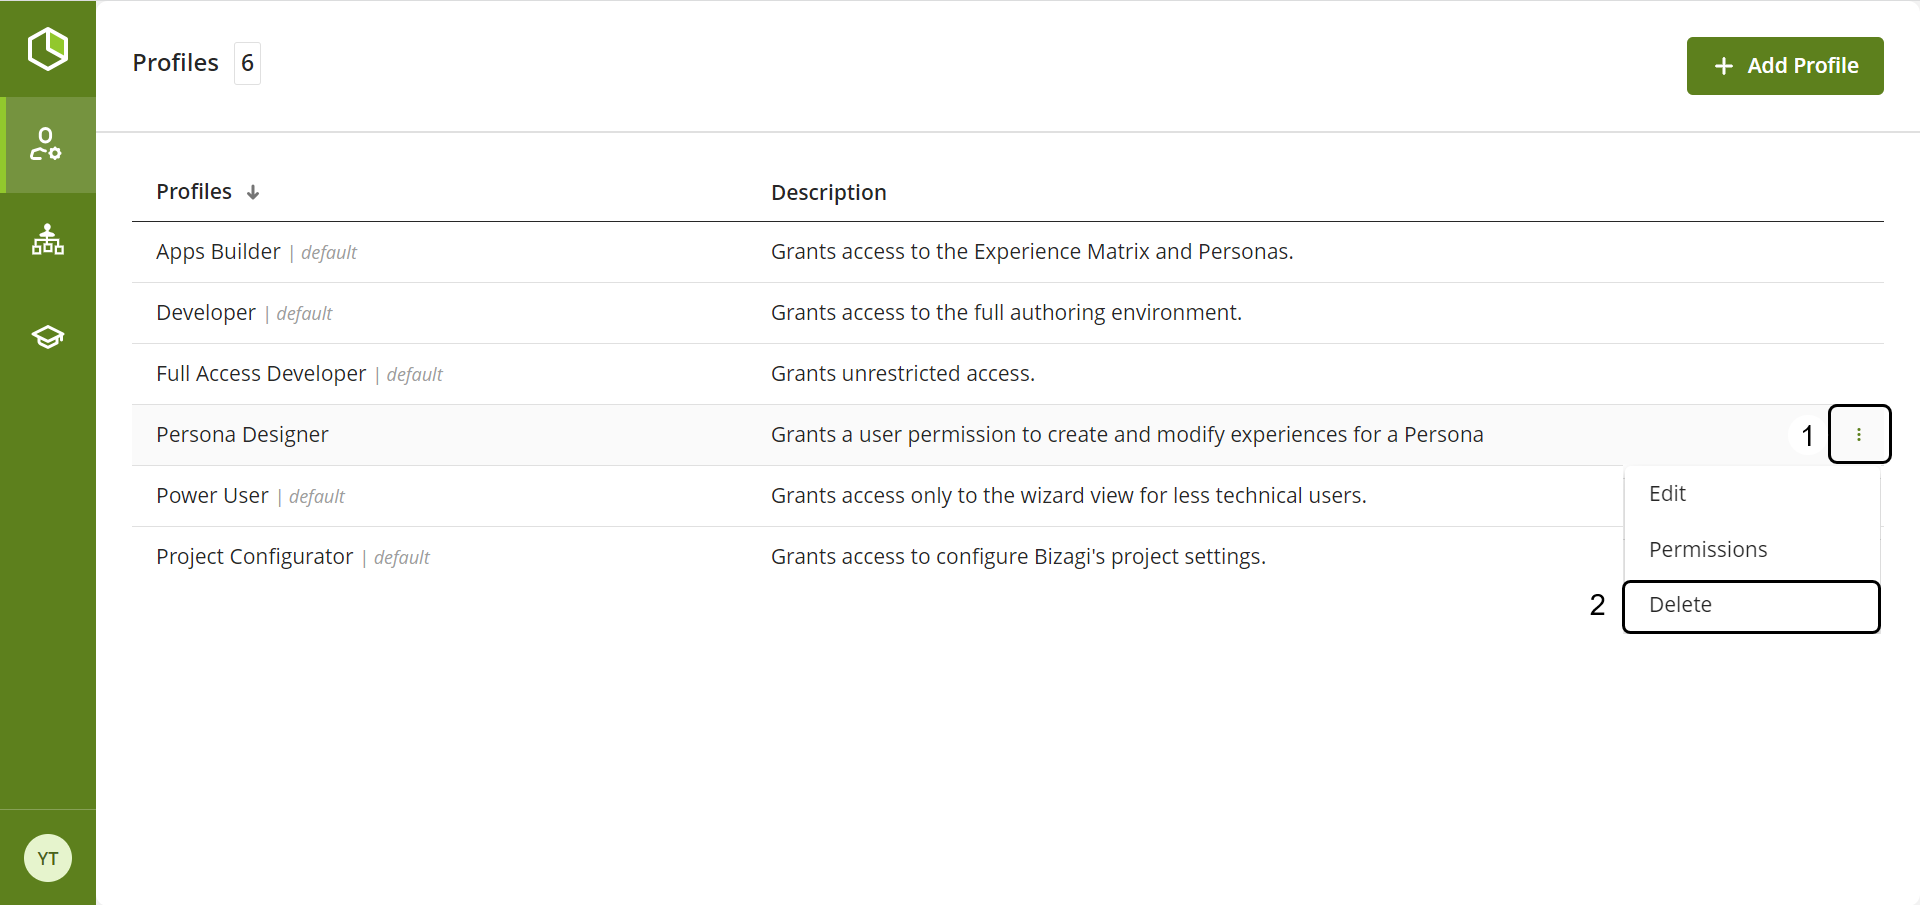
To delete a personalized profile, follow the next steps.
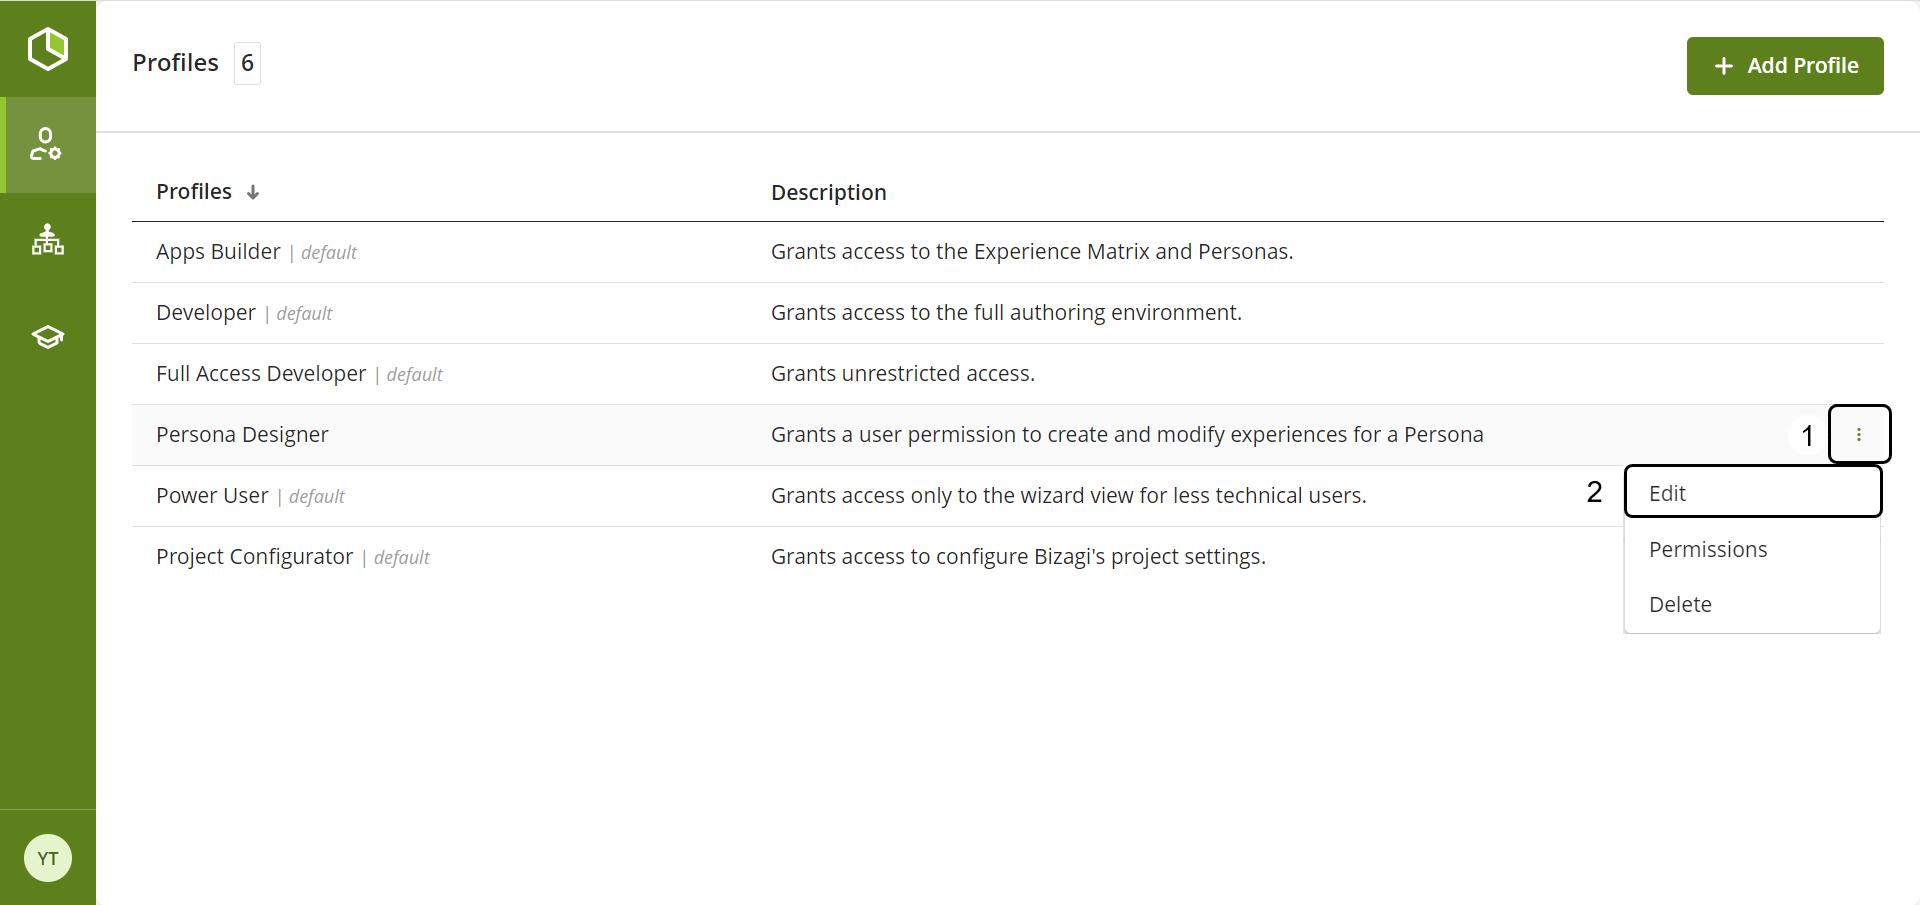
Click the three-dot menu of the profile you want to delete. This menu is located on the right side of your profile and select the Delete option from the menu.
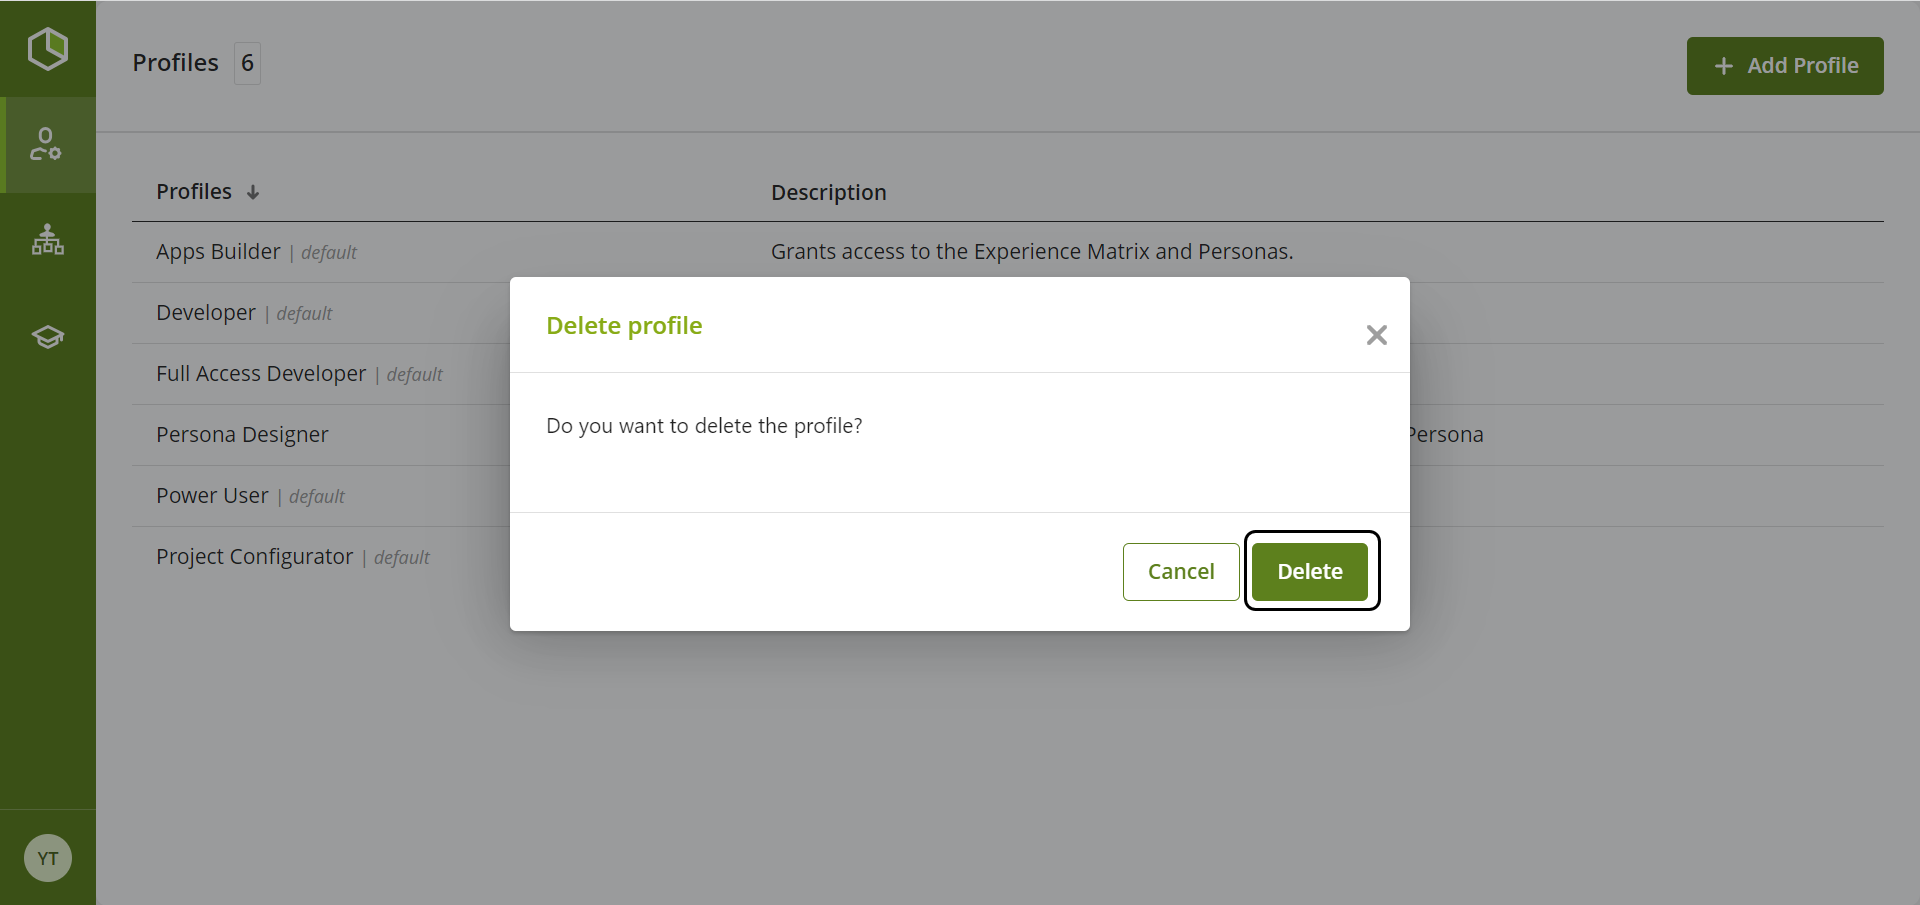
Click the Delete button, to delete correctly your profile.
Edit
Edit profile permissions
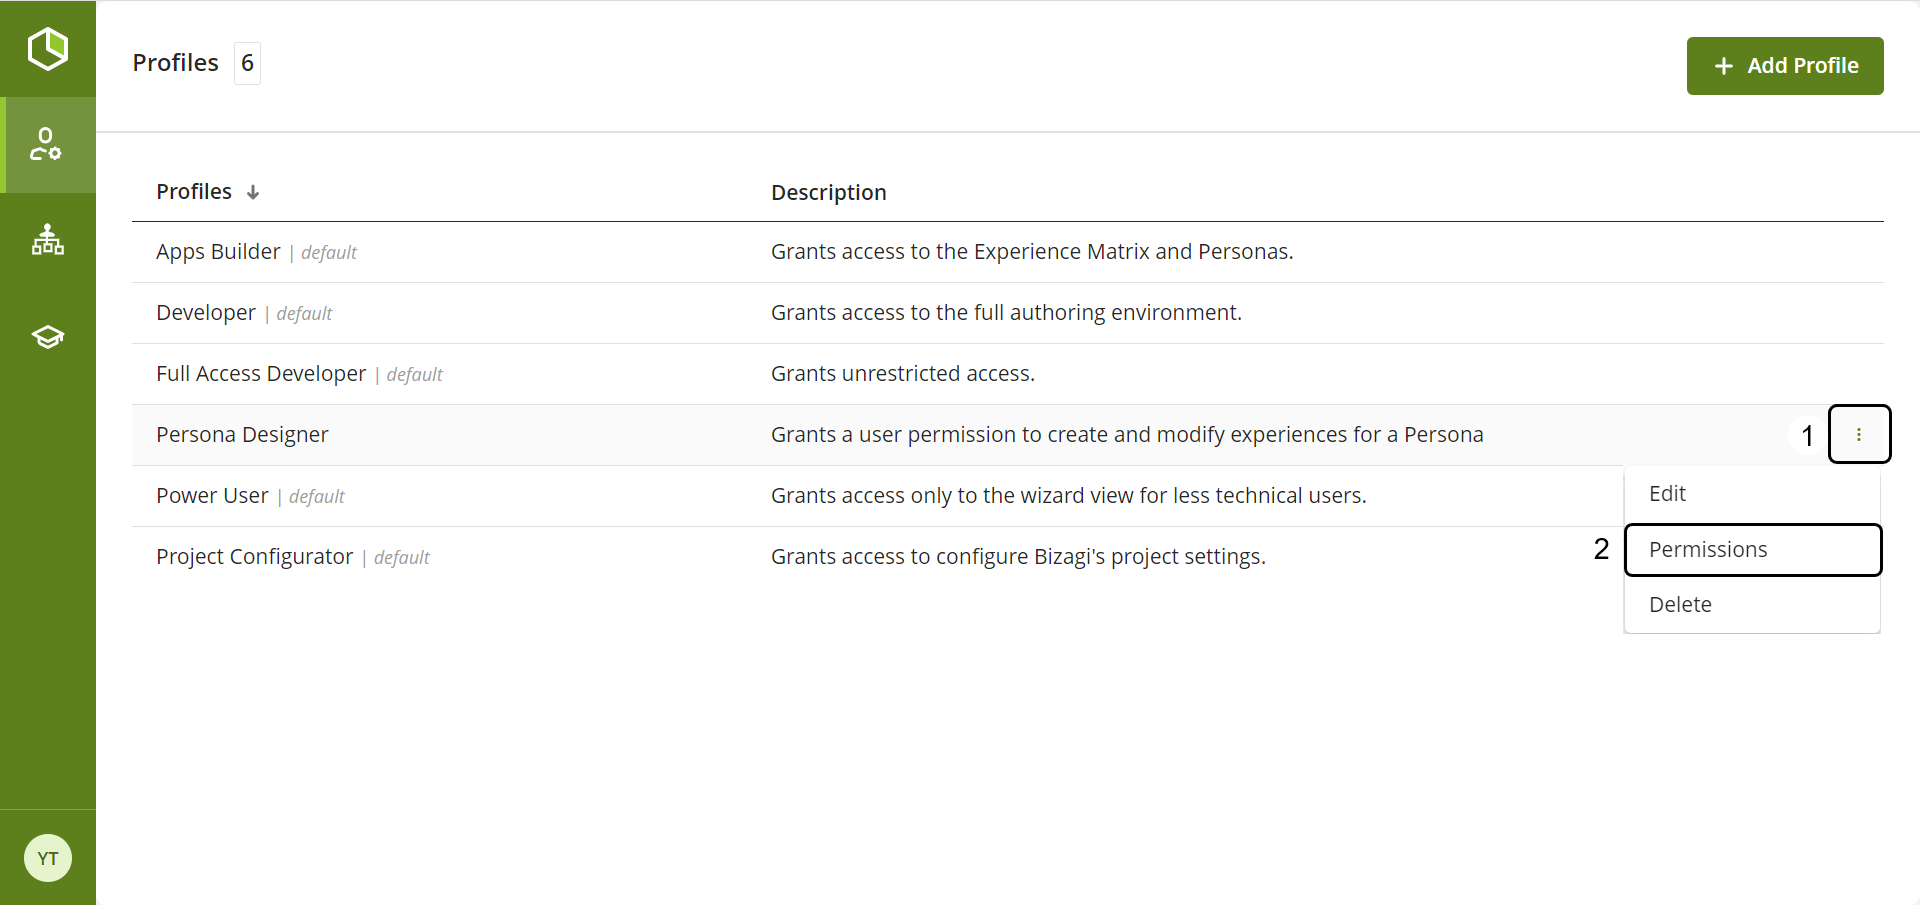
To edit the permissions of your personalized profile, follow the next steps:
Click the three-dot menu of the profile you want to modify. This menu is located on the right side of your profile and select the Permissions option from the menu.
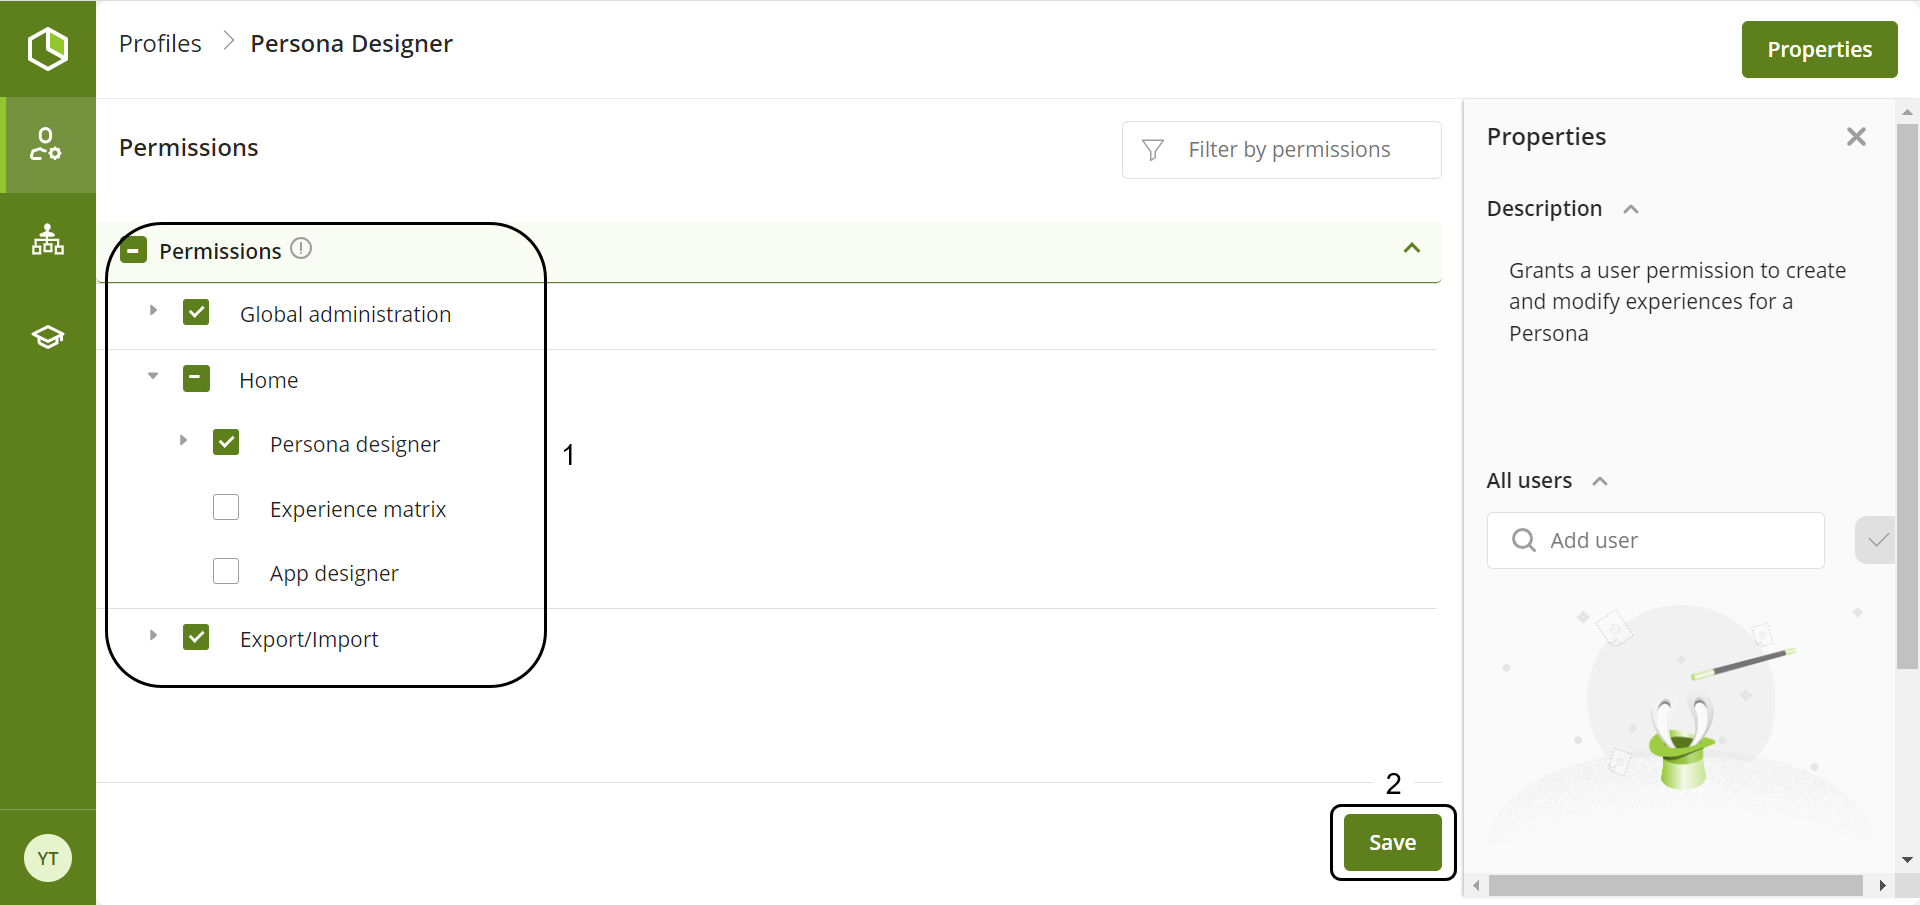
Once you click, you will be redirected to a window with all the profile permissions.
1.Click the boxes to enable/disable a permission. If a permission box is checked, this means the permission is enabled; if not checked, it would be disabled.
2.Once you have finished editing the permissions, click the Save button in the lower right corner.
|
Bare in mind that the permissions of these profiles show or hide options and features in the desktop application of Bizagi Studio. This means that these permissions do not extend to the backend cloud services in your subscription. |
Edit profile
To edit the name or description of a profile follow the next steps:
1.Click the three dot menu of the profile you wish to edit.
2.Click the Edit option.
1.Edit the name or the description of the profile.
2.Click the Save button.
Assign a profile
|
When assigning a profile to a user, keep in mind that it cannot be unassigned; you can only reassign a different profile. |
A user can only have one profile assigned at a time. To assign a profile, follow these steps:
Click the three-dot menu of the profile you want to assign a user to, and click the Permissions option.
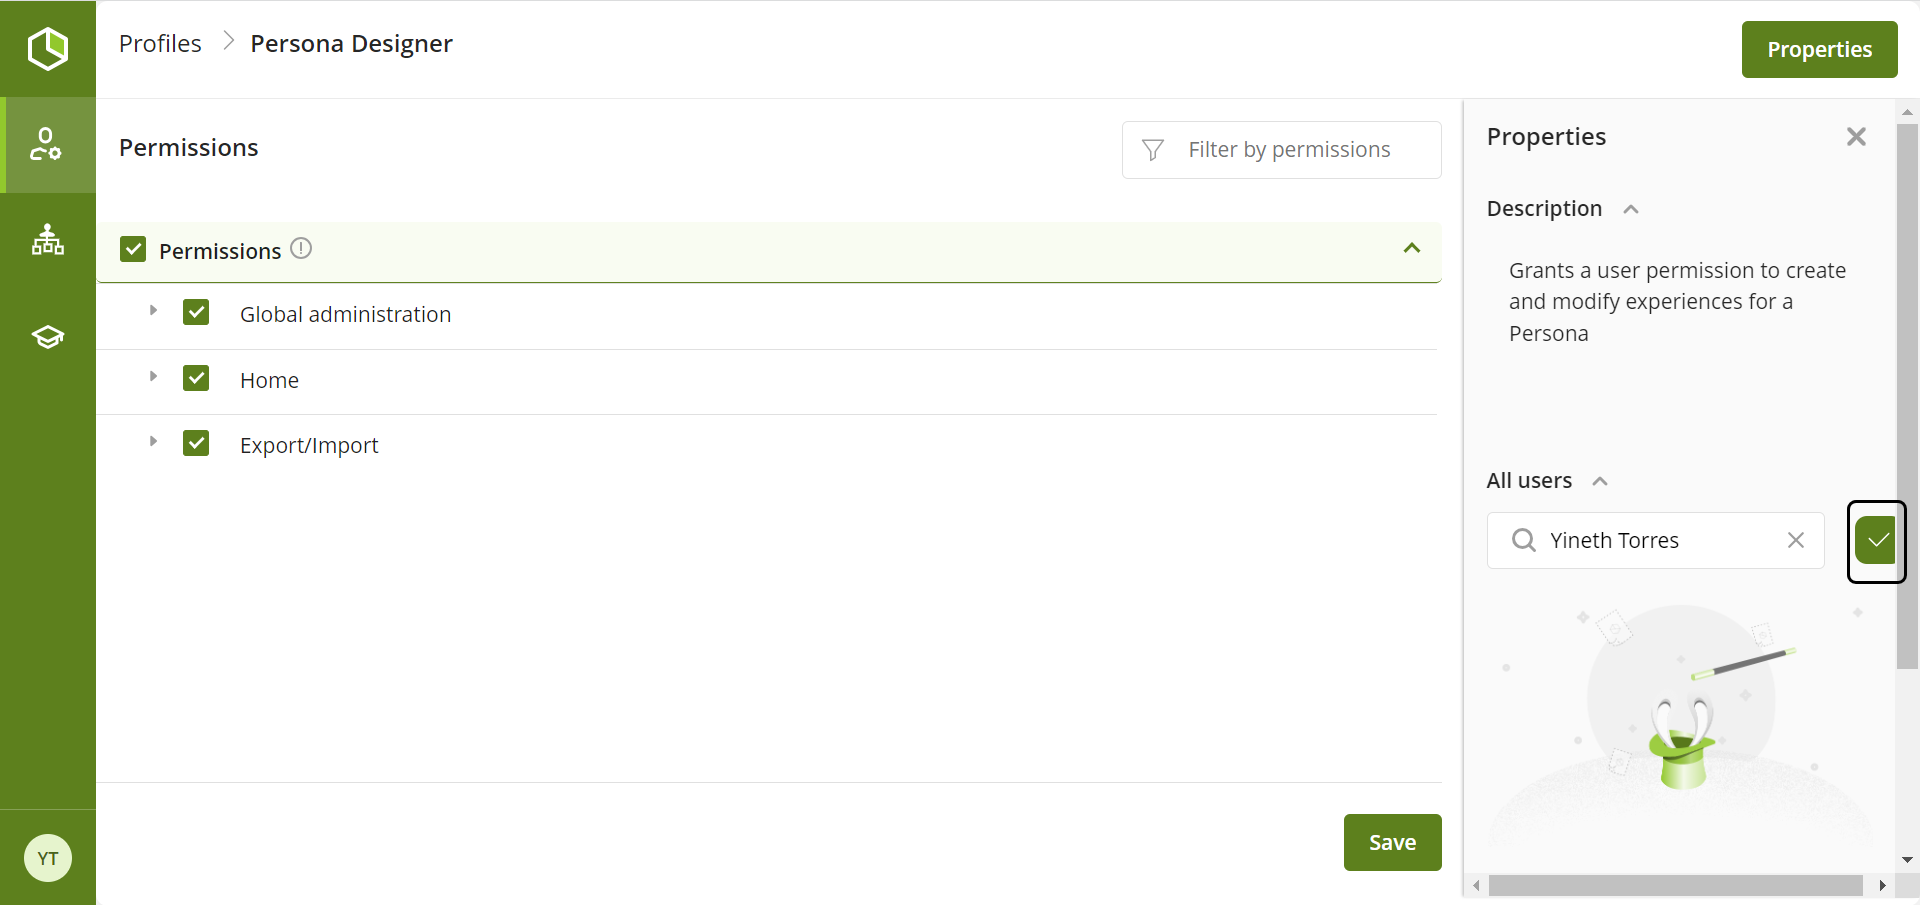
Type the user's name in the text box located on the right of your screen, under the All Users label.
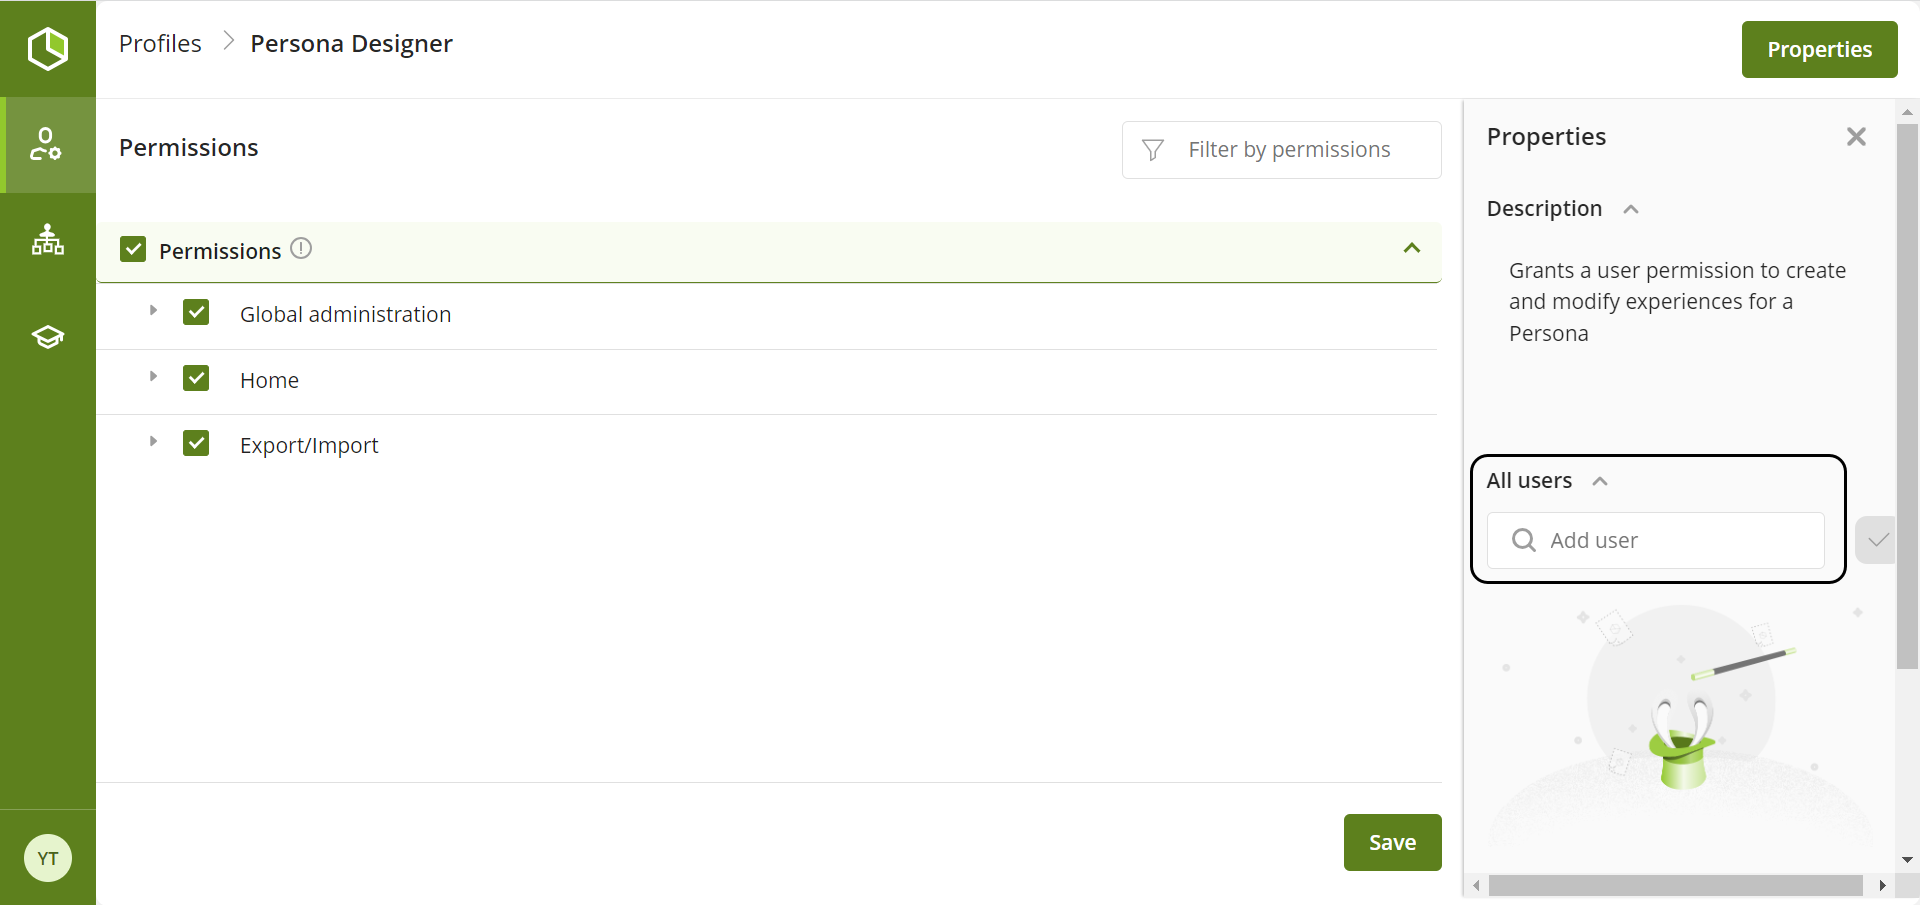
When you enter the user's name, a list of users who match that name will appear. Select the user you want to assign the profile to.

Finally, click the button on the right side of the text box.
Change user profile
You can assign a new profile to a user that already has a profile assigned. To do this follow the next steps.
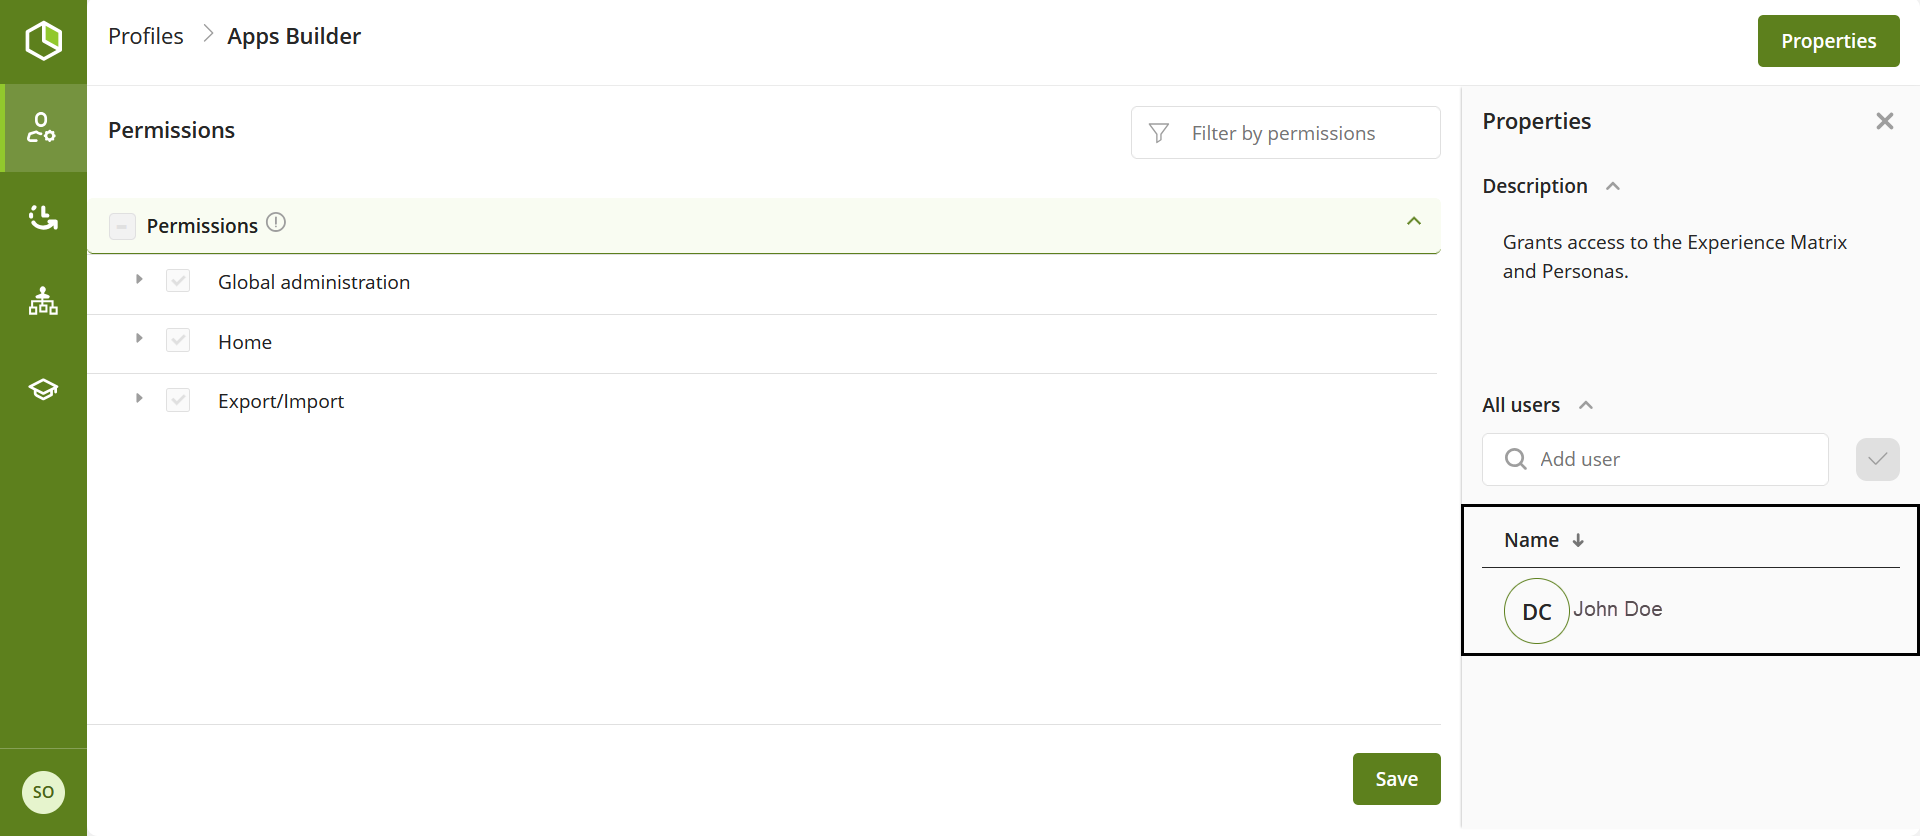
The user John Doe has been assigned to the profile Apps Builder, and in this example you will learn how to change the role of this user to Full Access Developer
To start this change, click the profile you want assign to the user.
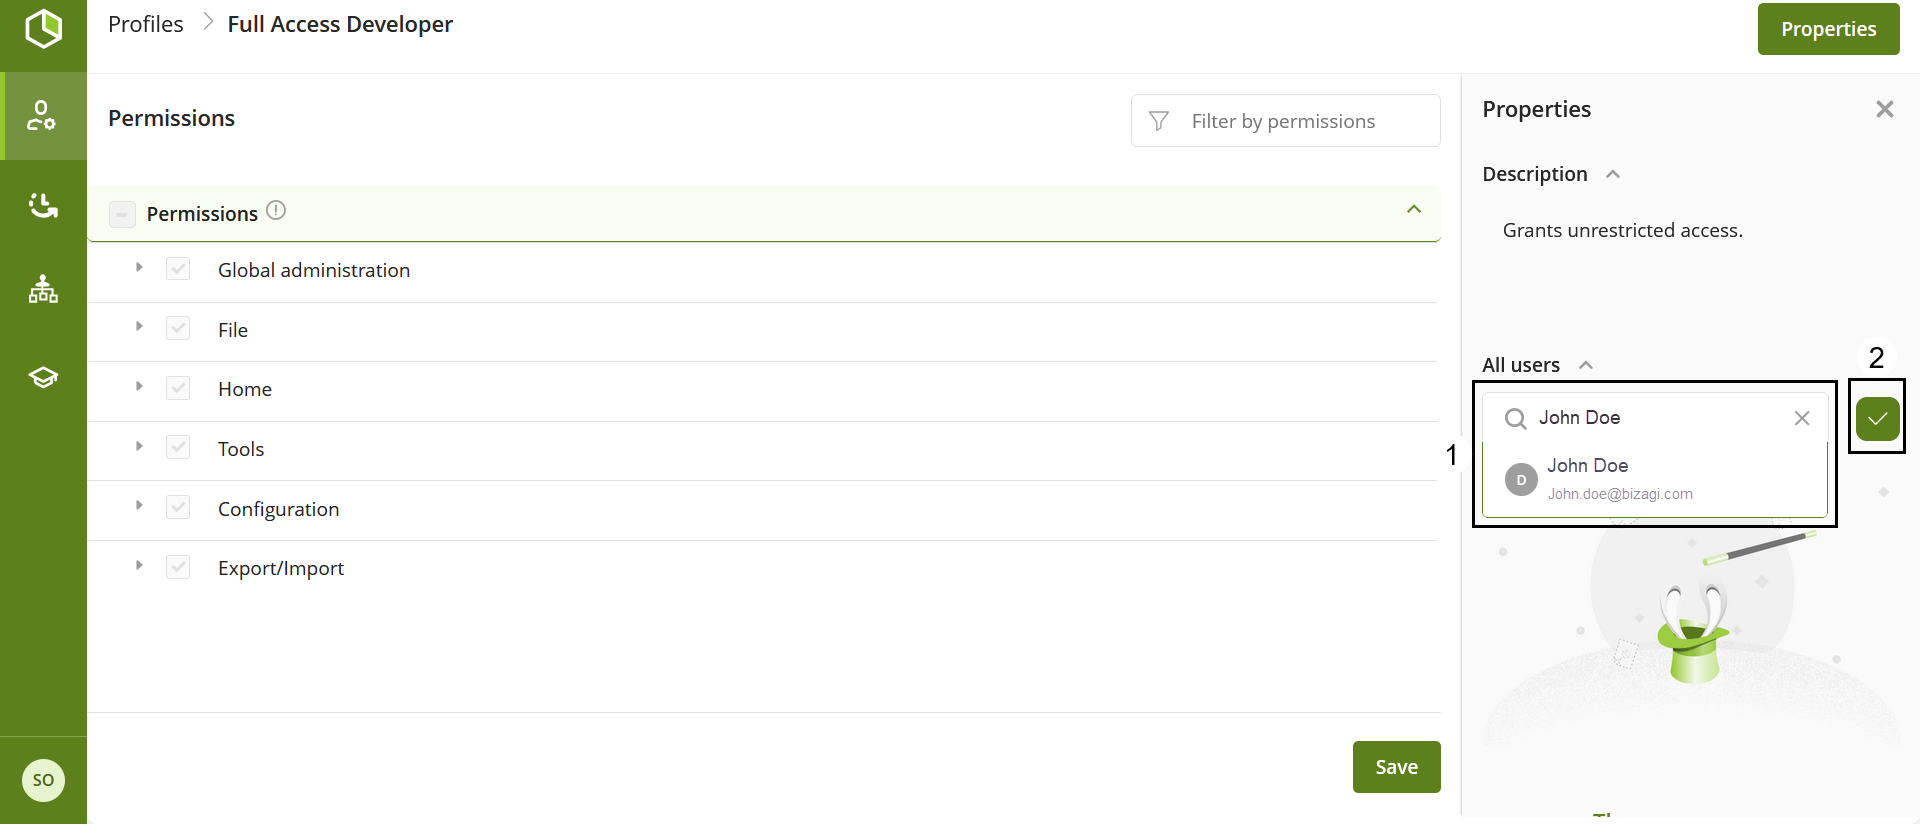
Type the name of the user in the search bar beneath the All users label.
Select the user from the results shown.
Click the check mark button to confirm the user selected
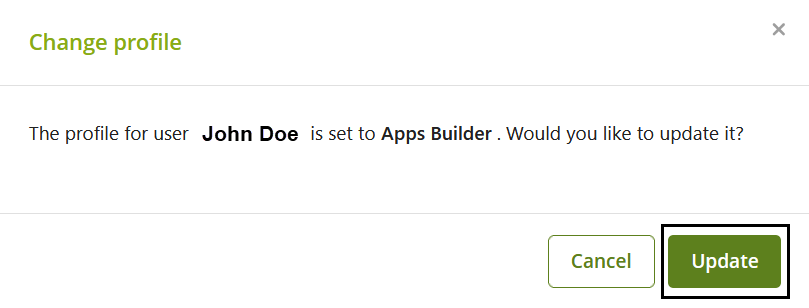
A confirmation window will appear informing you that the user already has a profile assigned. Click the Update button to change the user's profile.
The changes will now be reflected, and the user will appear in the user list of the profile you wanted to assign them.

Last Updated 3/27/2026 5:44:07 PM