Overview
Bizagi allows the definition and customization of special forms to retrieve information of ongoing and closed cases, as well as information stored in specific entities.
With the search results of these queries you can create useful analysis reports. These special Forms are known as Query Forms.
The controls included in Query Forms serve as search criteria. They can be defined to perform powerful searches over created cases or over specific entities (Master and Parameter). Your search criteria can be business data and it can also be general process information (case creation date, creator user, case state, etc). You can customize the search criteria within ranges (for dates or numbers) and to be exact or approximate (for texts), etc.
For further information on how to design these Queries please refer to Query Forms.
Once defined, Query Forms are used from the Work Portal. The results of these queries provide useful information and statistics to control your business operation. You can save and share the most common queries and easily access them any time.
Results of queries can be viewed and analyzed graphically to provide better understanding of data. For further information please refer to Graphical Analysis.
Perform Queries from the Work Portal
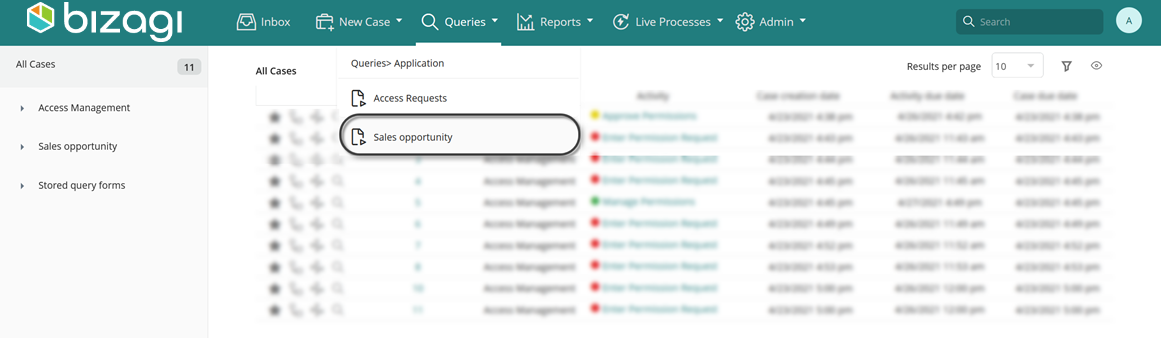
1. In the Work Portal go to the Queries menu.

2. Select the Query to be used from the following categories:
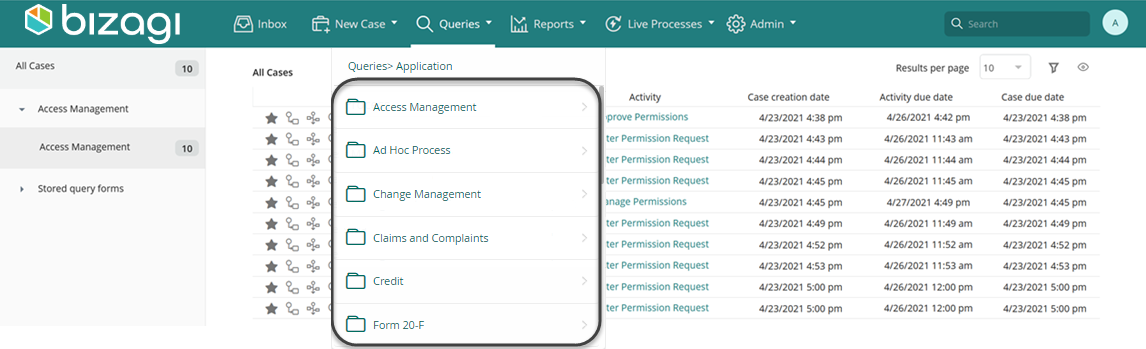
•Application: This option will display all the Process Queries defined search for information for created cases to.
•Other Entities: This option will display the queries defined for entities.
•Stored query forms: This option will display the queries that have been saved. This option is shown when there is one or more queries saved.
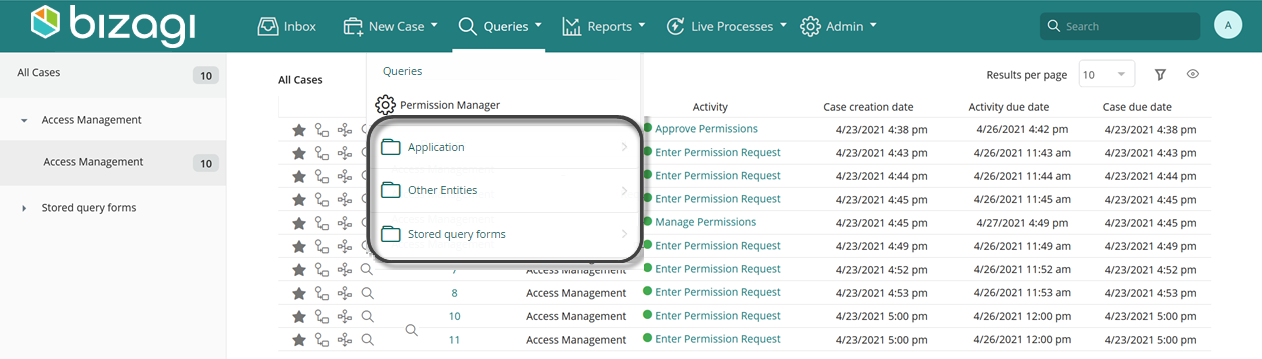
3. Within each category you will find a list of Query forms. Click the desired one to open it.
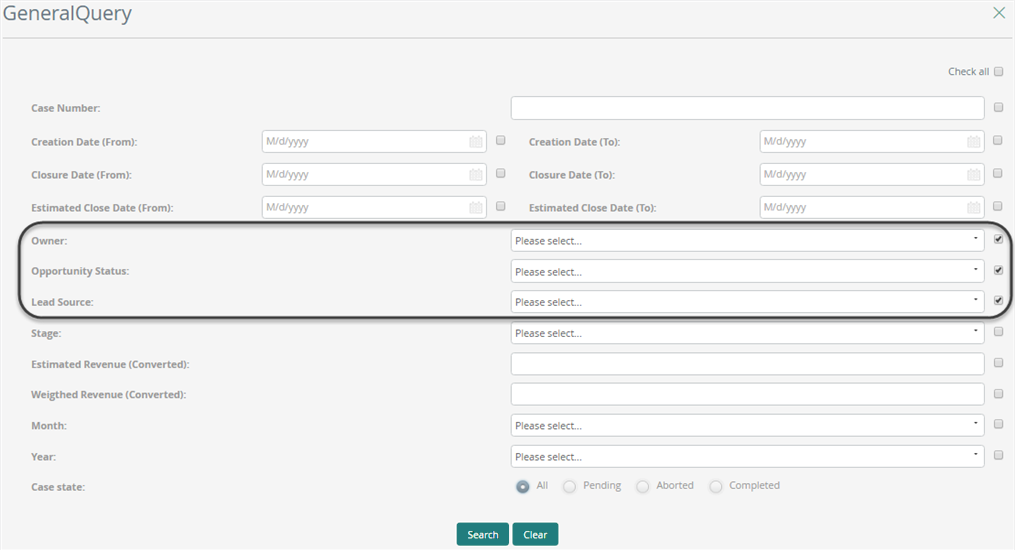
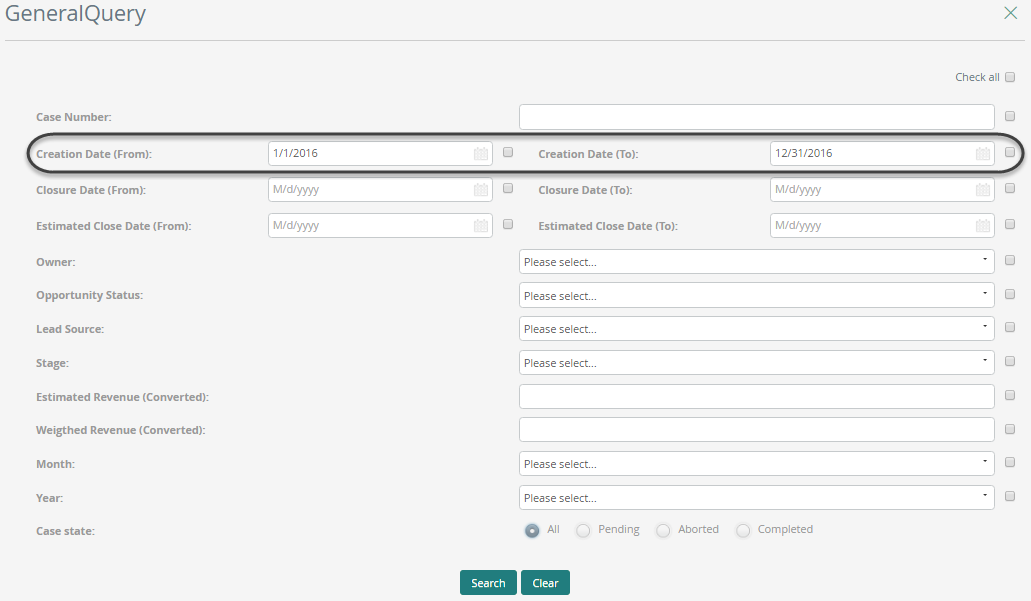
4. The Query Form will display.
Each Query has several controls that serve as search criteria when the end user includes a value (know as filter) in them. Bizagi will look for all cases that contain the values selected. If fields are left blank, the search will ignore those parameters. Additionally, controls included in Queries can also be used as result criteria.
Default values in Process Queries
If the query is a Process Query, Bizagi includes by default 6 columns with the main information of the cases that meet the search criteria: Case number, process, task, process creation date, task due date and process due date.
Select your search criteria
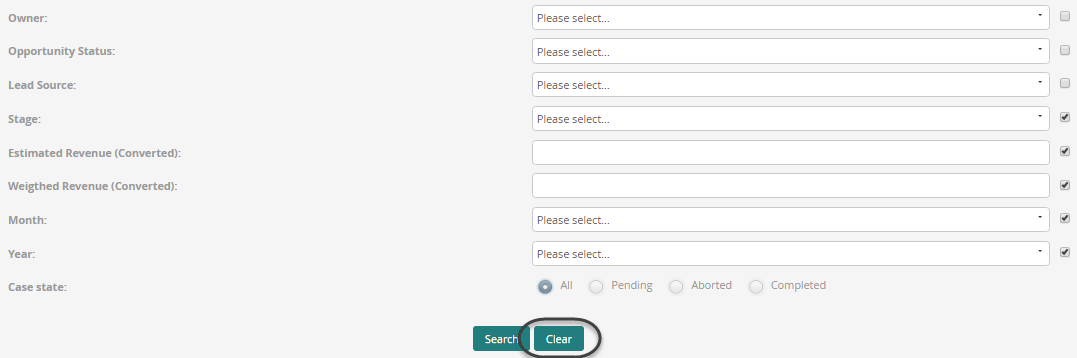
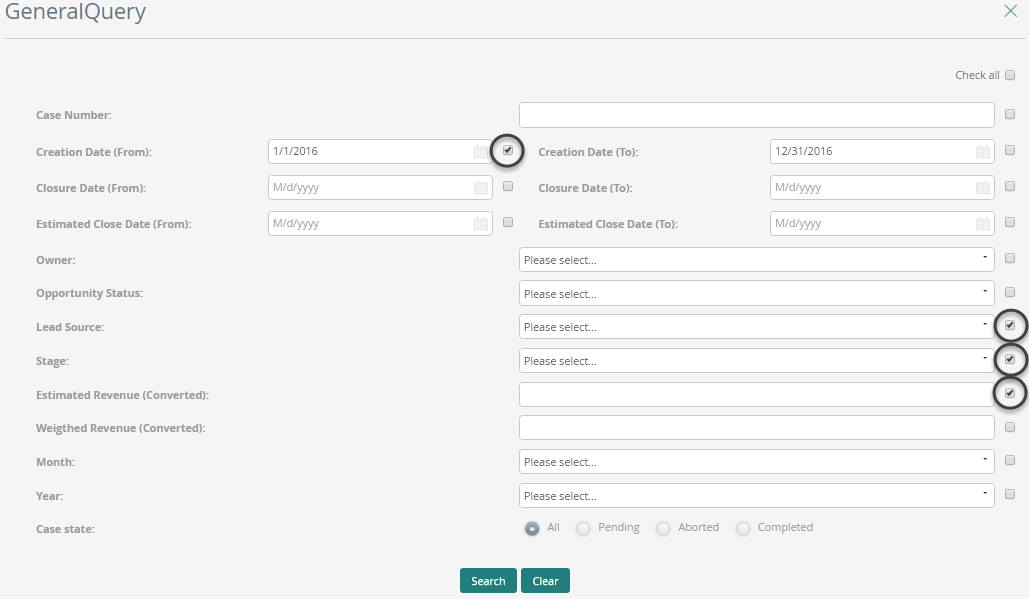
Every control in a Query has a check-box in front. If end users select the check-box, the control will display in the search results as a column.
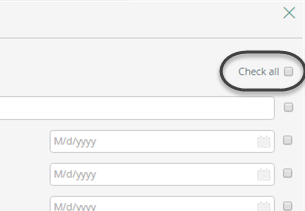
You can also check all fields as result criteria clicking on Check all.
If the criteria defined is not the one you wanted, click Clear.
|
For Entity Queries select at least one field to be displayed in the results. |
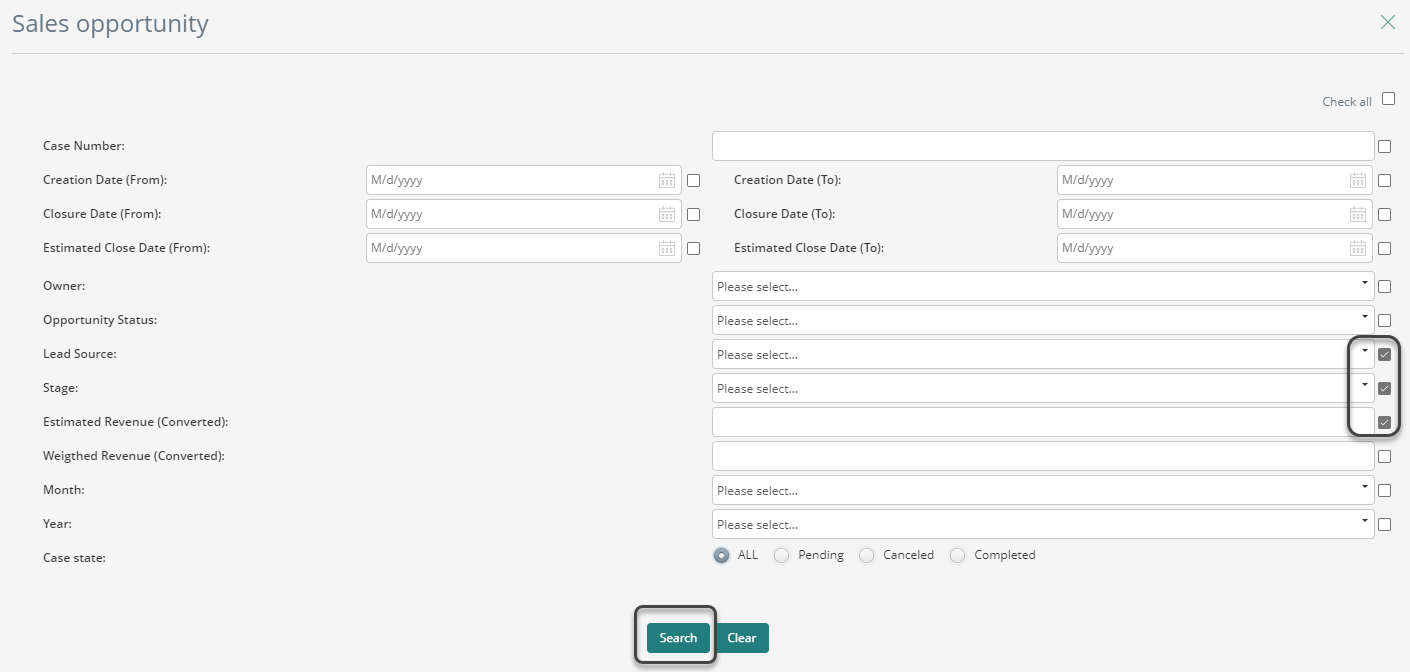
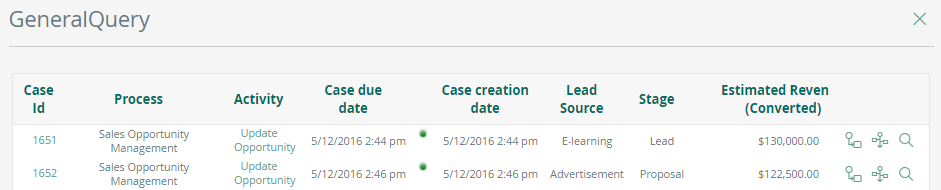
5. When you have defined your search criteria and your search results columns, click Search.
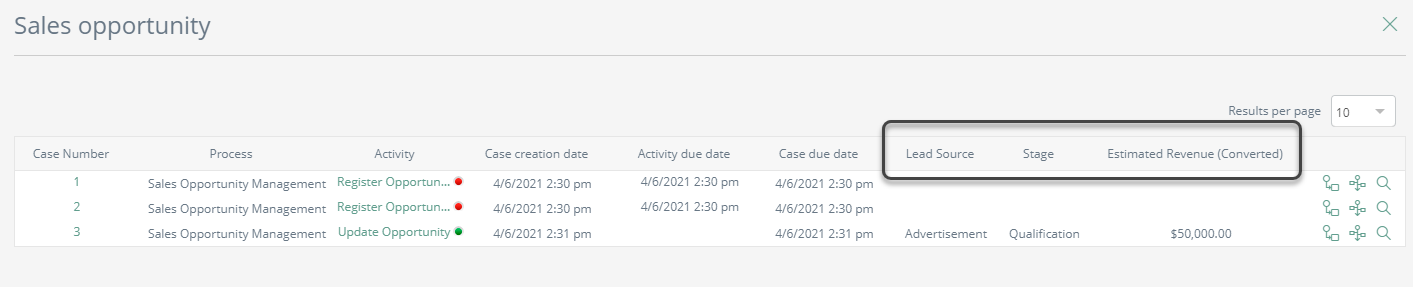
The result of the Query displays the default columns and the columns selected with the check box, for example, Lead Source, Stage, and Estimated Revenue were selected in the search criteria, even if no data was registered. Additionally, Bizagi shows the Task State (traffic light colors) as shown in the inbox. Refer to Inbox.
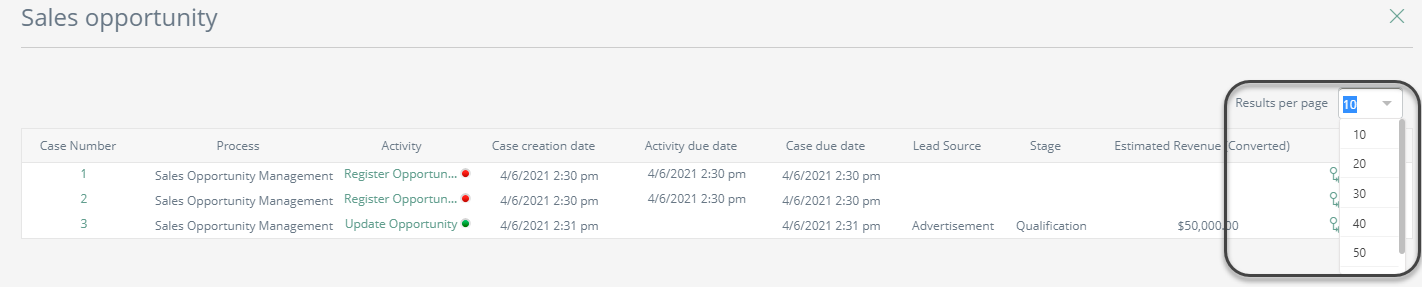
Users can select the number or records to display in Query results by selecting form a drop down list the number they want to be shown, in the upper right corner.
When a query is executed, the user can select the number of records to be displayed. When a number is selected from the menu, it will be saved in the user's settings and all other queries will display the same number of rows.
|
•The results produced correspond to the information regarding cases or entities that have been saved in the database. Therefore, any information that has been updated, added or deleted WITHIN activities that have not been completed (end users have not clicked on NEXT) will not be reflected. •The results can be exported to Excel as long as the number of rows is less than 65535. •If a case is stopped in an automatic task as asynchronous, a message or signal event for example, it will be listed in the results of the query forms when it complies with the established filters. It will not be shown in the results of the query forms that are performed for a particular user (the logged-in user), because it will not be on behalf of the user. •Records in entities can be disabled, for example, in parameter entities. If you use the following controls, they are going to show ALL the disabled records of an entity: oList oRadio oMultiselect (with and without filters) oCombo •If you use the Table control and drag attributes within a collection, they will work as filters but will not show up in the results. •You can include date-time controls in a query form. Remember that if you enable time in these controls, the query will be able to retrieve results correctly if the attribute was formatted as date-time in the original form where end users enter data. •For dates that are not specified by end users or the default ones, specific times are not accessible to collect results (case creation date, expected solution date). |
Example
In a Sales Opportunity Management process we want to consult the Creation date, Lead Source, Estimated Revenue and Stage for all cases created between the following dates: 01/01/2016 and 31/12/2016.
A Query From has been defined for this process and it is called General Query.
1. In the Queries menu select the Sales Opportunity Process.
2. In the Query select the time frame for the Creation Date in the From and To fields.
3. Check the attributes Creation date, Lead Source, Estimated Revenue and Stage that will be displayed in the results table.
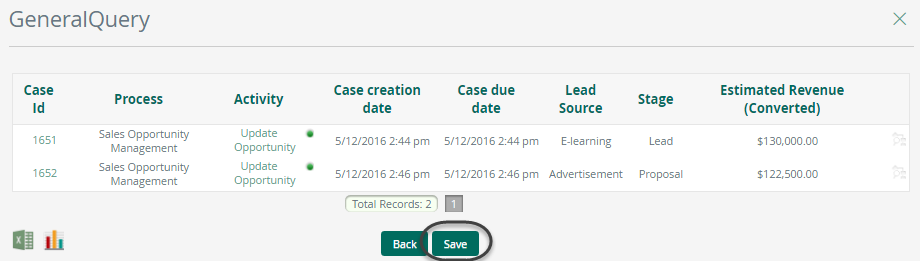
4. When Search is clicked the Query will display the results. Notice that the controls marked on the Query Form are shown as columns in the results table. Likewise, in the last column the same options are available as in the Inbox: graphic query, Timeline and summary of the case.
Save a Query
The search criteria and results criteria can be saved to be executed easily in the future.
When the results of a Query are displayed you will find the Save button to save this configuration.
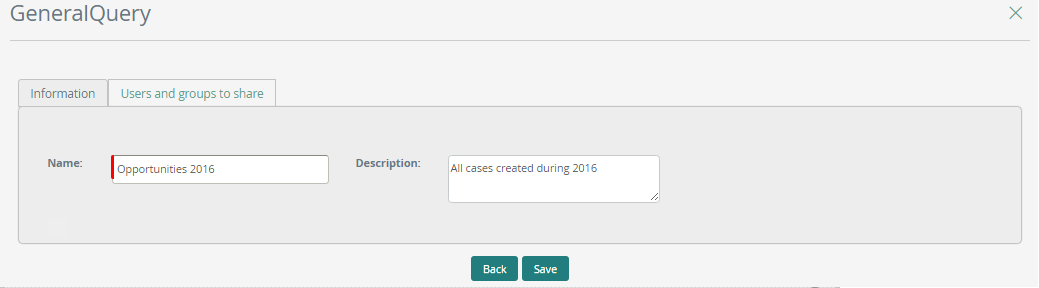
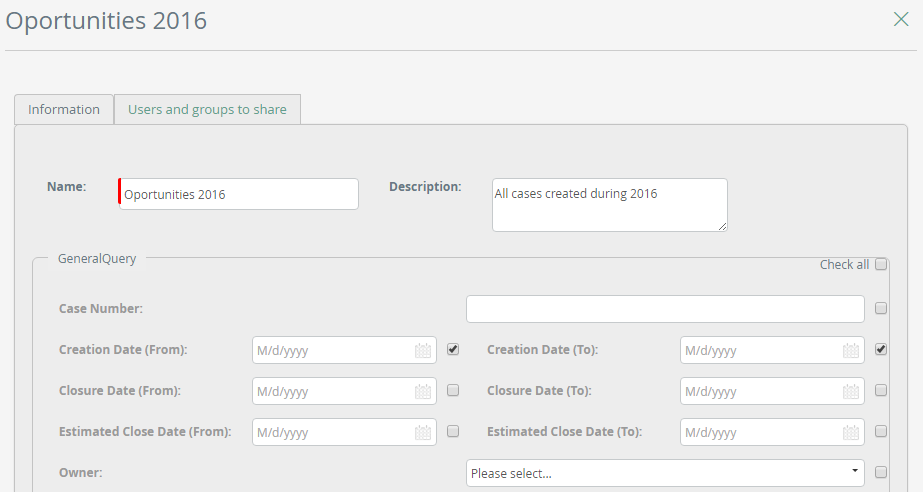
When clicked, a new window will display to enter the following information about the Query:
•Name: Give your search a name. It can be up to 25 characters long.
•Description: Enter a description as clear as possible.
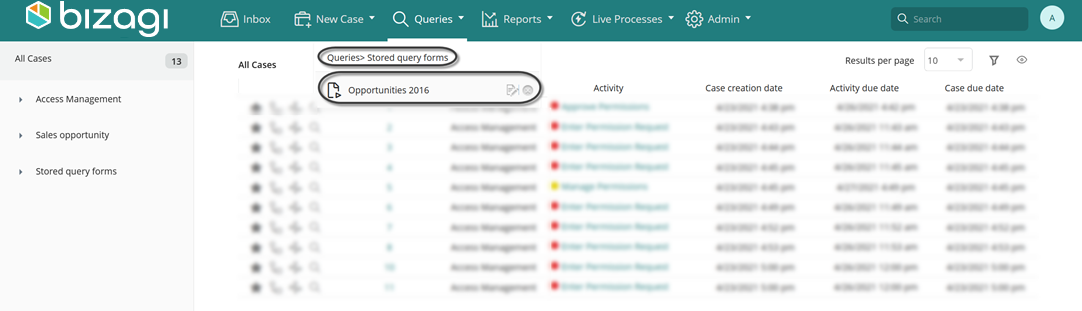
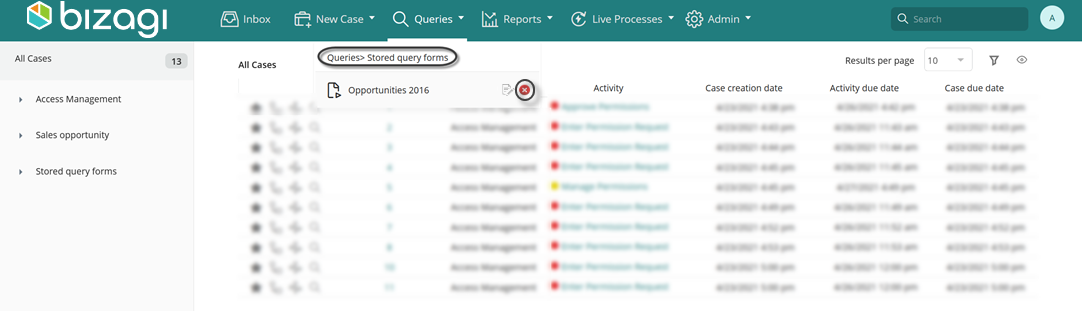
Saved Queries are accessed anytime from the Queries menu. These are stored under the Stored query forms option.
In our previous example, the Sales Opportunity cases where searched according to certain criteria specified in the General Query, the results were saved with the name "Opportunities 2016". This new query can be accessed from the Stored query forms option. Just click the query to execute it again.
Edit a Saved Query
1. Click the Edit button located on the right of the saved Query.
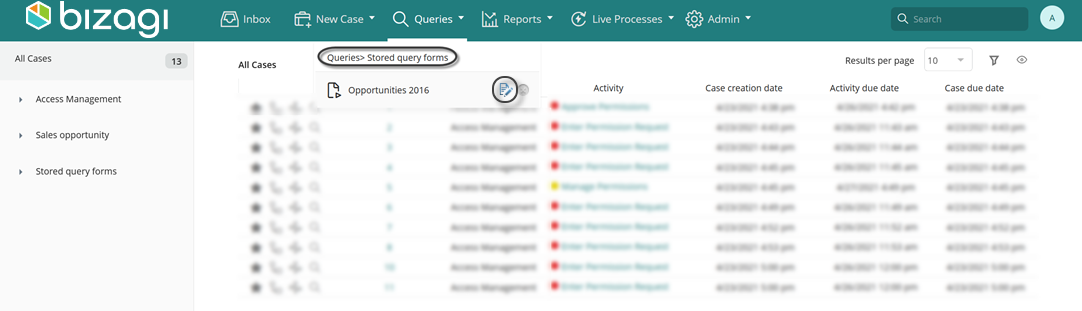
2. A new window will display where you can modify the Name, Description, people to share and the search criteria as you desire.
3. You can save the modified Query as a new one and keep the original version by clicking Create new, or update the original version by clicking Update.
The Update will only be enabled for the owner of the original query, and not to users who have received a shared query.

Delete a Saved Query
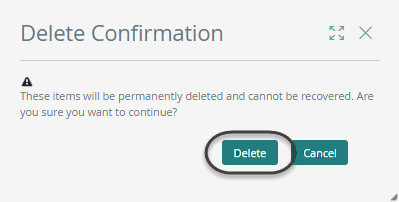
1. To delete a saved Query click the Delete button located on the right of the saved Query.
2. Confirm the deletion by clicking the Delete option.
Share a saved Query
You can share saved queries with other end users, so they can all see the results and perform analysis over them.
If a saved query is not shared, you will be the only user that will be able to see it.
If you want to share a saved Query with other end users, move to the Users and groups to share tab.
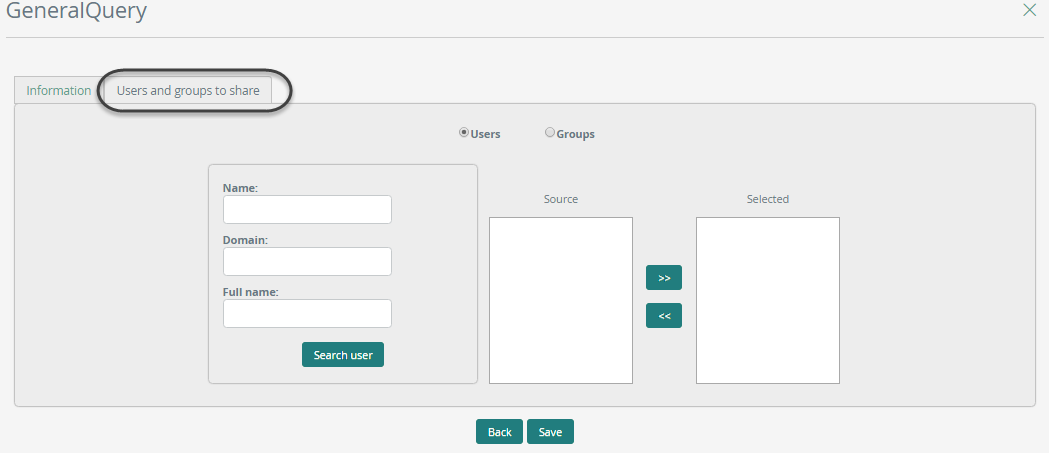
This tab has two options:
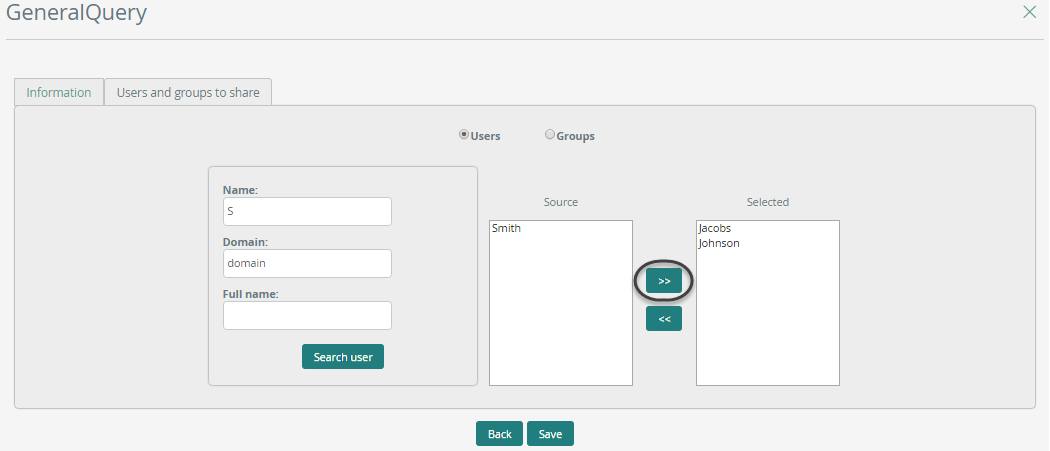
• The Users option allows you to select users by User Name, Domain and Full Name.
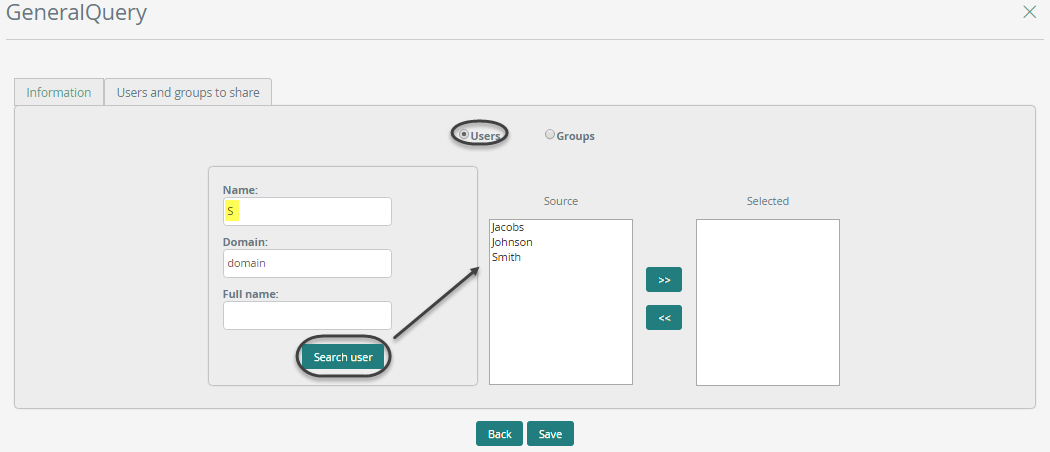
From list of users, choose the ones you want to share with and click the ">>" Button to select them.
Then click the Save button to allow the group to access your Query.
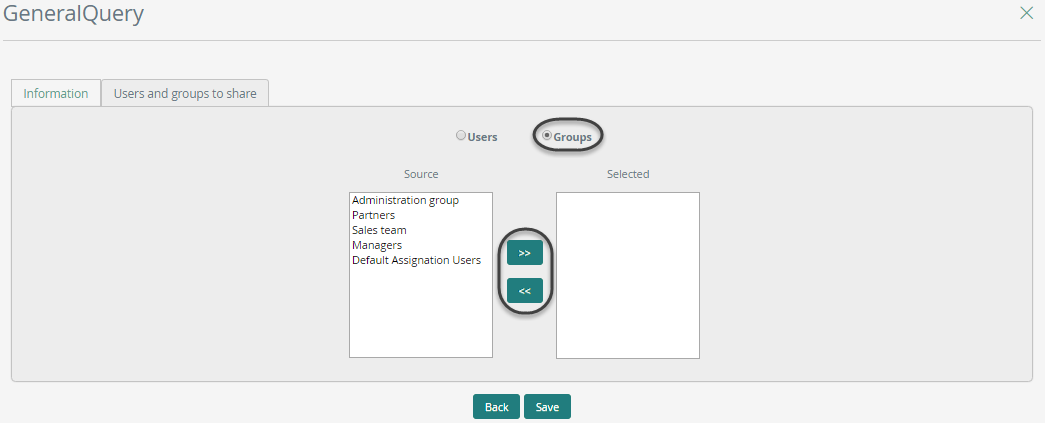
•The Groups option enables adding a group of users to share the Query with. In the Group Name list, all the groups that have been created in the application are listed. To add a Group, use the">>" button. Once the desired Groups have been added click Save. To delete a group from the list, select it and click "<<".
|
Users who have access to a saved Queries can see the results of the query, and save it as a new saved query. They cannot edit or delete the Query. |
Transfer saved queries
To transfer the ownership of all queries created by a user to other, keep in mind the following conditions:
•The user that wants to transfer saved queries must have the access rights to the queries Permission Manager granted in Bizagi Studio.
•When you select the Permission Manager button, a pop up window appears for you to transfer permissions. You must match the user that currently has the saved queries with the target user through search menus.
•The Permission Manager option, is always at the top of the Work Portal queries menu.
•You can preview the name(s) of each user saved queries listed on a preview window.
•You cannot choose specific saved queries to transfer, the whole saved queries of the current user are transferred to the target user.
•This action cannot be undone.
Suppose that you have the access rights to queries Permission Manager granted and you want to transfer the queries saved by the user Edward Williams to the user Mary Renner. Follow the steps described below:
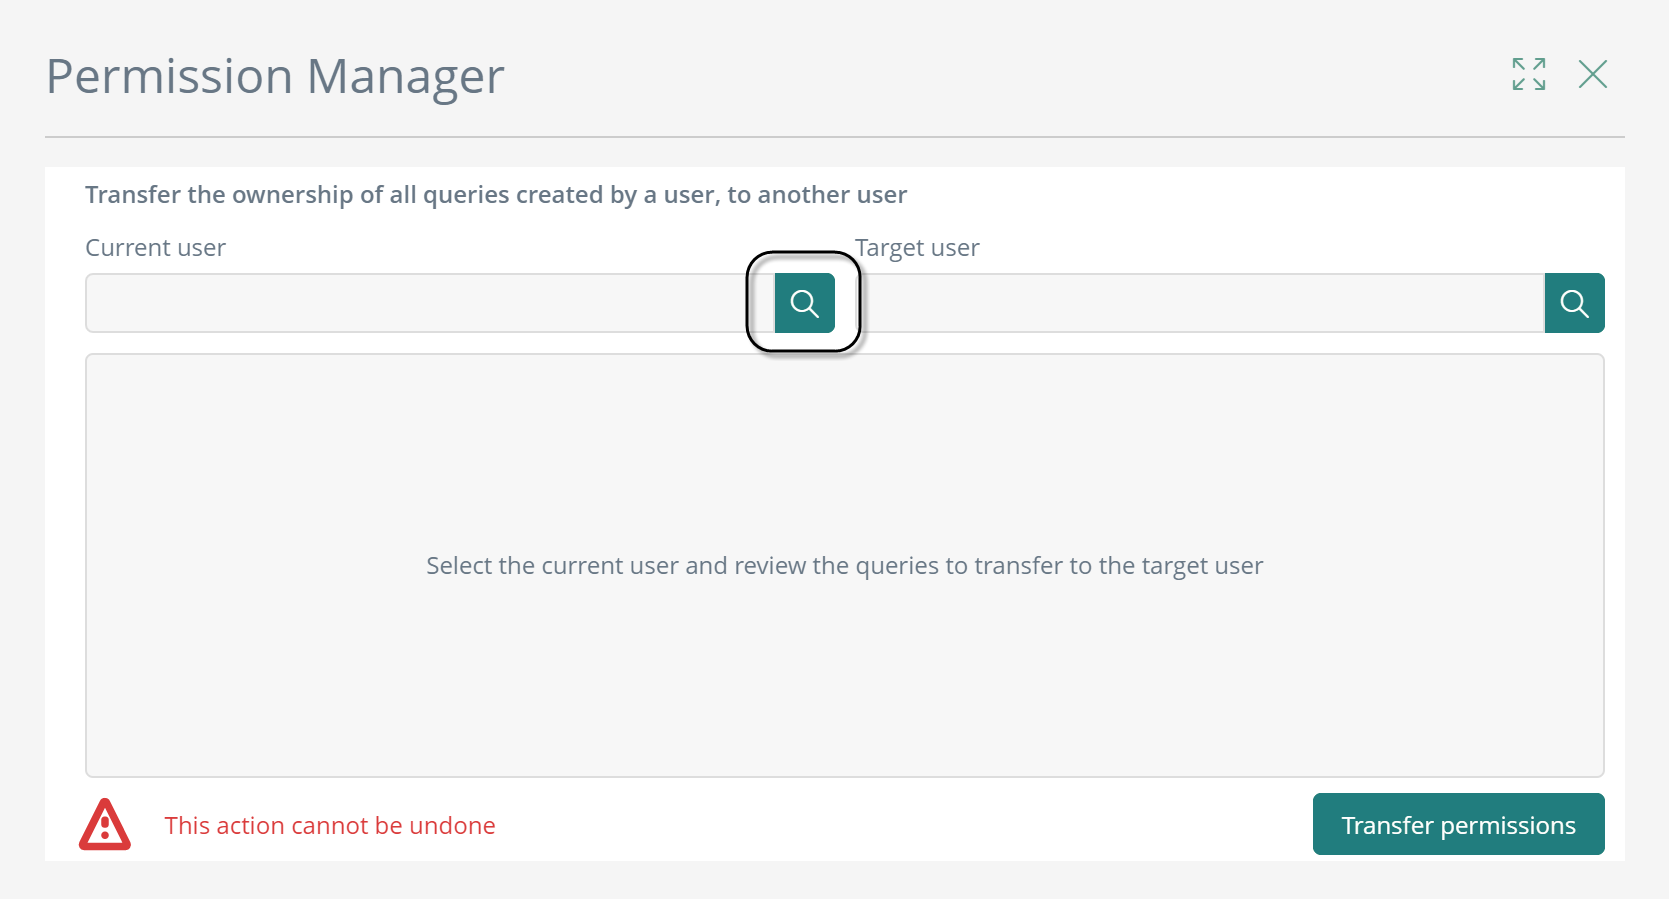
1. In the Work Portal, go to the Queries menu and at the top, select the Permission Manager option.

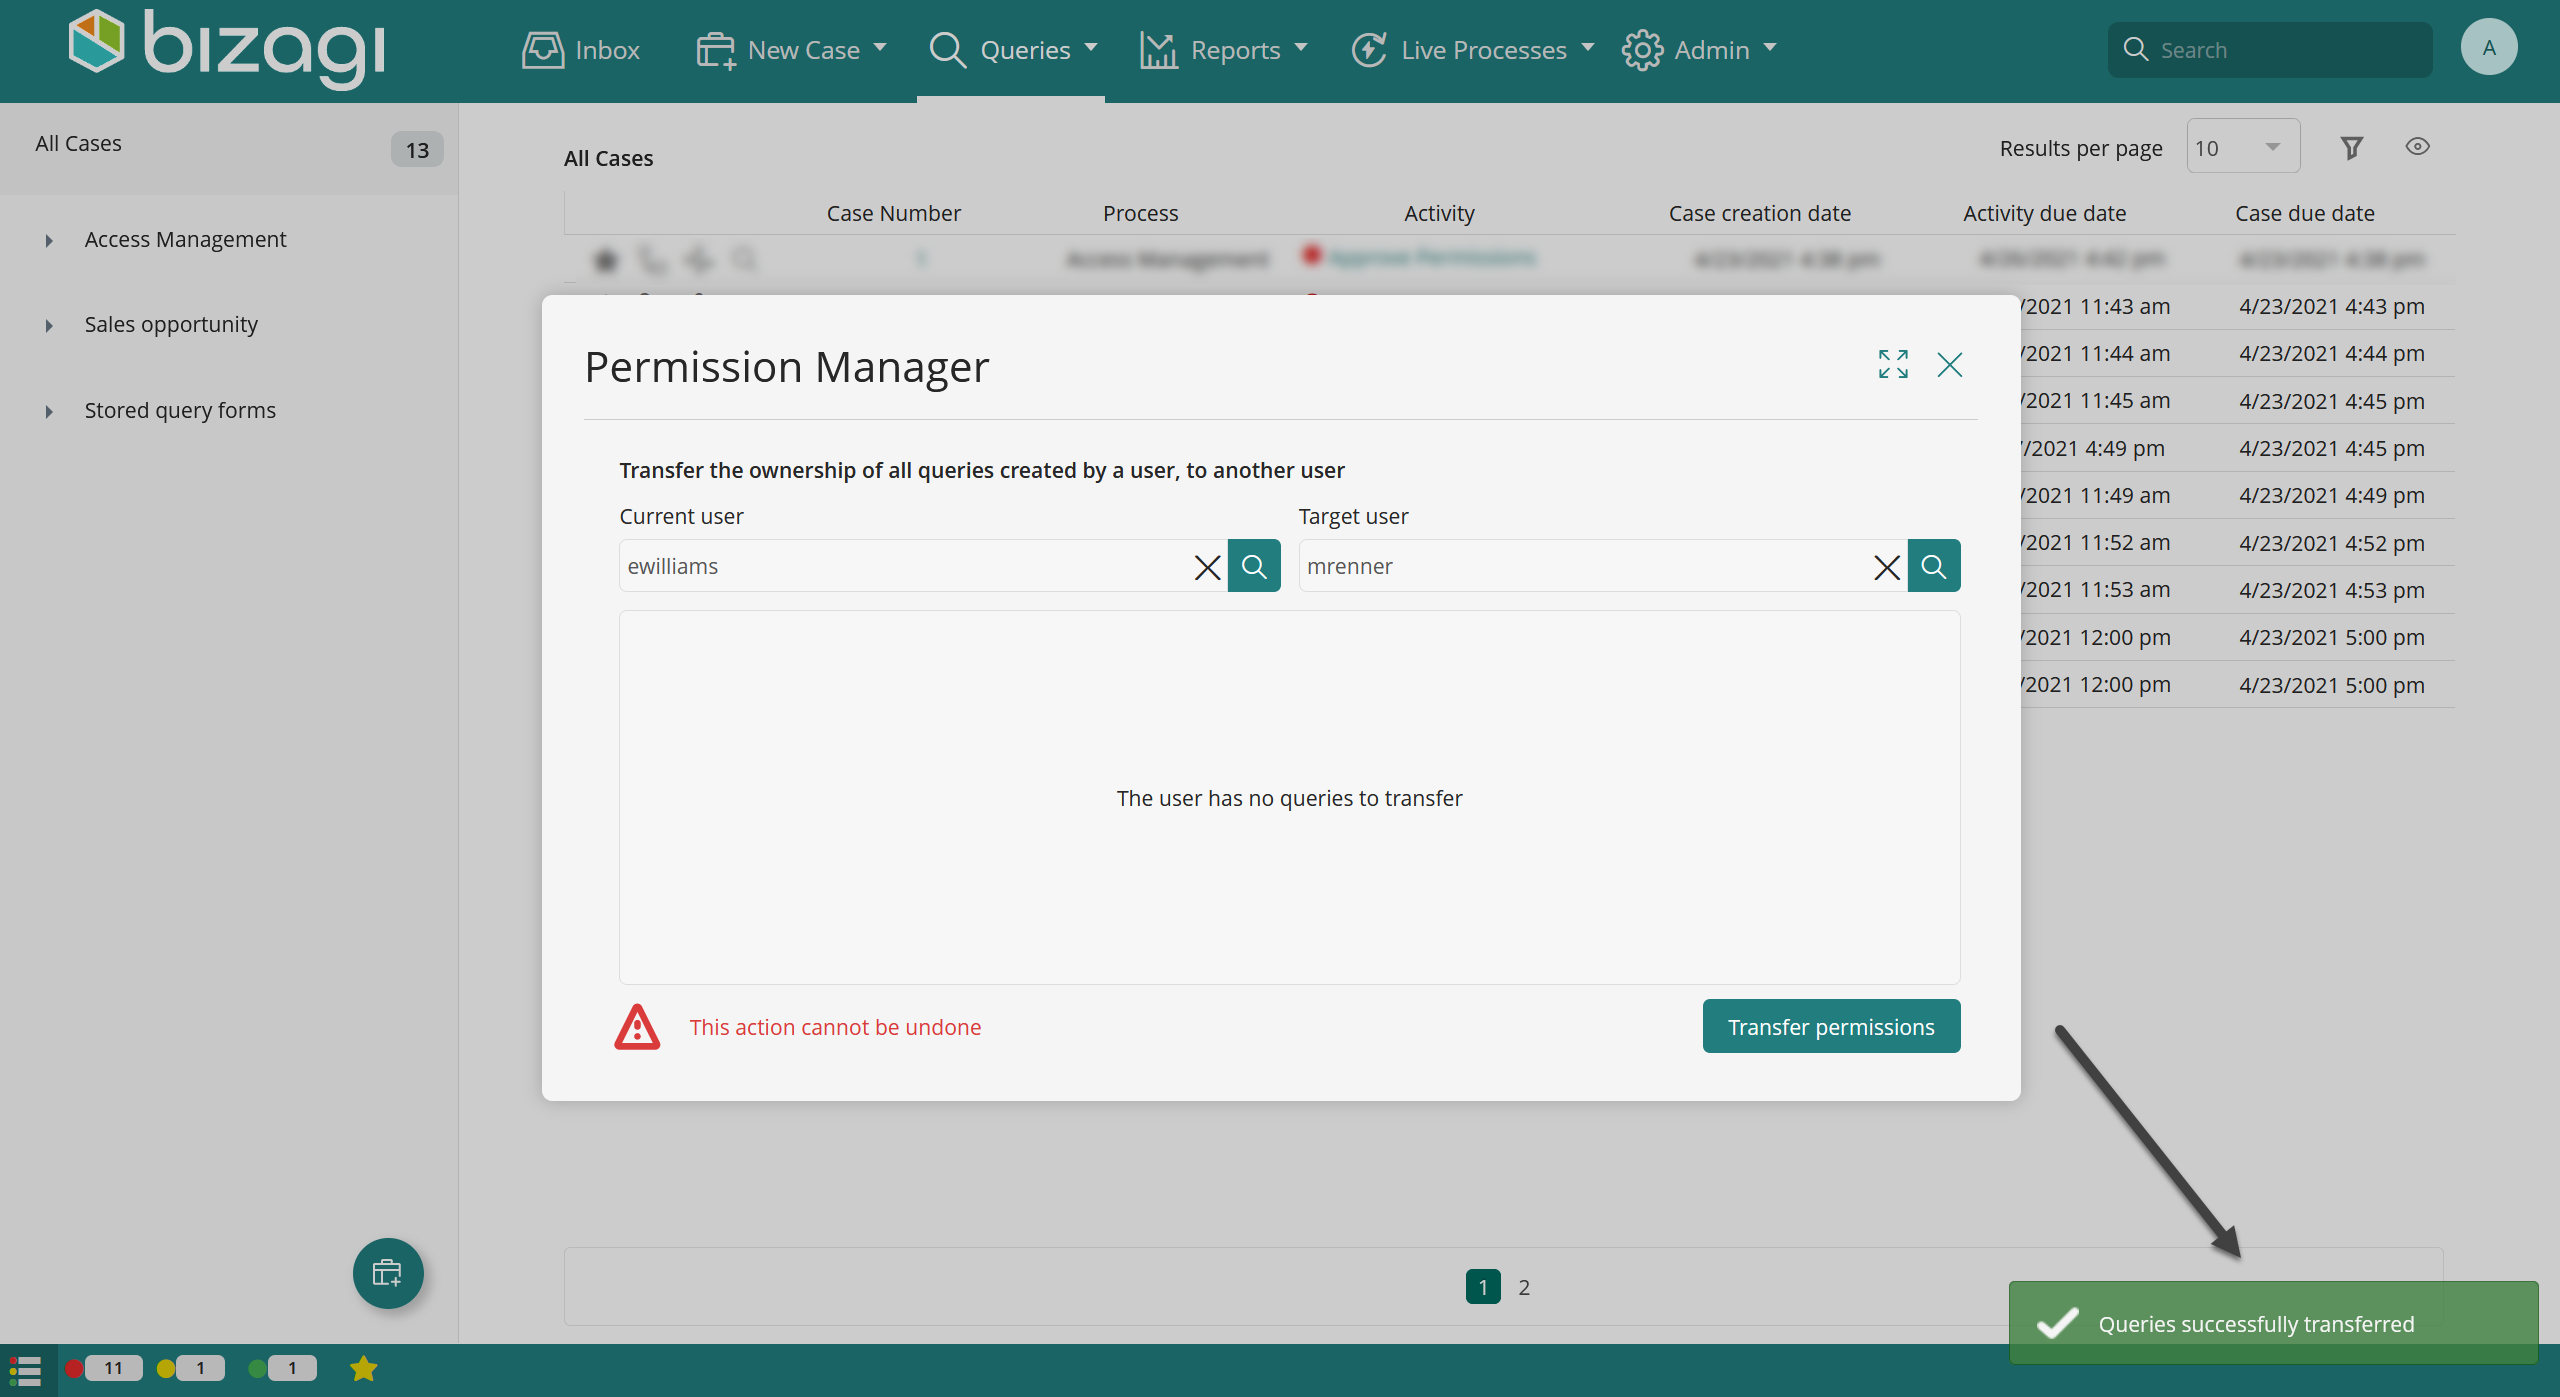
2. The Permission Manager window appears. It has two search buttons; the left one lets you select the user who currently has the saved queries you want to transfer (Current user) and the right one lets you select the user that you want to transfer the queries to (Target user). It has a preview window that lets you preview the list of the name(s) of the saved queries of the selected Current user. If the Current user that you select has no saved queries, a warning message appears on the preview screen.
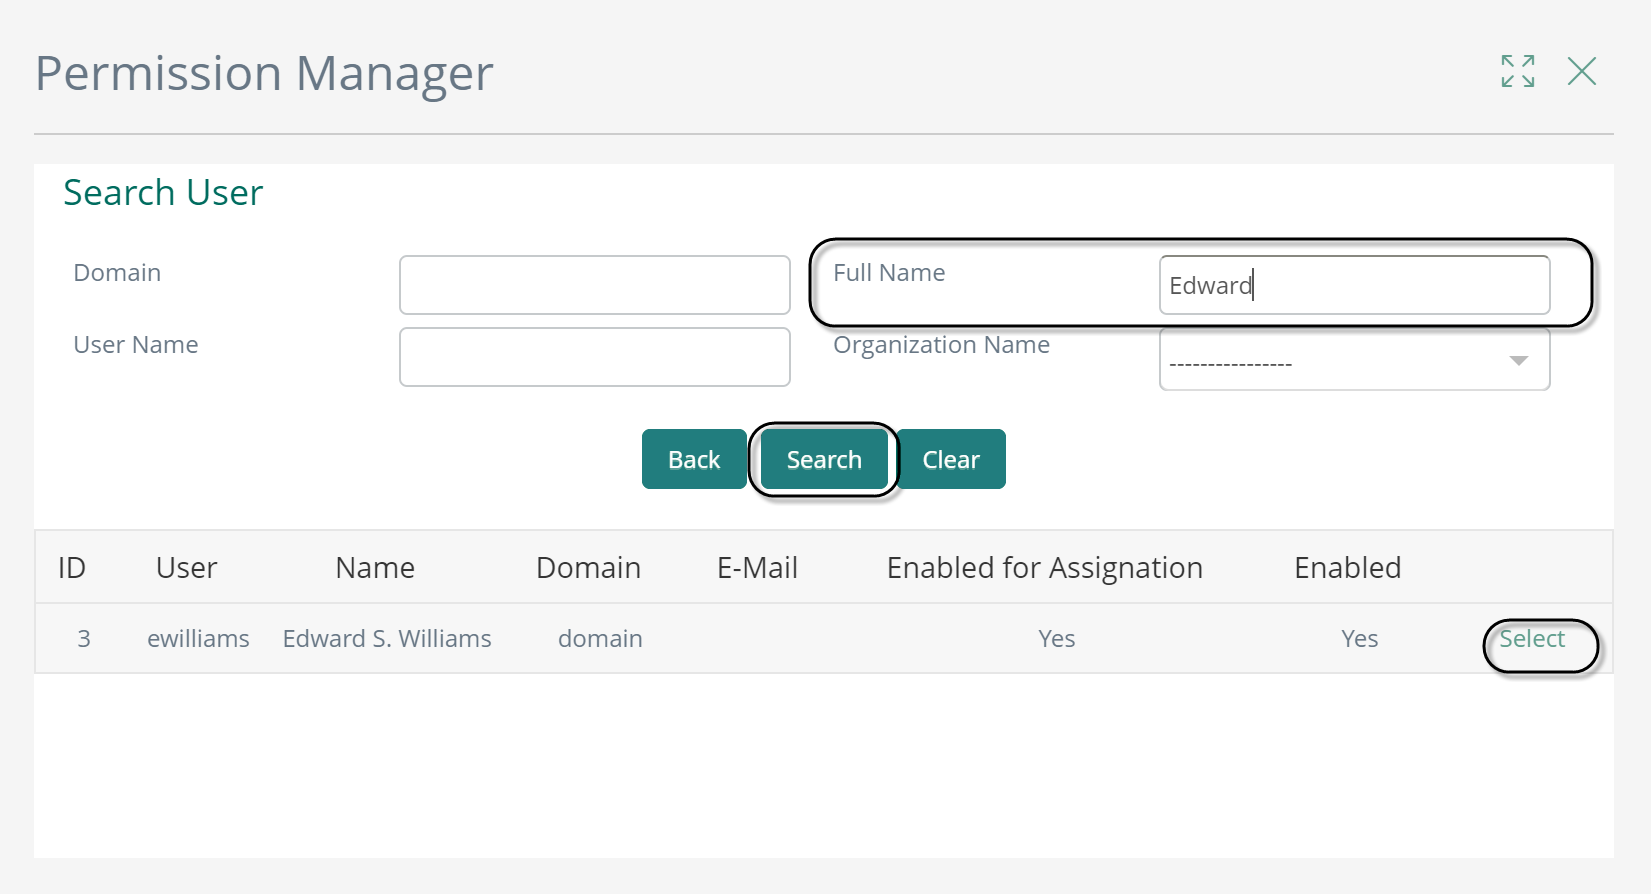
Select the left Search button to look for the Current user Edward Williams.
A window to search users appears. Type the Current User name, click search. Then, click Select.
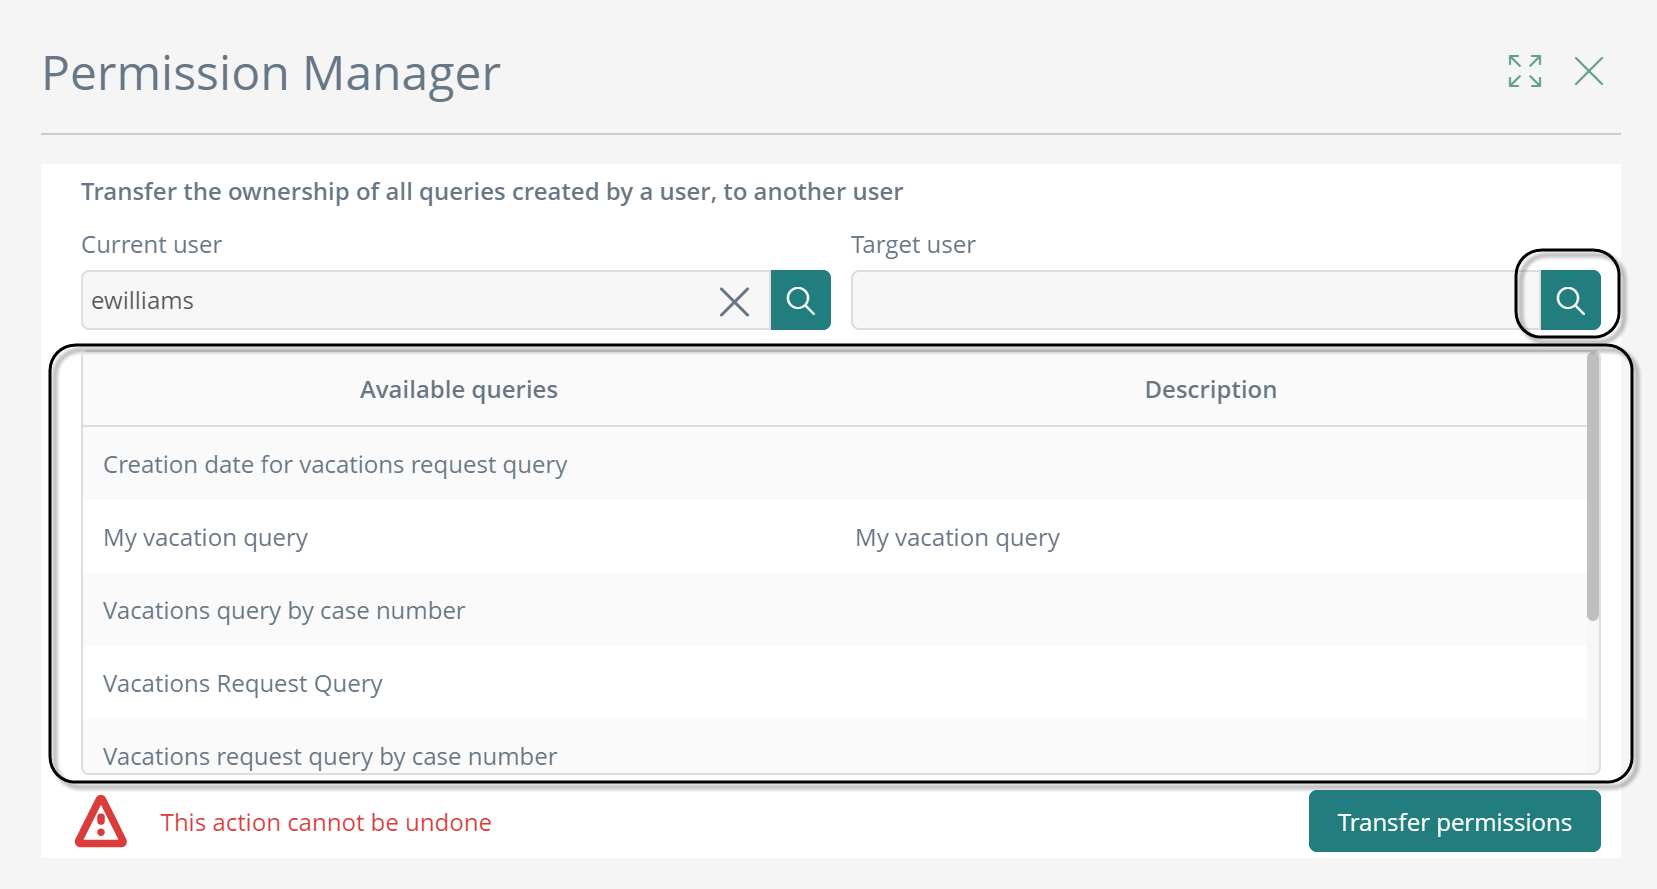
On the preview section, find a list containing the name and the description (if it exists) of the Current user saved queries. Select the right search button to look for the Target user.
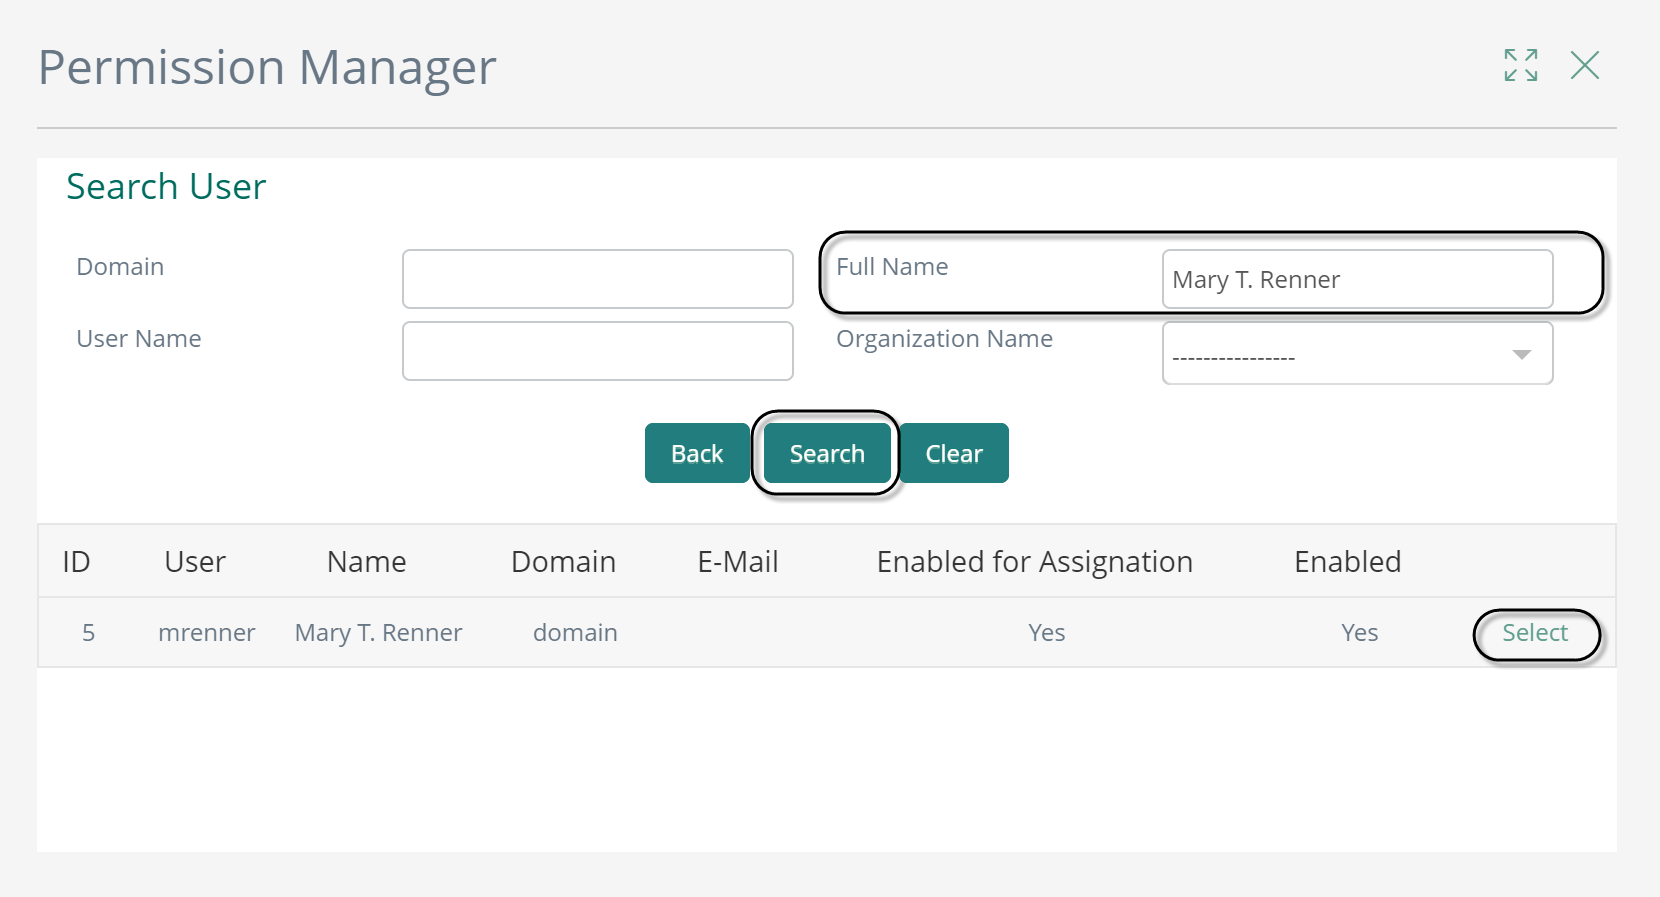
A window to search users appears. Type the Target User name, click search. Then, click Select.
Verify that both, Current and Target users are correct, and select Transfer permissions at the bottom right of the window.
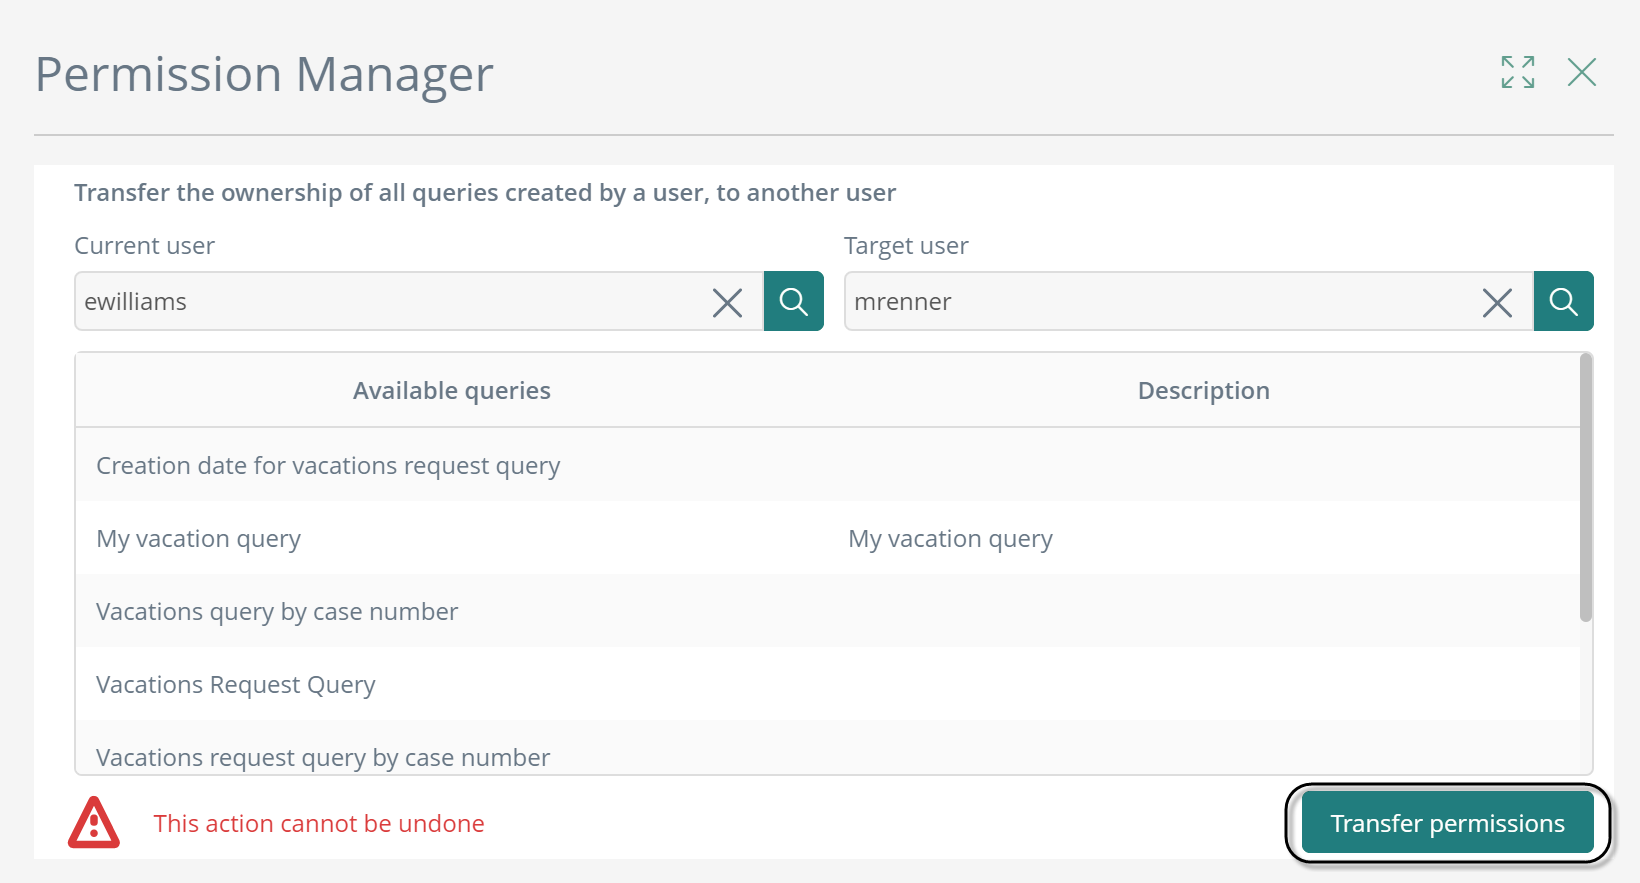
A warning message appears, click Transfer.

At the bottom right of your screen, a notification regarding the succesful operation appears.
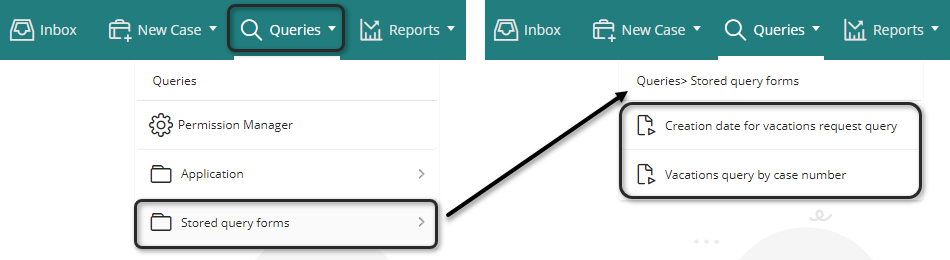
Now Mary Renner, can visualize the transferred queries on her Work Portal. To visualize them, she must select the queries menu, then the folder Stored query forms.
Last Updated 1/23/2023 12:05:12 PM