Overview
Managing Knowledge Base Catalogs ensures that AI Agents can access structured, relevant information to enhance decision-making and response accuracy. This section explains how to create, edit, and delete catalogs, as well as manage their documents. Keeping catalogs well-organized optimizes the processing and retrieval of Enterprise Knowledge within AI-powered workflows.
Creating a New Knowledge Base Catalog
To create a new catalog, follow these steps:
1.Right-click the General node and select New Knowledge Base Catalog. Alternatively, use the corresponding button in the top ribbon.
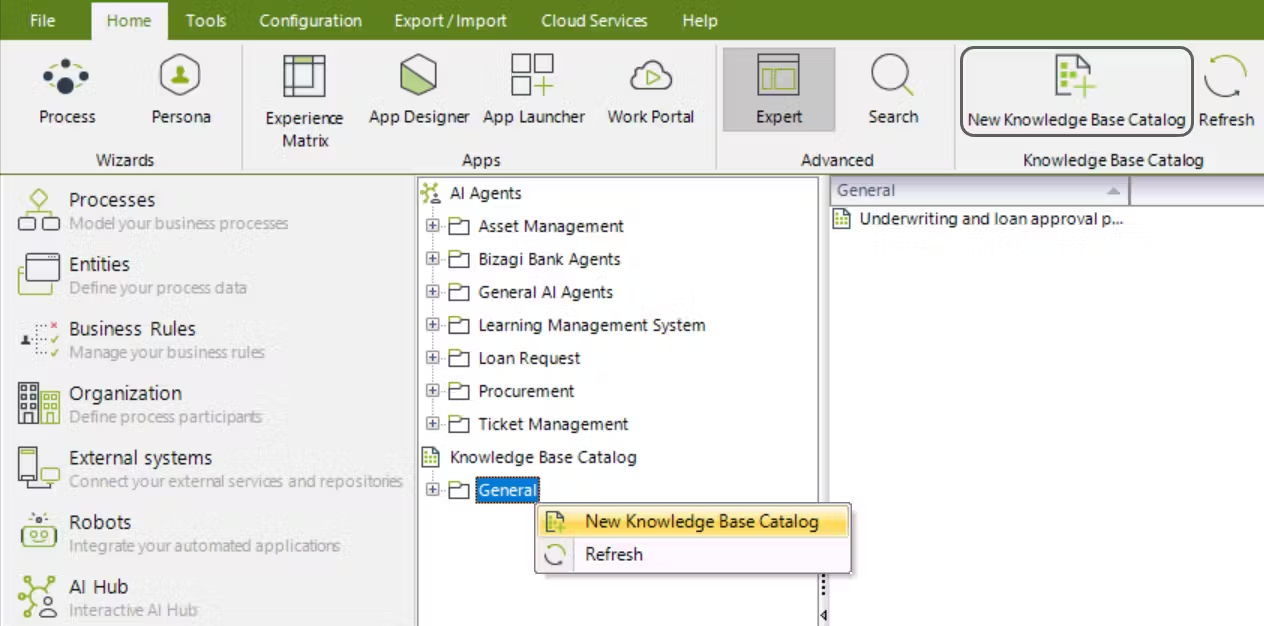
The New Knowledge Base Catalog window opens for you to configure your catalog.
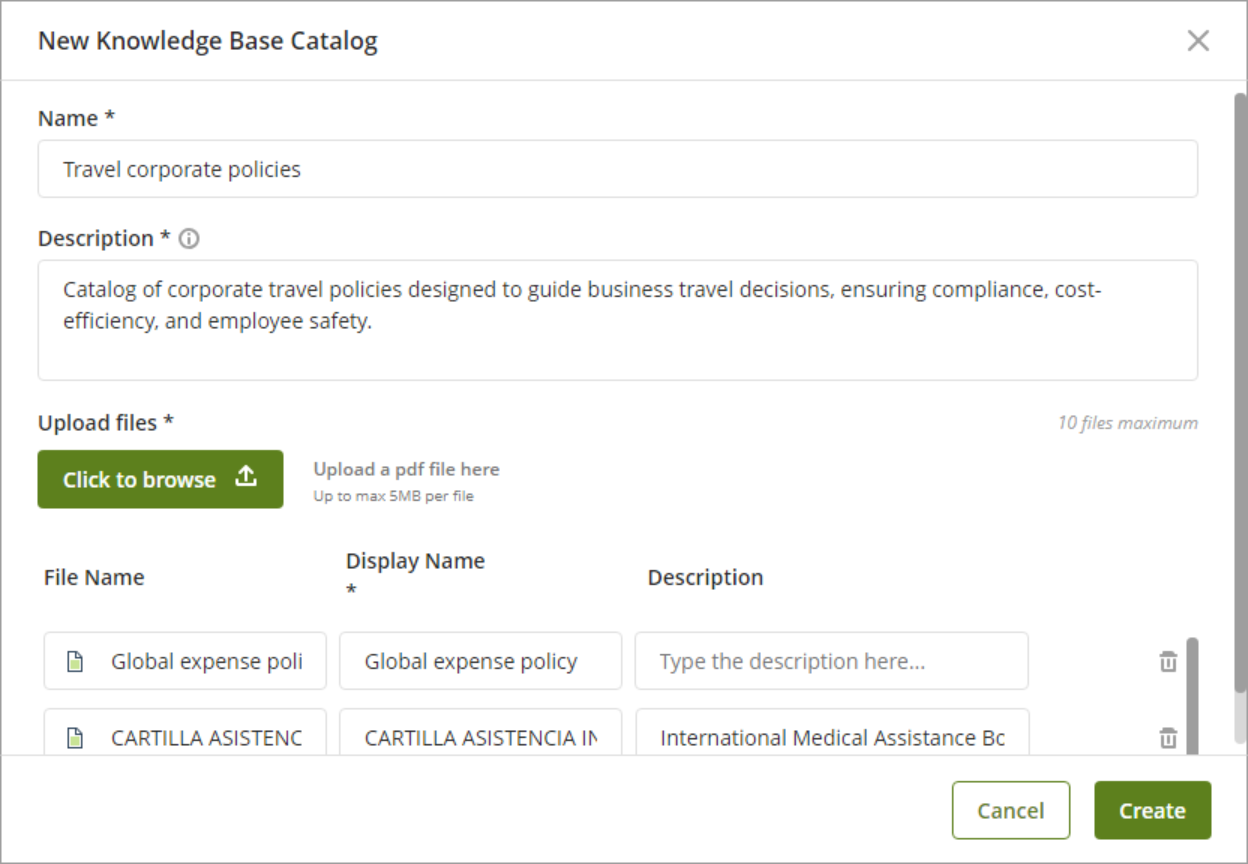
2.Fill in the required fields:
•Name: Name of your Knowledge Base Catalog (up to 50 characters).
•Description: Description of your Knowledge Base Catalog (up to 1000 characters).
3.Upload one or multiple PDF files to generate the Knowledge Base Catalog by clicking the Click to browse button under the Upload files label.
Once uploaded, for each file, you must define a Display Name, and you can optionally provide a brief Description of the document uploaded.
|
When uploading PDF files, bear in mind the following considerations: •You can upload a maximum of 7 files per catalog. •Each PDF file can be up to 50 MB in size. •Make sure your files do not have any kind of restriction. Password-protected PDFs are not supported. •Each file name must be unique within the catalog. Duplicate file names are not accepted. •Use clear and concise file names of up to 50 characters.
If any of these considerations is not met, the system will display an error message indicating the issue. |
4.Click Create to generate your Knowledge Base Catalog.
|
If any uploaded files are still in ToLoad, ToProcess, or Processing states, a message appears. File statuses will update automatically every 15 seconds — there is no need to close the window to check their progress. |
Once created, the catalog appears under the General node for use with your AI Agents.
Editing an existing Catalog
To edit an existing catalog, follow these steps:
1.Right-click the desired catalog and select Edit Knowledge Base Catalog. Alternatively, use the corresponding button in the top ribbon.
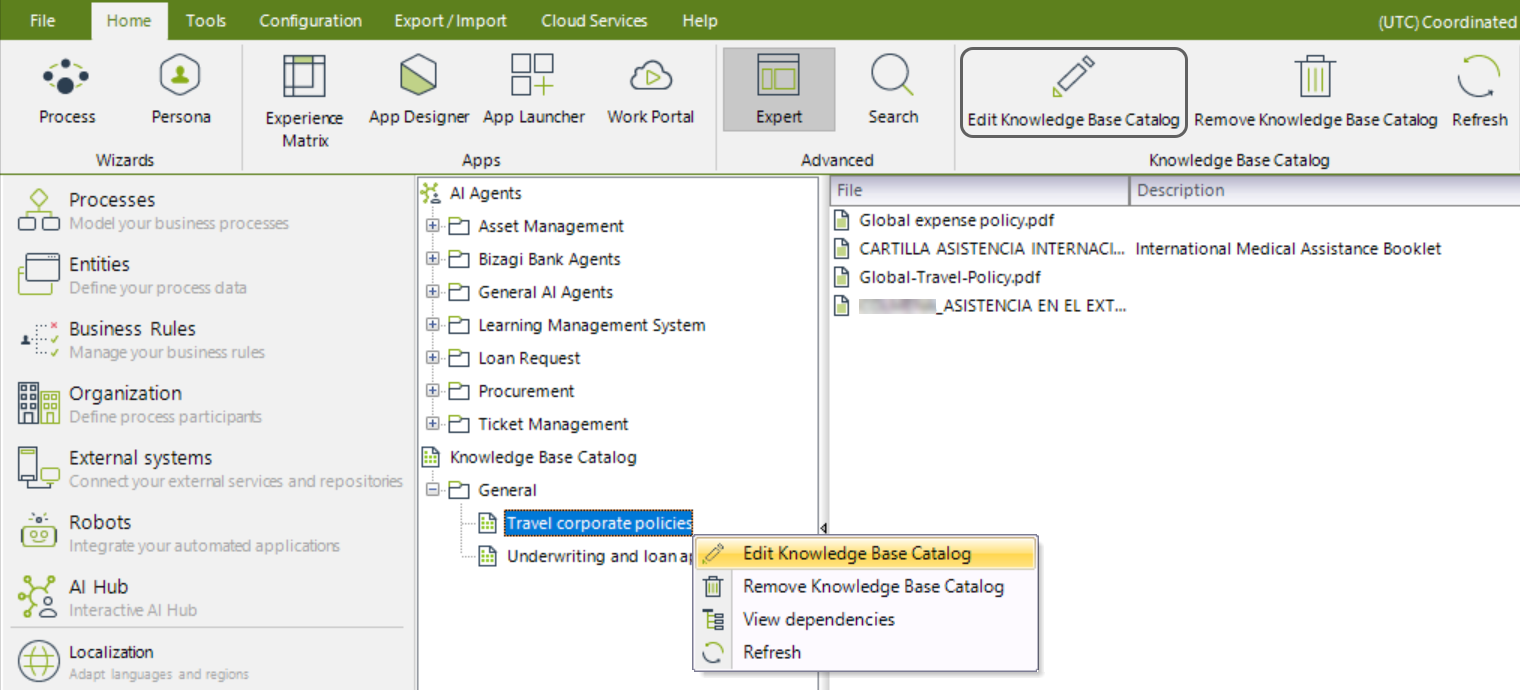
The Edit Knowledge Base Catalog window opens for you to modify your catalog.
2.You can edit the Name and Description of your catalog, as well as upload new files (by clicking the Click to browse button under the Upload files label) or remove those you no longer want to include in your catalog (by clicking the trash icon).
|
Files added will go through the Processing state again. |
You can also review the state of each file under the Status column.
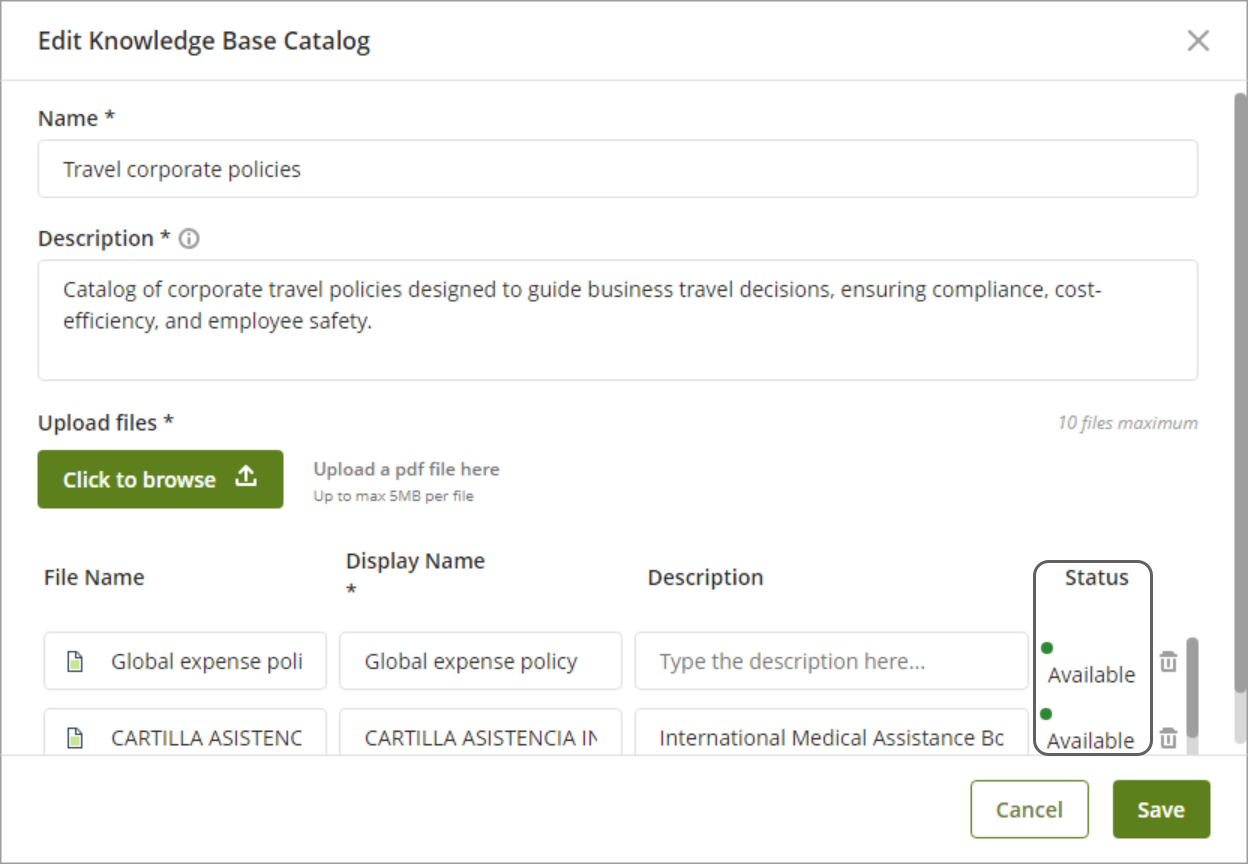
3.Once you are done modifying your catalog, keep your changes by clicking the Save button.
Deleting a Catalog
To delete a catalog, follow these steps:
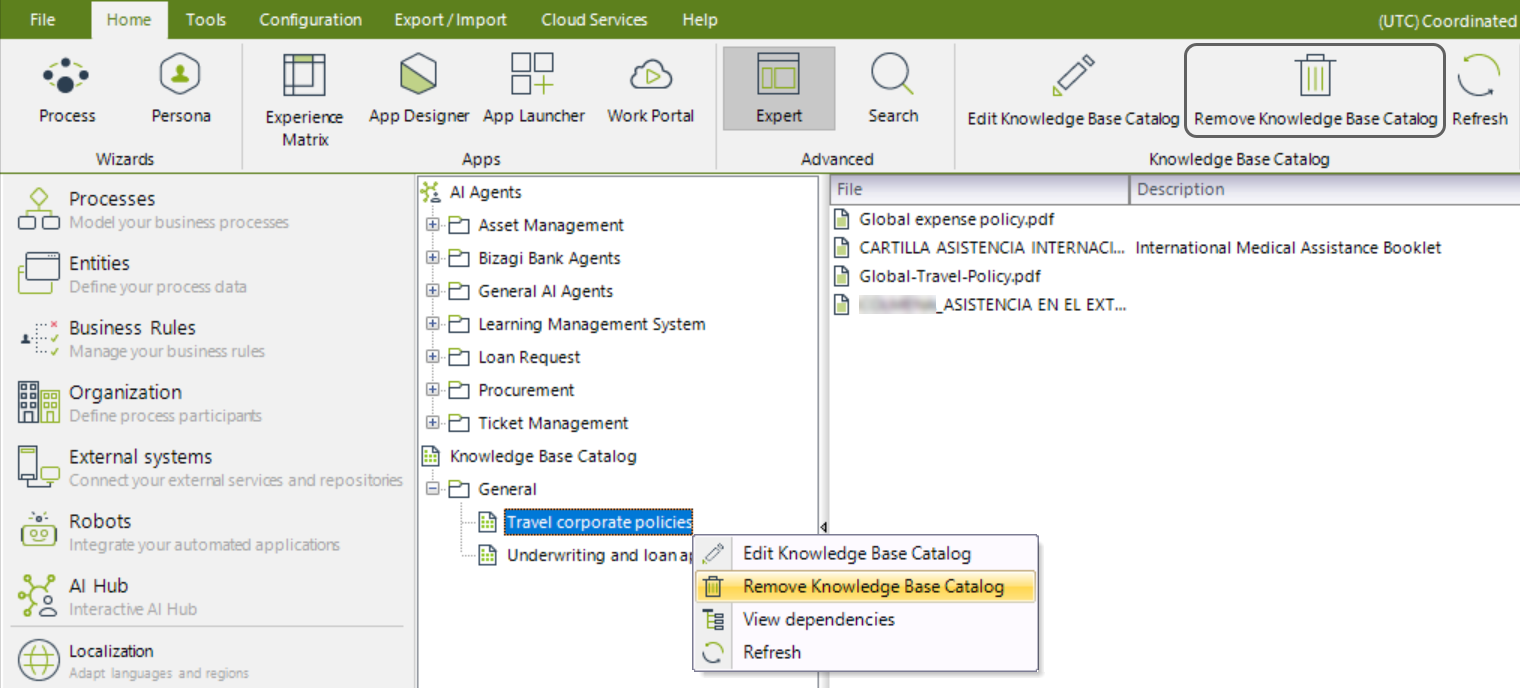
1.Right-click the catalog and select Remove Knowledge Base Catalog. Alternatively, use the corresponding button in the top ribbon.
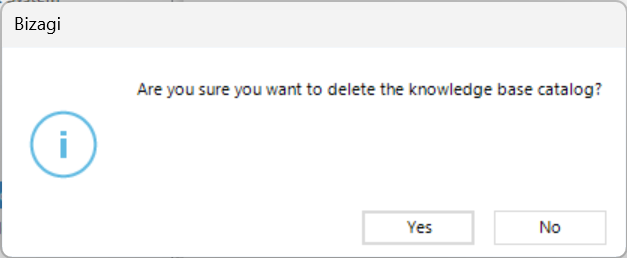
2.Confirm deletion by clicking Yes in the confirmation message that appears.
If dependencies exist, a warning will appear stating so.
3.Once removed, the catalog is no longer listed under the General node.
Downloading Catalog files
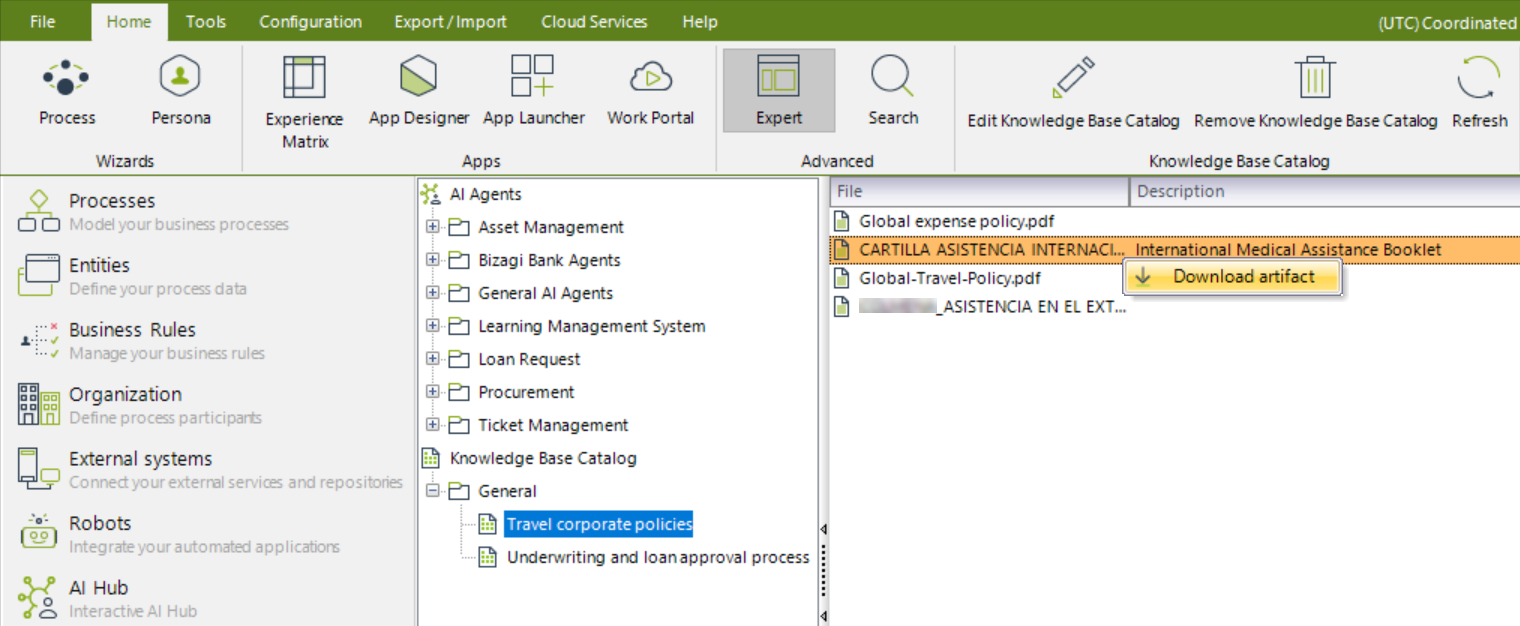
All uploaded files in a catalog can be downloaded for verification. To do so, select the catalog you want to review from the AI Hub by clicking its name. On the right-side panel, you will see the catalog files listed along with their names and descriptions provided in the catalog configuration. Right-click the file you want to download and select Download file.
An explorer window will open for you to download the file and save it to the desired location on your computer.
Last Updated 5/19/2025 11:20:02 AM